106 LED-PRO • User’s Guide
4. Operation
Using the Input Position Menu
fåéìí=mçëáíáçå=jÉåì=aÉëÅêáéíáçå
The Input Position Menu allows you to perform an abbreviated set of input setup
functions, for operator convenience. For a complete set of input setup functions, use the
Input Setup Menu in the Expert Mode (SETUP > Expert Mode > Input). Refer to the
“Input
” section on page 68 for details.
Please note:
• The menu enables you to set up all inputs, simply by pressing the desired button
in the front panel’s Inputs Section.
• Unlike the Input Setup Menu, the Input Position Menu does not display the
selected input on the top line. Use the physical button itself as the identifier.
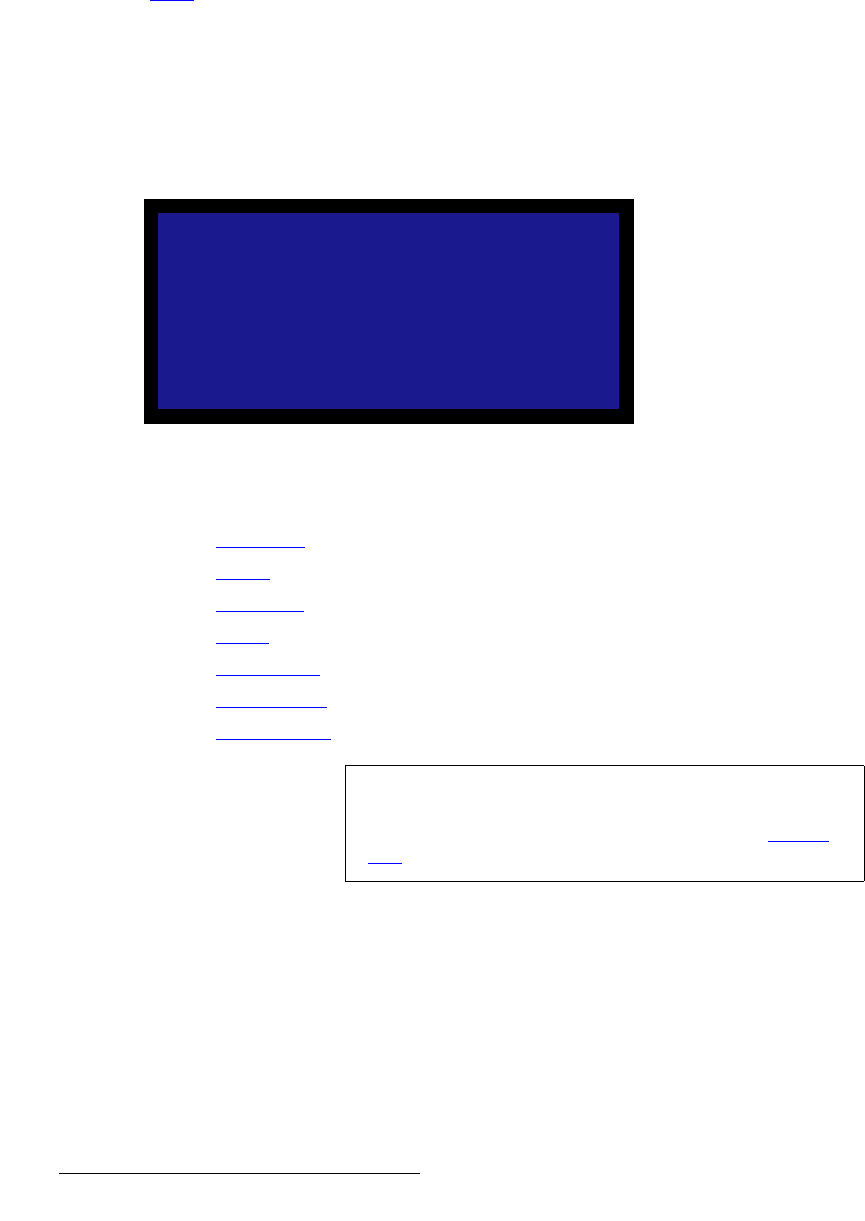
A sample menu is shown below.
Figure 4-88. Input Position Menu (sample)
Following are descriptions of each menu function:
• H Position
• H Size
• V Position
• V Size
• Save Config
• Reset Config
• Recall Config
e=mçëáíáçå
On the Input Position Menu, select H Position to adjust (in pixels) the start of the input
video's active area from H sync.
e=páòÉ
On the Input Position Menu, select H Size to adjust (in pixels) the size of the active area.
INPUT POSITION
> H Position 296
H Size 1024
V Position 35
V Size 768
Save Config >>
Reset Config
Recall Config >>
Note
As a recommendation, turn on the Output Raster Box when
making active area adjustments. The input should be aligned
with all four edges of the raster box. Refer to the “Raster
Box” section on page 94 for details.


