


1/99 SMV 3000 Transmitter User’s Manual 107
9.4 Replacing Electronics Module or PROM, Continued
Procedure, continued
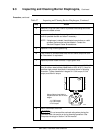
Table 28 Replacing Electronics Module or PROM, Continued
Step Action
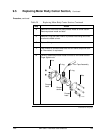
10
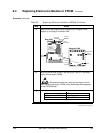
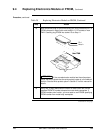
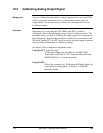
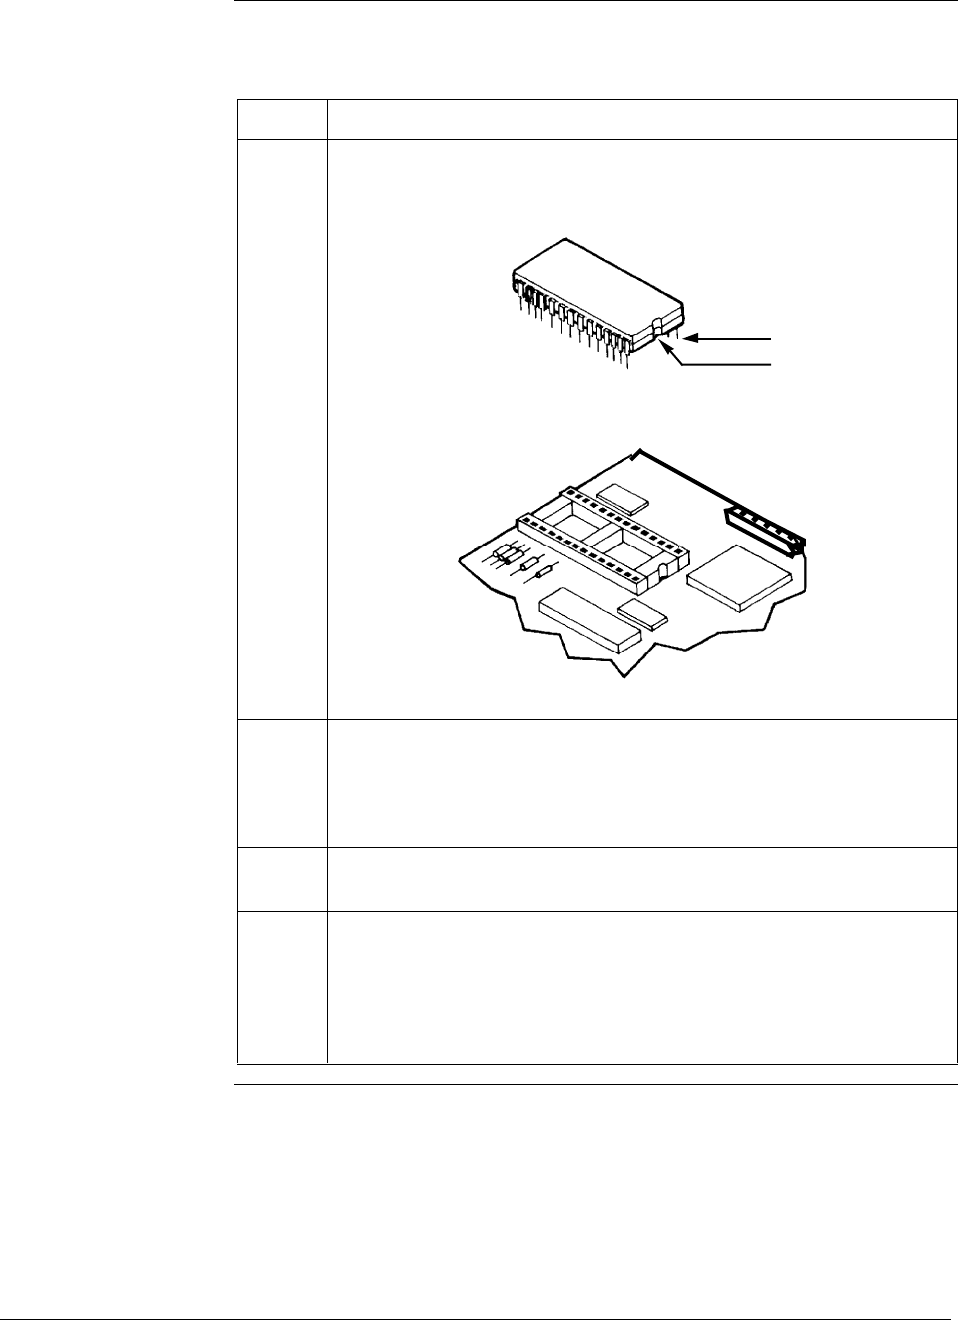
With component side of new PWA facing you, align notch and pin 1 of
new PROM with notch and pin 1 in IC socket on PWA. Carefully plug
PROM into socket.
Pin 1
Notch
Main PCB
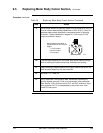
11
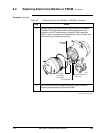
Reverse actions in Steps 2, 3, 4, and 5 to return electronics module to
housing. We recommend that you lubricate end-cap O-ring with
silicon grease such as Dow Corning #33 or equivalent before you
replace end cap.
12
Return transmitter to service and turn ON power.
13
Verify transmitter’s configuration data. Recalibrate transmitter to
achieve highest accuracy; if this is not convenient, reset calibration
(See Section 10.5 in this manual) for PV1 and PV2, and do an input
zero correction for PV1 to compensate for any minor error. Also,
check PV3 zero point.