


Editing Recorded MDs
35
GB
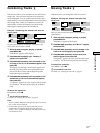
Changing the Track Level
After Recording (S.F Edit)
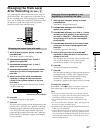
Z
You can change the volume of recorded tracks using S.F
(Scale Factor) Edit. The original track is recorded over at
the new recording level. When changing the recording
level, you can change the overall level, gradually increase
the signal level at the start of the track, or gradually
decrease the level at the end of the track.
z
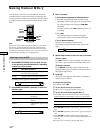
YES
./>
?/1
.>mM
N
MENU/NO
Xx
789
>10
10
/0
1
23
4
56
–
+
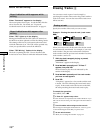
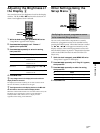
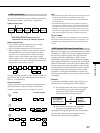
Changing the overall level of a track
1 While the deck is stopped, playing, or paused,
press MENU/NO.
“Edit Menu” appears in the display.
2 Press ./> repeatedly until “S.F Edit ?”
appears, then press YES.
3 Press ./> repeatedly until “Tr Level ?”
appears, then press YES.
4 Press ./> repeatedly until the track number
whose level you want to change appears, then
press YES.
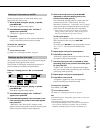
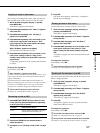
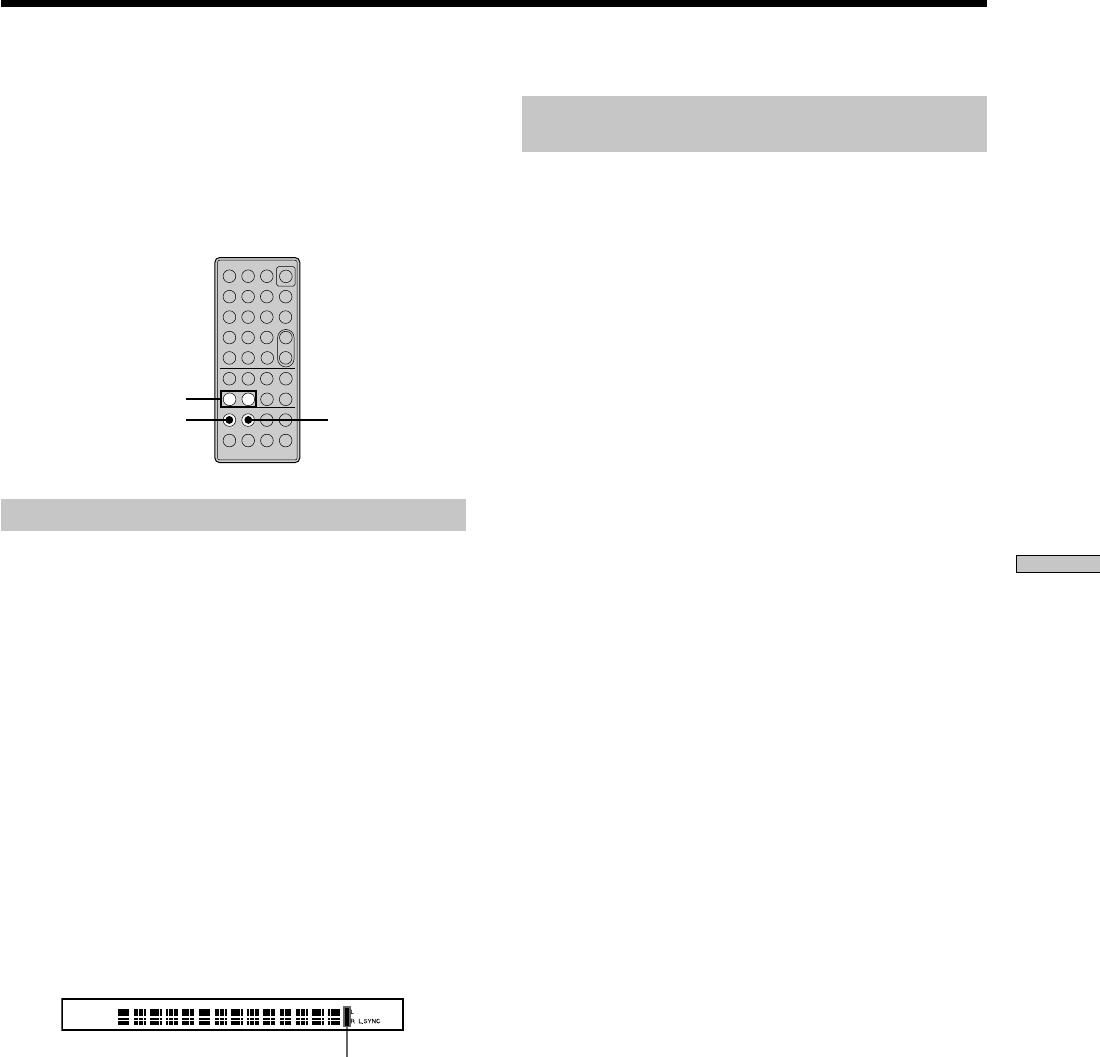
5 While monitoring the sound, press ./>
repeatedly to change the track level without
turning on the rightmost indicator on the peak
level meters.
You can set the level at any value between –12 dB to
+12 dB, in 2-dB steps.
Avoid turning on this indicator
6 Press YES.
“S.F Edit ok?” appears in the display.
7 Press YES.
The deck starts recording over the kriginal track in the
specified level. “S.F Edit: XX%” appears to show the
recording progress while the track is being recorded
over. The process takes approximately equal to or
longer than the playback time of the track. When the
process finishes, “Complete!!” appears in the display
for a few seconds.
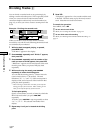
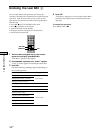
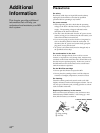
Changing the level gradually at the
beginning or the end of the track
1 While the deck is stopped, playing, or paused,
press MENU/NO.
“Edit Menu” appears in the display.
2 Press ./> repeatedly until “S.F Edit ?”
appears, then press YES.
3 Press ./> repeatedly until “Fade In ?” (when
increasing the level gradually at the beginning of
the track) or “Fade Out ?” (when decreasing the
level gradually at the end of the track) appears,
then press YES.
4 Press ./> repeatedly until the track number
whose level you want to change appears, then
press YES.
“Time 5.0s” appears in the display.
5 While monitoring the sound, press ./>
repeatedly to change duration of the increase or
decrease of the level.
The deck plays the portion that will be recorded over.
You can set the duration at any value between 1
second and 15 seconds, in 0.1-second steps.
6 Press YES.
“S.F Edit ok?” appears in the display.
7 Press YES.
The deck starts recording over the specified portion of
the original track. “S.F Edit: XX%” appears to show
the recording progress while the portion is being
recorded over. When the process finishes,
“Complete!!” appears in the display for a few seconds.
To cancel the operation
Press MENU/NO or x in steps 1 to 6 above. After you
press YES in step 7, you can’t cancel the operation.
Notes
• Do not disconnect the mains lead or move the deck while the
recording is in progress. This may damage the recording data
preventing recording from being performed properly.
• You can’t change the level of tracks recorded in LP2 or LP4
mode.
• Do not use an MD that is damaged or dirty. This may prevent
the track from being recorded properly.
• Repeated changes of the track level using the S.F Edit function
results in poor sound quality.
• Once the track level has been changed, the track level will not
return to the exact original level, even if you attempt to return
it by performing the S.F Edit function again. Note also that you
cannot undo the S.F Edit function. Note also that you cannot
undo the S.F Edit function.