


17
GB
Recording on MDs
Auto Cut
If the signal is interrupted for about 30 seconds , Auto Cut
replaces the blank portion with a blank space of about
three seconds, then pauses the recording. “Auto Cut”
appears in the display during this time.
Do the procedure below to turn Smart Space and Auto
Cut on or off.
1 While the deck is stopped, press MENU/NO twice.
“Setup Menu” appears in the display.
2 Press ./> repeatedly until “S.Space On”
appears, then press YES.
3 Press ./> repeatedly to select the setting,
then press YES.
To Select
Turn on Smart Space and Auto Cut S.Space On (factory
setting)
Turn off Smart Space and Auto Cut S.Space Off
4 Press MENU/NO.
Notes
• If you start recording with no signal input, Smart Space and
Auto Cut will not operate regardless of the setting.
• Smart Space does not affect the order of the track numbers
being recorded, even if the blank space occurs in the middle of
a track.
• Auto Cut is automatically turned on or off in tandem with
Smart Space.
• If you turn off the deck or disconnect the mains lead, the deck
will store the last setting (“S.Space On” or “S.Space Off”) and
recall it the next time you turn on the deck.
• If the deck continues recording pause for about ten minutes
after the Auto Cut activated, recording stops automatically.
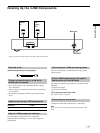
Marking Track Numbers
While Recording (Track Marking)
You can mark track numbers either manually or
automatically while recording. By marking track
numbers at specific points, you can quickly locate the
points later or edit the MD easily.
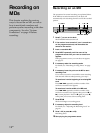
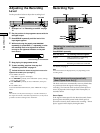
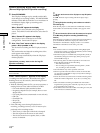
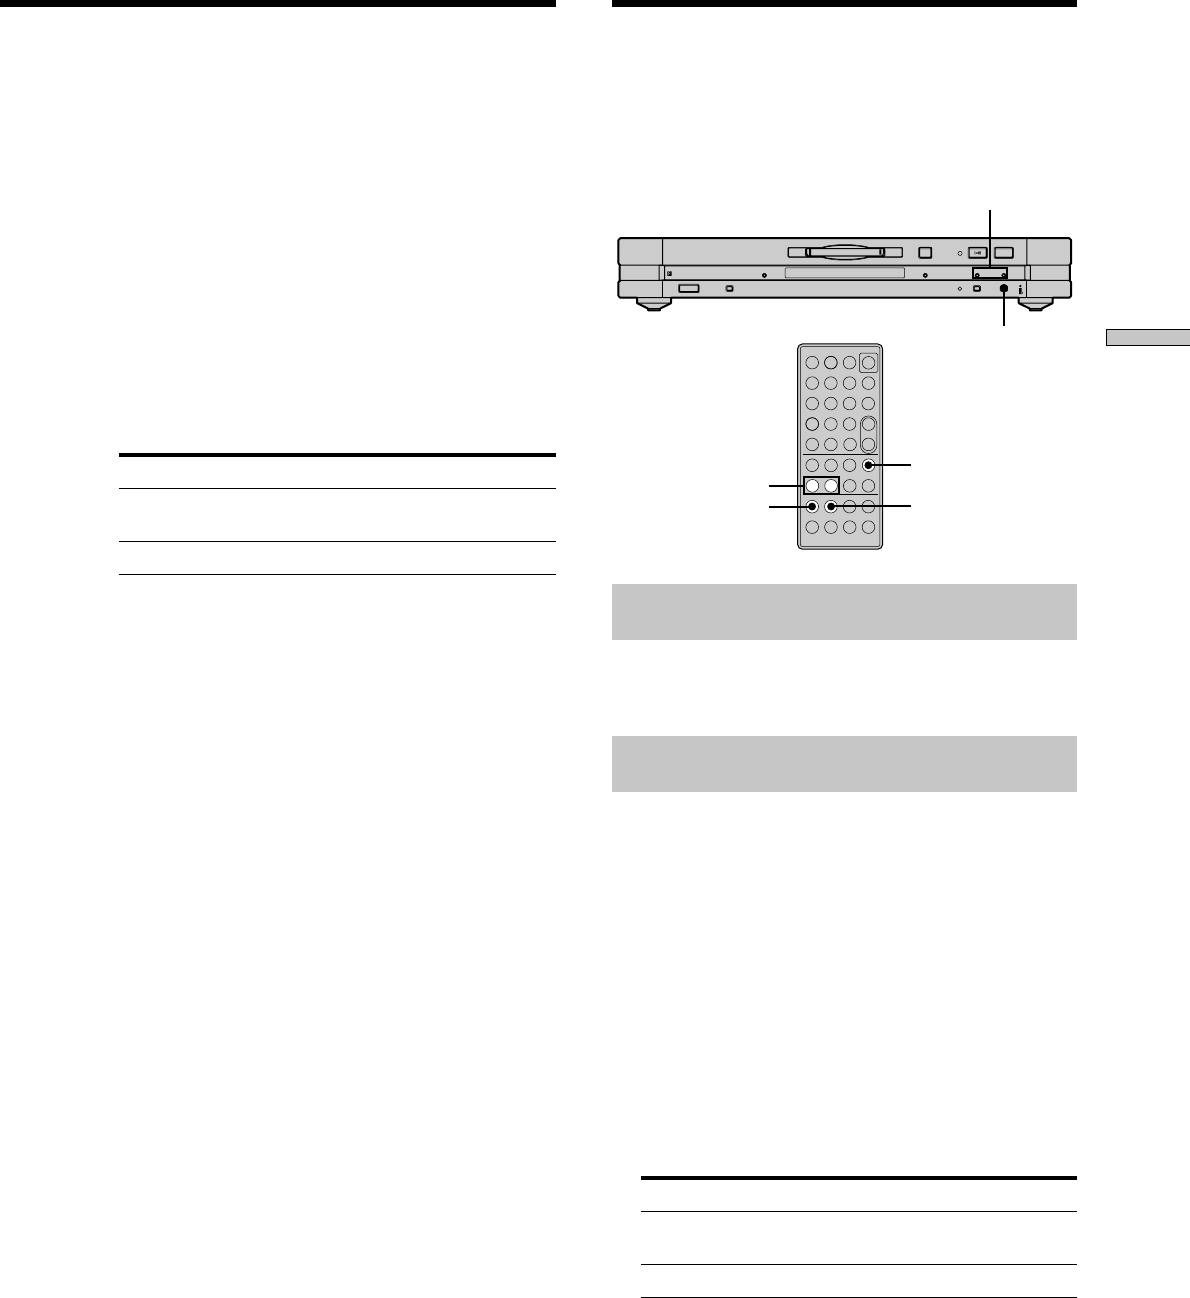
?/1
x
A
. >
./>
z
YES
z
./>
MENU/NO
–
+
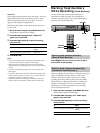
?/1
.>mM
Xxz
789
10
/0
1
23
456
N
>10
REC z
Marking track numbers manually
(Manual Track Marking)
Press REC z at the point where you want to add a
track number while recording.
Marking track numbers automatically
(Automatic Track Marking) Z
When recording from a CD player or MD deck connected
to the i.LINK S200 connector, the deck marks track
numbers in the same sequence as the source. When
recording from other sources connected to the i.LINK
S200 connector, do the procedure below to mark track
numbers automatically. However, Automatic Track
Marking may not function properly if the recording
source contains much noise.
1 While the deck is stopped, press MENU/NO twice.
“Setup Menu” appears in the display.
2 Press ./> repeatedly until “T.Mark Lsync”
appears, then press YES.
3 Press ./> repeatedly to select the setting,
then press YES.
To Select
Turn on Automatic Track Marking T.Mark Lsync (factory
setting)
Turn off Automatic Track Marking T.Mark Off