8
[VELOCITY] knob
This adjusts the velocity (playing strength) of the
arpeggio notes. At the center position (12 o’clock),
the velocity will be the same as the “Velocity”
parameter of the arpeggiator. Rotating the knob
toward the left will weaken the velocity, and rotat-
ing it toward the right will strengthen the velocity.
[ON/OFF] switch
This switches the Arpeggiator function on/off.
When on, the LED will light.
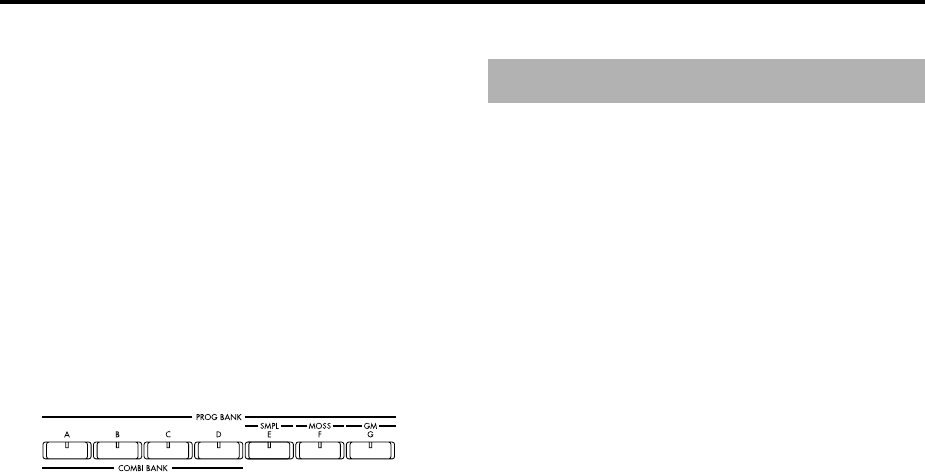
17. [BANK] keys
These keys are used to switch Program/Combina-
tion banks.
PROG BANK: [A], [B], [C], [D], [E], [F], [G]
When selecting programs, use keys [A], [B], [C],
[D], [E], [F] (available when the EXB-MOSS is
installed), and [G]. The LED of the selected bank
will light.
Each time you press [G], you will cycle through
the GM(2) variation banks and the drum bank as
follows: G, g(1), g(2), ... g(8), g(9), g(d), G ... etc.
COMBI BANK: [A], [B], [C], [D]
When selecting combinations, use keys [A], [B],
[C], and [D]. The LED of the selected bank will
light.
In Combination, Sequencer, and Song Play modes
when the edit cell (highlighted area) is located at
the program of a timbre or track, you can use the
BANK keys to select the bank of the program. The
bank LED of the program selected for that timbre/
track will light.
1. AC power supply connector
Connect the included power supply cable here.
After connecting the power supply cable to the
TRITON, connect the other end to an AC outlet
(
☞p.15).
2. [POWER] switch
This switch turns the power on/off (☞p.17).
3. SCSI connector (separately sold EXB-SCSI
option)
Use a SCSI cable to connect SCSI-compatible
devices (hard disk drives, CD-ROM drives etc.)
here (
☞p.15).
4. TO HOST connector
A special cable (sold separately: AG001B/002B)
can be connected from here directly to your com-
puter, to transmit and receive musical data and
sound settings etc. (
☞p.112).
5. MIDI THRU connector
Musical data and sound settings etc. that are
received at the MIDI IN connector are re-transmit-
ted without change from the MIDI THRU connec-
tor.
You can use this to connect multiple MIDI devices
via MIDI cables (
☞p.111).
6. MIDI OUT connector
Musical data and sound settings etc. are transmit-
ted from this connector.
Use this to control another connected MIDI device
from the TRITON (
☞p.111).
7. MIDI IN connector
Musical data and sound settings etc. are received
at this connector.
Use this to play the TRITON from another con-
nected MIDI device (
☞p.111).
8. DAMPER jack
A separately sold switch-type pedal such as the
Korg DS-1H damper pedal can be connected here.
If a DS-1H is connected, it will function as a half-
damper pedal. If another switch-type pedal is con-
nected, it will function as a damper switch. In
order to ensure that the half-damper pedal func-
tions correctly, please adjust the polarity and the
sensitivity (
☞p.115, 121 in the Parameter Guide).
Rear panel


