109
Basic functions
has passed through each insertion effect. If effects are
chained, the settings after the last IFX in the chain will
be used. “Send 1” and “Send 2” adjust the amount of
master effect that is applied to the signal that has
passed through the IFX. These settings can be made in
the same way as for a program (
☞p.107).
Master effects
Master EQ
These settings can be made in the same way as in
“Effect settings for a program” (
☞p.108).
Effect settings in Sampling mode
In Sampling mode, insert effects can be applied to an
external audio source connected to the AUDIO INPUT
1 and 2 jacks, and sampled.
Routing
1 In Sampling P0: Recording, select the Audio Input
tab.
The parameters in “Audio Input (SAMPLING)”
specify the insert effect to which the external audio
input from the AUDIO INPUT 1 and 2 jacks will be
sent. For details on these settings, refer to “Sam-
pling (recording a sample)” (
☞p.78).
Insert effects
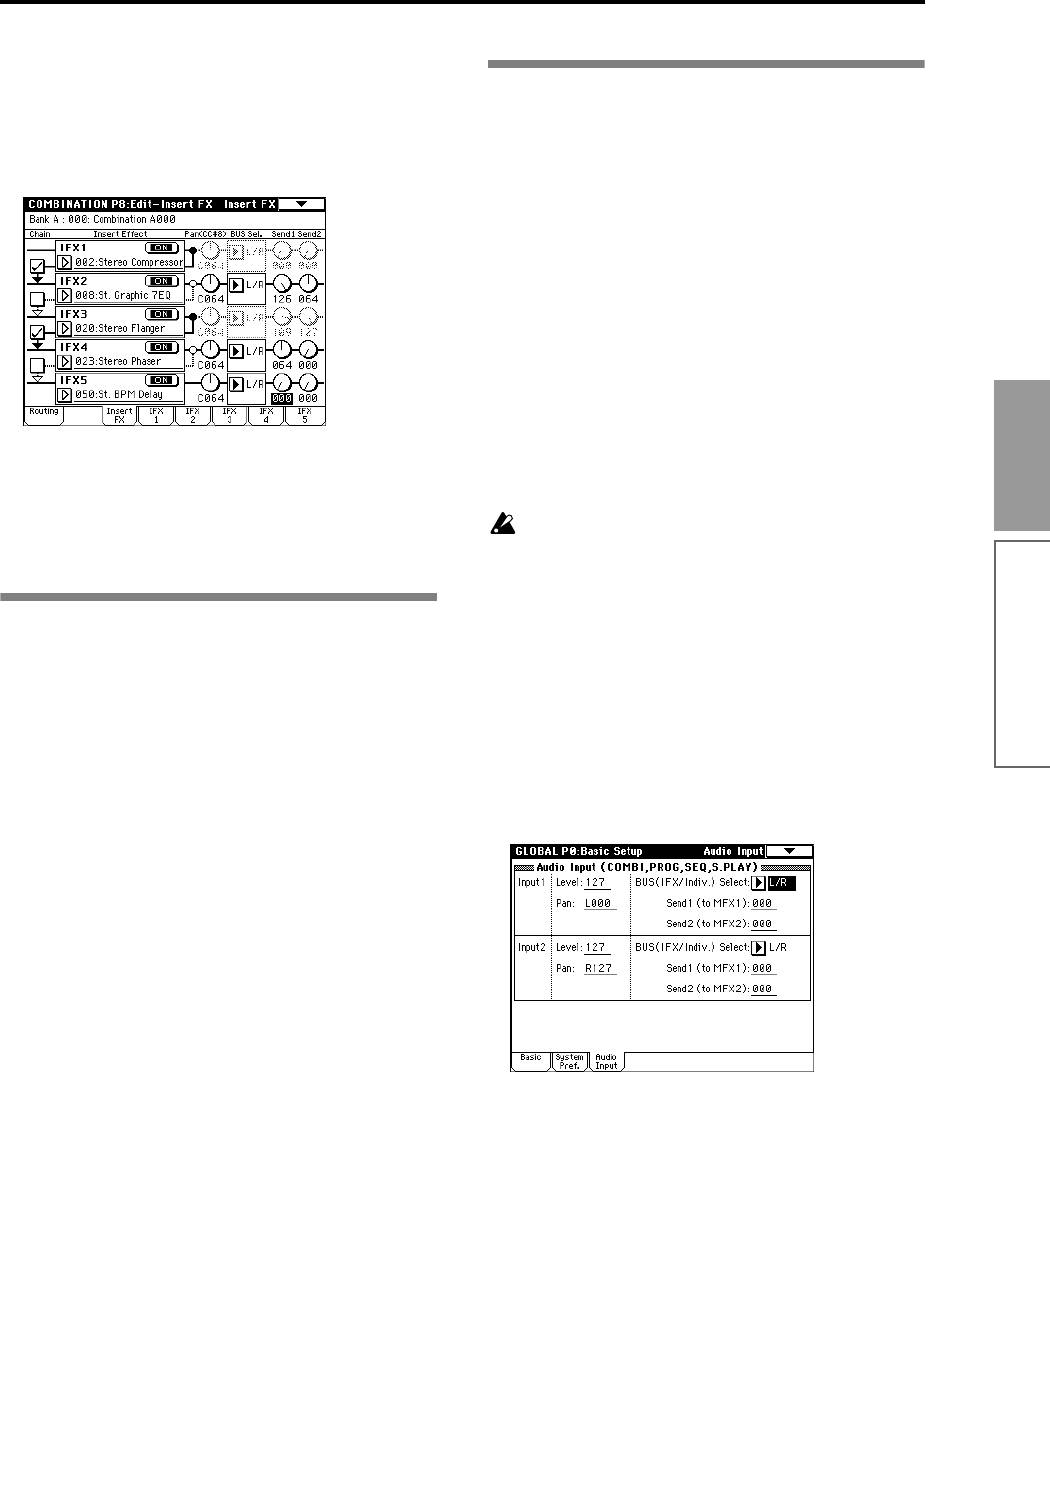
Select an effect for IFX1–IFX5, and set “Pan,” “BUS Sel.
(BUS Select),” “Send 1” and “Send 2” for the signal that
has passed through each insertion effect. If effects are
chained, the settings after the last IFX in the chain will
be used. “Send 1” and “Send 2” adjust the amount of
master effect that is applied to the signal that has
passed through the IFX. These settings can be made in
the same way as for a program (
☞p.107).
Master effects
Master EQ
The master effects and master EQ cannot be used in
Sampling mode.
Effect settings for the AUDIO INPUT
Even in modes other than Sampling mode, the TRI-
TON’s effects can be applied to the external audio
source connected to the AUDIO INPUT 1 and 2 jacks.
The effect section of the TRITON can be used as a 2-in
6-out effect processor. When 093: Vocoder is selected,
you can use the TRITON as a vocoder that combines
the internal sounds with the sound from an external
microphone.
Routing
In modes other than Sampling mode (i.e., in Combina-
tion, Program, Sequencer, and Song Play modes), the
settings in Global P0: Basic Setup Audio Input tab
specify the routing of the external audio input from the
AUDIO INPUT 1 and 2 jacks.
1 Move from Program mode to Global mode.
If you move from Sampling mode to Global mode,
the “Audio Input” settings of Sampling mode will
be maintained, and you will not be able to hear the
results of the settings you make in this page. Be
sure to move from a mode in which the external
audio signal can be input (Combination, Program,
Sequencer, Song Play). In Sampling mode, the set-
tings you make here will not apply. Settings for the
rear panel AUDIO INPUT 1 and 2 jacks in Sam-
pling mode are made in the same way in Sampling
P0: Recording Input/Setup tab “Audio Input
(SAMPLING).”
2 In Global P0: Basic Setup, select the Audio Input
tab.
3 Set the parameters for Input 1 and 2.
Input 1 corresponds to AUDIO INPUT 1 jack and
INPUT 2 jack corresponds to AUDIO INPUT 2.
“Level”: Set the signal level from AUDIO INPUT 1
and 2. Normally you will set this to 127. If the sound
is still distorted even when this level is lowered sig-
nificantly, it is possible that the distortion is occur-
ring before the AD converter. Adjust the rear panel
[LEVEL] knob or the output level of your external
audio source.
“Pan”: Set the panning of the signal from AUDIO
INPUT 1 and 2. When you are inputting a stereo
audio source, you will normally set Input 1 to L000,
and Input 2 to R127 (or Input 1 to R127, and Input 2
Effects settings


