


66
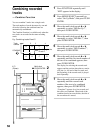
1 Place a CD and insert a recordable tape
into deck B.
2 Press FUNCTION repeatedly until
“CD” appears in the display.
3 While in stop mode, press MODE
SELECT repeatedly to select “Set Up
Mode”, then press PUSH ENTER.
4 Move the multi stick toward b or B
repeatedly to select “CD Set Up ?”, then
press PUSH ENTER.
5 Move the multi stick toward b or B
repeatedly to select “Program Set ?”,
then press PUSH ENTER.
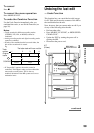
6 Move the multi stick toward v or V
repeatedly to select a CD.
If you want to program all the tracks on a CD
at once, select a CD in this step, then skip
step 7 and continue with step 8.
7 Move the multi stick toward b or B
repeatedly to select the desired track.
8 Press PUSH ENTER.
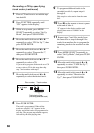
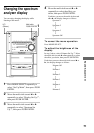
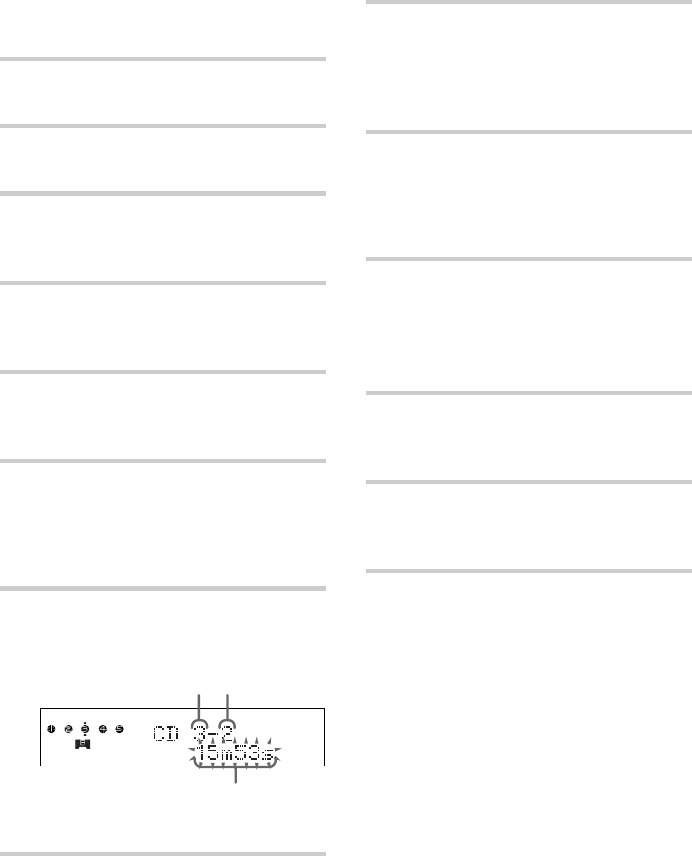
The track is programmed. When all the
tracks are selected, “AL” appears in the
display and all the tracks are programmed as
one step. The program step number appears,
followed by the total playing time.
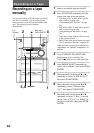
PROGRAM
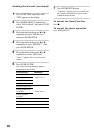
9 To program additional tracks to be
recorded on side A, repeat steps 6
through 8.
Skip step 6 to select tracks from the same
disc.
10 Press X on the remote to insert a pause
at the end of side A.
“P” appears in the display and the total
playing time resets to “0m00s” in the
display.
11 Repeat steps 7 and 8 for tracks from
the same disc or steps 6 through 8 for
tracks from another disc to program the
remaining tracks to be recorded on side
B.
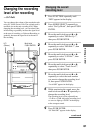
12 Press MODE SELECT repeatedly to
select “Set Up Mode”, then press PUSH
ENTER.
13 Move the multi stick toward b or B
repeatedly to select “TAPE Set Up ?”,
then press PUSH ENTER.
14 Move the multi stick toward b or B
repeatedly to select “Direction Set
Up ?”, then press PUSH ENTER.
Track numberDisc number
Total playing time
(including selected track)
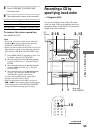
Recording a CD by specifying
track order (continued)