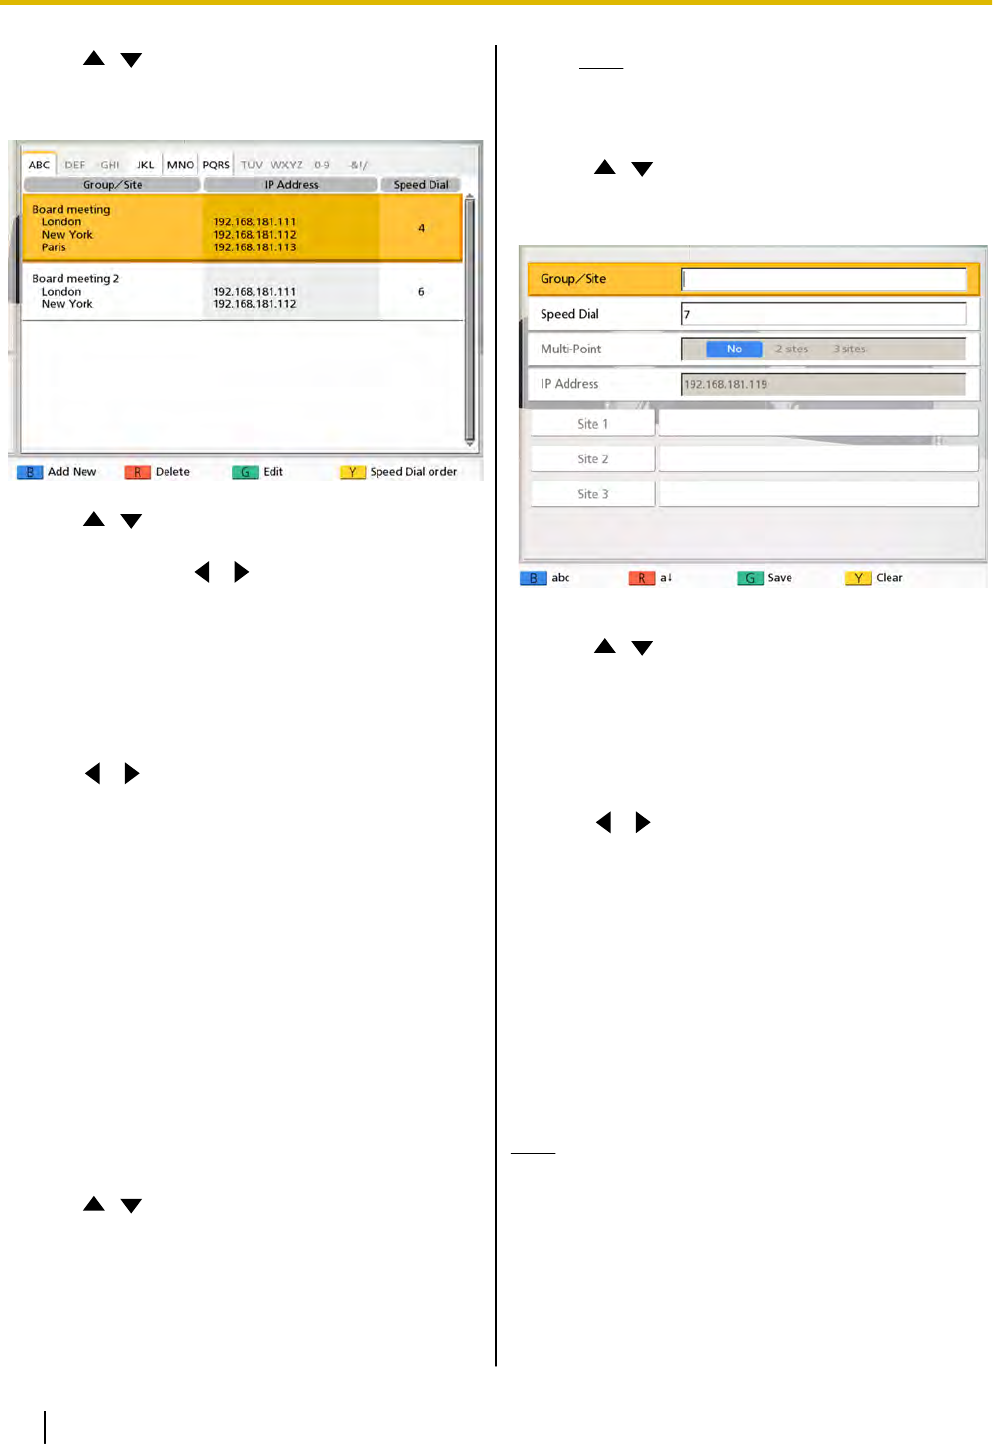
2. Use [ ][ ] to select "Contact List" and press
[Enter].
• The contact list screen is displayed.
3. Use [ ][ ] to select the contact you want to
delete.
• You can use [
][ ] to select the displayed
tab. (Page 31)
• You can
use the numeric buttons of the remote
control to select the displayed tab. (Page 31)
4. Press [R].
• A dialog box to confirm the deletion is displayed.
5. Use [
][ ] to select "Yes" and press [Enter].
• The contact list screen is displayed.
6. Press [Home].
• The Home screen is displayed.
Registering a Contact from the
Call History
Registering a Single-party Contact
You can register a contact to the contact list from the
call history.
1. Press [Menu].
• The Menu screen is displayed.
2. Use [
][ ] to select "Call History" and press
[Enter].
• The outgoing call history screen is displayed.
Note
• To refer to the incoming call history,
press [G].
3. Use [
][ ] to select the single-party entry you
want to add as a contact, and press [B].
• The
contact
list registration screen is displayed.
4. Use [ ][ ] to select the necessary items and
input information. (Page 79)
5. Press [G].
• A dialog box to confirm the saving of settings is
displayed.
6. Use [
][ ] to select "Yes" and press [Enter].
• The outgoing or incoming call history screen is
displayed, depending on which of the screens
you displayed in step 2.
7. Press [Home].
• The Home screen is displayed.
Registering a Multiple-party Contact
You
can
register a multiple-party contact to the contact
list from the outgoing call history.
Note
• When you register a multiple-party contact to
the contact list from the call history, each party
is also registered automatically as a
single-party contact and each IP address is
registered in "Group/Site".
1. Press [Menu].
• The Menu screen is displayed.
60 Operating Manual Document Version 2010-10
Contacts and Settings
