49
Español Italiano Français Deutsch English
Getting Connected and Installing Drivers (Macintosh)
FreeMIDI settings
To check the FreeMIDI settings, you will first need to connect
a MIDI sound module to the UA-20's MIDI OUT connector.
For details on connecting a MIDI sound module, refer to the
owner's manual for your MIDI sound module.
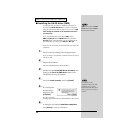
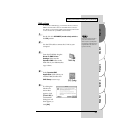
1
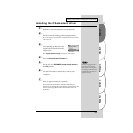
Set the UA-20’s ADVANCE (mode select) switch to
the ON position.
2
Use the USB cable to connect the UA-20 to your
computer.
3
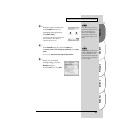
From the CD-ROM, copy the Driver E - FreeMIDI
Driver - Settings folder onto the hard disk of your
Macintosh.
4
Open the FreeMIDI Applications folder from the
location into which you installed FreeMIDI, and
double-click the FreeMIDI Setup icon to start it up.
5
When “OMS is installed on this computer...”
appears, click [FreeMIDI].
6
The first time the software is started up, a dialog box
saying “Welcome to FreeMIDI!” will appear.
Click [Continue].
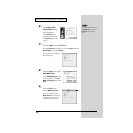
7
When the FreeMIDI Preferences dialog box appears,
click [Cancel].
8
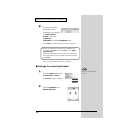
When the About Quick Setup dialog box appears,
click [Cancel].
9
From the File menu, choose Open.
This unit is equipped with a
protection circuit. A brief
interval (a few seconds) after
connecting a USB connector is
required before the unit will
operate normally.


