TASCAM HS-20
89
10 – Internal settings
4. Deleting files on this unit
Deleting the current take is possible only when playback
is stopped.
Files other than the current take may always be deleted.
However, since inconsistencies will occur between the
unit's management files and audio files you need to use
the REBUILD function after deleting a file.
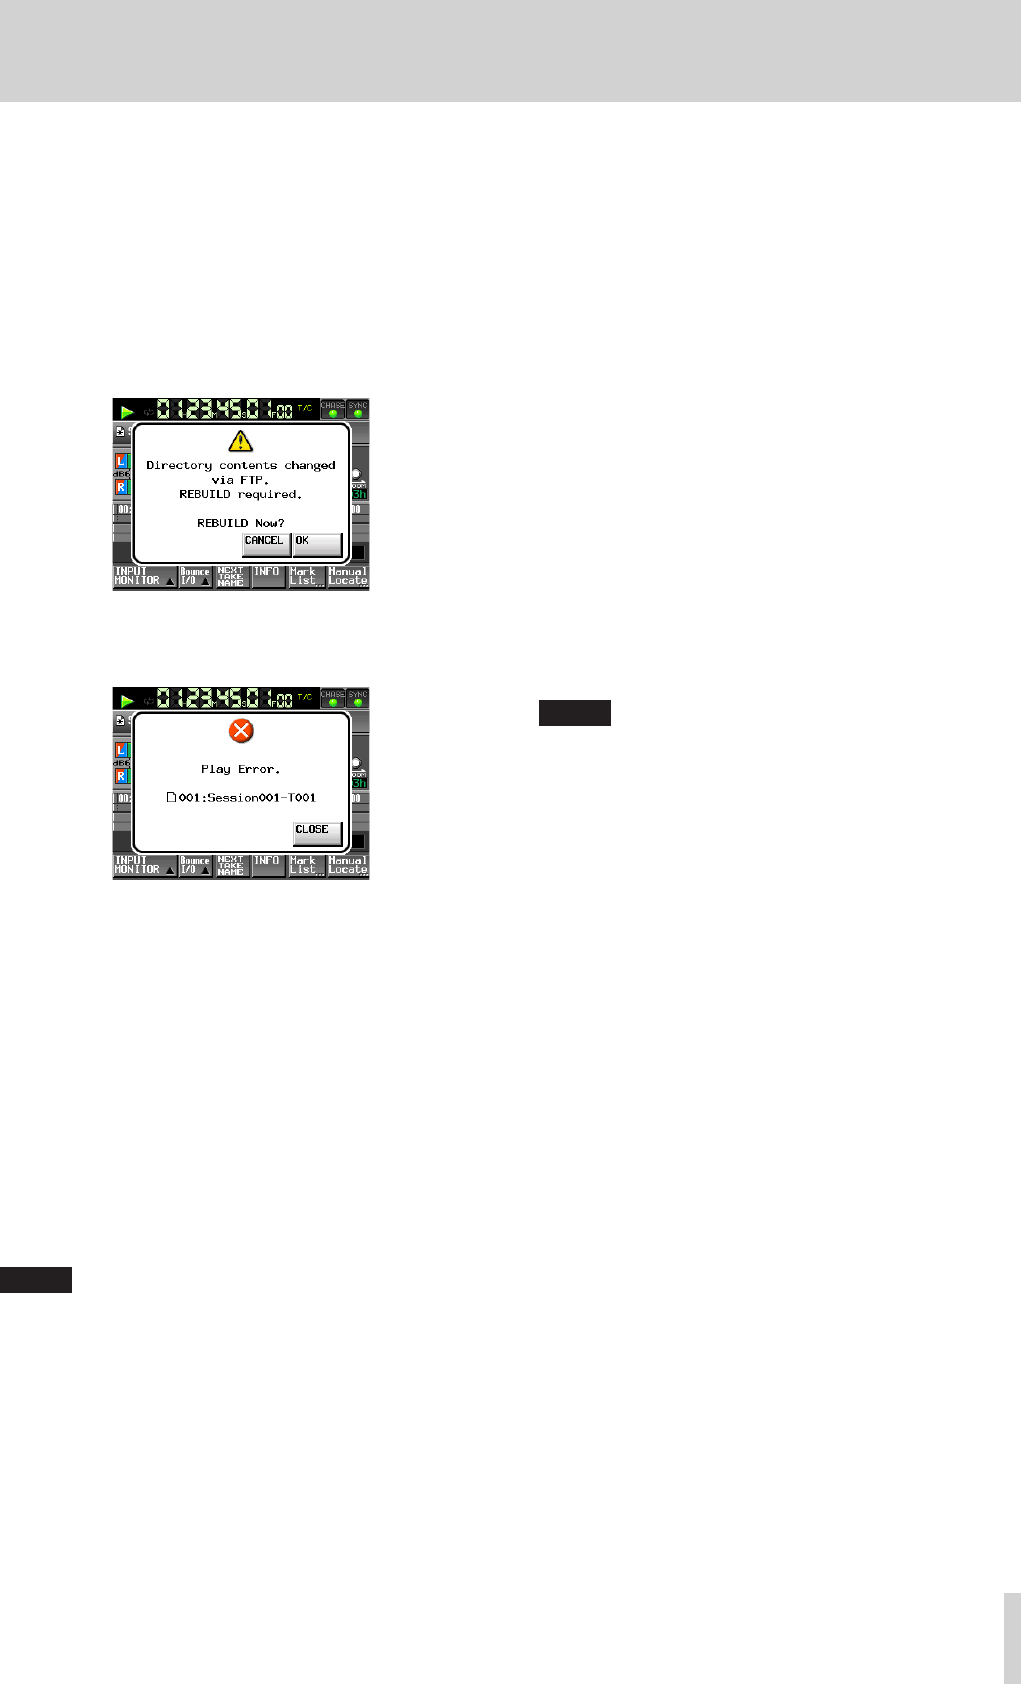
o After deleting a file (while stopped if during playback/
recording) use the REBUILD function when the following
REBUILD confirmation message appears.
o If you do not rebuild, the following message might
appear because of the inconsistencies between the unit's
management files and audio files.
o When rebuilding is necessary, a V mark is shown on the
following buttons.
Touch the REBUILD button on a menu to rebuild.
o File name buttons on the HOME screen
o FILE LIST screen MENU button
o REBUILD button on various menus
5. Adding new folders to this unit.
Adding a new folder to this unit is always possible.
6. Deleting folders on this unit
Deleting the current folder is possible only when
playback is stopped.
Deleting other folders is always possible.
7. Changing the names of files and folders on this unit
The names of files and folders on this unit can never be
changed.
NOTE
FTP transfer with USB flash drives is only supported when
the unit is stopped. Do not edit, load folders, skip or
otherwise operate the unit.
8
Remote control (Telnet)
This unit enables you to utilize remote control over the
Ethernet using Telnet via port 23.
o Settings necessary for Telnet connection
The setting values necessary to connect Telnet with this unit
are as follows:
IP Address: The IP Address of this unit is shown on the
NETWORK page of the REMOTE SETUP screen.
Port number: 23
Password: The default password is “HS-20”.
Uppercase and lowercase letters are distinguished.
You can change the password with the Password
[Change…] button on the NETWORK page of the
REMOTE SETUP screen.
o Connecting this unit with Telnet
1. Press the computer enter key after connecting to this
unit with Telnet using the above IP address and port
number.
2. Enter the above password and press the enter key when
Enter Password appears on the Telnet console.
3. When you have successfully logged in, "Login
Successful" appears on the Telnet console. Enter “exit”
and press the Enter key to disconnect Telnet.
NOTE
•
Only one Telnet connection is possible.
•
If EXTERNAL Control on the LOCK SETUP screen is set to
LOCK, you cannot make Telnet connections.
An active Telnet connection will be canceled if this is set to
LOCK.
•
An active Telnet connection will be canceled if you change
the settings on the NETWORK page on the REMOTE SETUP
screen.
•
Please consult with TASCAM Customer Support for the
Telnet command protocol of this unit.
8
VNC (Virtual Network Computing)
You can operate the system from a computer by using a VNC
viewer application to display the screen shown on this unit’s
LCD.
You can operate the unit as follows using a mouse in a VNC
viewer application.
Mouse left click: Functions in the same way as touching
the LCD of this unit.
Mouse wheel click: Functions in the same way as the
ENTER key of this unit.
Mouse wheel scroll: Functions in the same way as the
DATA dial of this unit.
Mouse wheel press and scroll: Functions to make coarse
adjustments in the same way as when you press and
turn the DATA dial of this unit (coarse mode).


