72
TASCAM HS-20
9 – Playlist mode
Editing the playback starting and ending
points
1 Press the HOME key on the front panel to open the HOME
screen.
2. Touch the ADJUST ENTRY button on the pull-down menu
that is displayed by touching a file or title name button.
The ADJUST ### screen opens. (“###” is the entry number.)
NOTE
You can also open this screen by touching the MENU button
and then touching the ADJUST button on the pull-up menu
when a take is selected on the ENTRY list screen or one of the
key assign buttons on the left is selected on the ASSIGN file
screen.
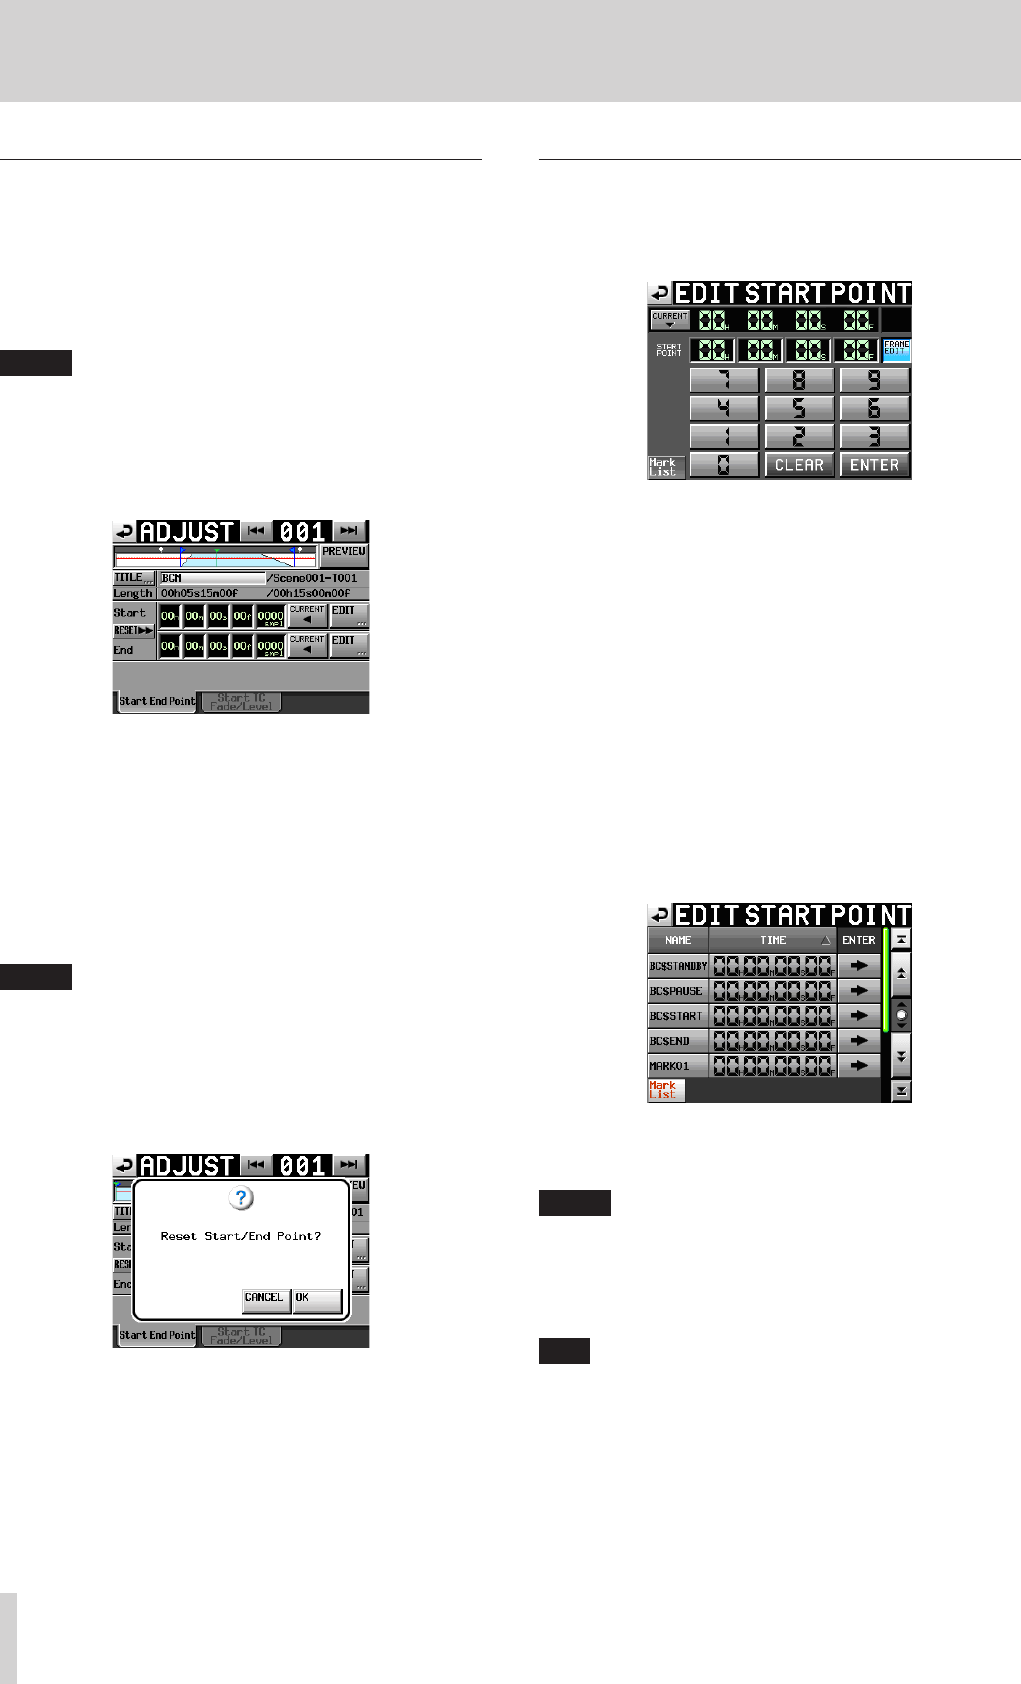
3 This opens the Start End Point page.
4. When you touch a time display unit, its background will
appear yellow and its cursor will start blinking.
You can change the Start/End points using the DATA dial
when a time display unit has been selected.
Changing the selected unit past its natural limit will
increment or decrement the next higher unit.
5. You can select the unit according to the resolution you want
to change.
To change it with frame precision, select the frame unit. To
change it with sample accuracy, select the sample unit.
NOTE
•
Touch the CURRENT button to capture the current playback
position as the Start/End point.
•
Touch the RESET button to display a pop-up window
confirming that you want to reset the Start/End point to
the beginning/ending time of the file. Touch the OK button
on the pop-up window to reset the Start/End point to the
beginning/ending time of the file.
Editing the playback Start/End point using
the number buttons and mark list screen
1. Touch the EDIT button to open the EDIT START POINT or
EDIT END POINT screen.
Use the FRAME EDIT button on the EDIT START/END POINT
screen to set whether or not you will edit the frame value.
2. Use the number buttons to input the playback Start/End
point.
o If you begin input without selecting a unit, input will start
from the smallest one.
o To input a specific unit, touch it to make its background
yellow, and then use the number buttons or the DATA dial
to enter two digits at a time.
o Touch the CURRENT b button to copy the current
playback position to the input value.
o Touch the SET MAX 5 button to set the end time on the
file as the input value.
o Touch the CLEAR button to clear all input values.
o Touch the Mark List button to open the mark list screen
where you can copy the time from a designated mark.
On this screen, touch the e button of a mark to copy its
time to the playback Start/End point and return to the
ADJUST ### screen.
NOTE
When you change the playback Start/End time, the set
values will be adjusted automatically so that the length of
playback is longer than the total lengths of the fade-in and
fade-out.
3. Touch the ENTER button to confirm the setting.
TIP
•
You can also use the PLAY key and other transport keys
while listening to the audio to find the location, and then
touch the CURRENT b button to input that value here.
•
You can also use a connected keyboard to edit values on the
EDIT START POINT and EDIT END POINT screens.
Press the keyboard’s ESC key to clear all the values.
