


Setup Menu: DN9340E
33
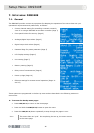
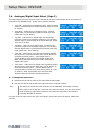
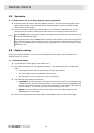
7.10. Power-up Logo (Page 10)
The equaliser normally shows a logo page during power-up, including information such as software
version number.
To switch the logo on/off, turn the left control knob.
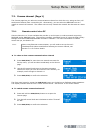
7.11. Ethernet Settings (Pages 11 and 12)
When controlling the DN9340E unit remotely via Ethernet, the unit requires an individual IP Address
and Subnet Mask to be set. For more information on DN9340E remote control set ups, see Section 8.
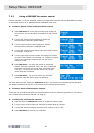
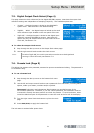
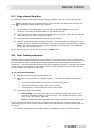
7.11.1 Ethernet IP Address (Page 11)
The IP Address is entered manually on each unit in the network using the DN9340E’s front panel
controls.
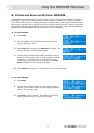
To check the current IP Address
1 With the DN9340E connected to your
network, step through the Set Up menus
to the Ethernet IP Network setup page
shown opposite.
2 Turn the left control knob and the unit
will scan the network to obtain the IP
address.
At the end of the scan, which takes a few seconds, the display updates with an IP address as shown
above. The Default IP Address is 192.168.1.1.
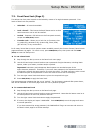
To set the IP Address
1 Turn the left control knob to highlight the area of the IP Address you wish to change.
2 Now turn the centre control knob to select a number from 0 to 255.
3 Press HOME (SETUP) to confirm the new IP Address.
Note
It is important that all units and the controlling PC have a unique IP
Address in order for the network to function correctly. For more
information on configuring your network, please see the HELIX DN9340E
and DN9344E RCS User Guide.
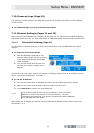
After setting the IP address you need to check the Ethernet IP Address Subnet mask on each unit,
see Section 7.11.2.