


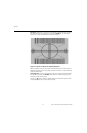

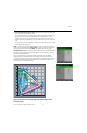


Operation
70 Runco X-200i Series Installation/Operation Manual
PRE
L
IMINAR
Y
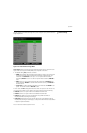
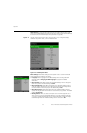
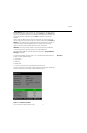
Control Select Control from the Main Menu to set various options related to control of the
projector.
Trigger 1: Select Trigger 1 from the Control menu to specify when the Trigger 1 port
outputs 12 volts. There is a three-second delay before activation to prevent operation
while selecting an aspect ratio.
• AutoScope causes the port to output 12 volts whenever the the Cinema or Virtual
Cinema aspect ratio is active.
• Lamp causes the port to output 12 volts whenever the lamp is on.
• 4:3 causes the port to output 12 volts whenever the 4:3 aspect ratio is chosen. The
output stops if PIP is enabled (PIP source is set to anything other than off).
• RS232 causes the port to output 12 volts when an RS232 screen trigger 1 “on”
command is received and stop when a trigger 1 “off” command is received. The 12 volt
output also stops when the projector is turned off.
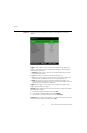
Trigger 2: Select Trigger 2 from the Control menu to configure the Trigger 2 output.
Trigger 2 operates identically to Trigger 1.
CineWide: Select CineWide from the Control menu and set it according to the installed
lens configuration, as follows:
• For a standard X-200i (no anamorphic lens), choose Off.
• For a X-200i with a fixed anamorphic lens, choose CineWide.
• For a X-200i with a movable anamorphic lens, choose AutoScope.
Auto Source: This control chooses whether or not to scan for other active sources if the
current source is not available. The default setting is Off.
➤