


Installation
36 Runco X-200i Series Installation/Operation Manual
PRE
L
IMINAR
Y
3.7
Turning on the Power
1. Turn on your source components.
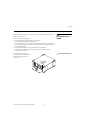
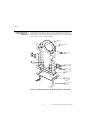
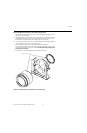
2. Set the AutoScope lens motor power switch to the “on” position.
3. Press the ON button on the remote control (or the POWER button on the
system keypad) to turn on the X-200i. The blue POWER LED flashes blue to indicate
that it is warming up.
4. When the projector is ready for use, the POWER LED turns off.
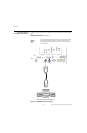
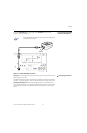
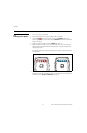
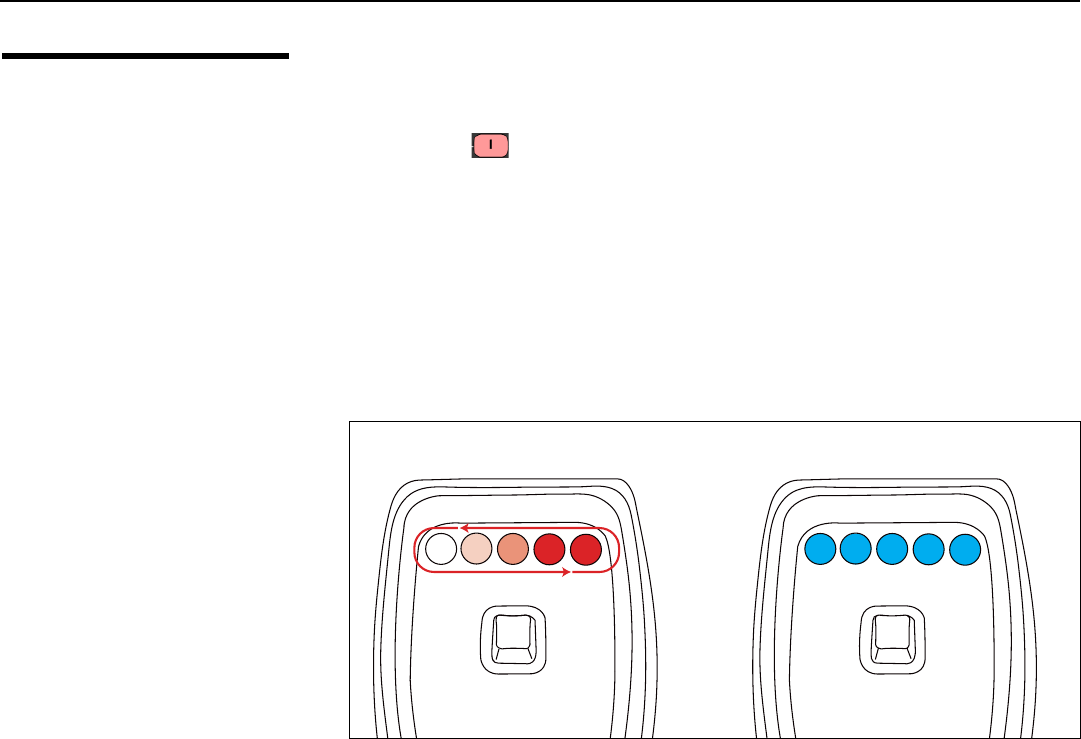
5. When the projector is turned on, the Active 3D Emitter turns on as well. The LEDs
display a red moving pattern while the emitter attempts to acquire a 3D signal and
until a signal is found.
If the emitter searches for a signal for longer than 60 seconds, a signal is assumed to
not be present.
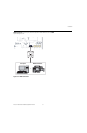
6. Upon finding a 3D signal, all LEDs turn blue. Once the LEDs indicate a 3D signal, the
3D glasses can be used to experience 3D. For more information on using the Active
3D Glasses, refer to
Using the 3D Glasses on page 73.
Searching for 3D Sync Signal 3D Sync Signal Found