LexiconMPX G2 User Guide
3-10
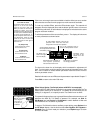
Routing Map
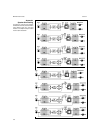
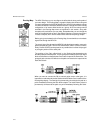
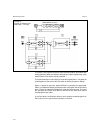
The MPX G2 allows you to reconfigure the effect blocks along audio paths of
your own design. The Routing Map is a graphic display that shows routing and
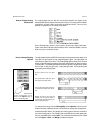
connections between the MPX G2 effect blocks. Use the Routing Map to change
connections between individual effects and also to change the overall routing
configuration of all seven effect blocks as a group. All of the routing controls
available in the Routing Map menu are explained in this section, along with
examples of the selections you can make. Remember that you can change the
order of the effect blocks as well. (See Effect Ordering on the previous page.)
In these examples, we'll use the default effect order to keep things simple.
Before going into the details of the Routing Map, it's worthwhile to review basic
signal flow through the MPX G2.
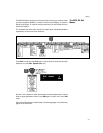
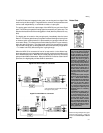
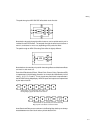
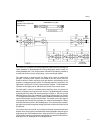
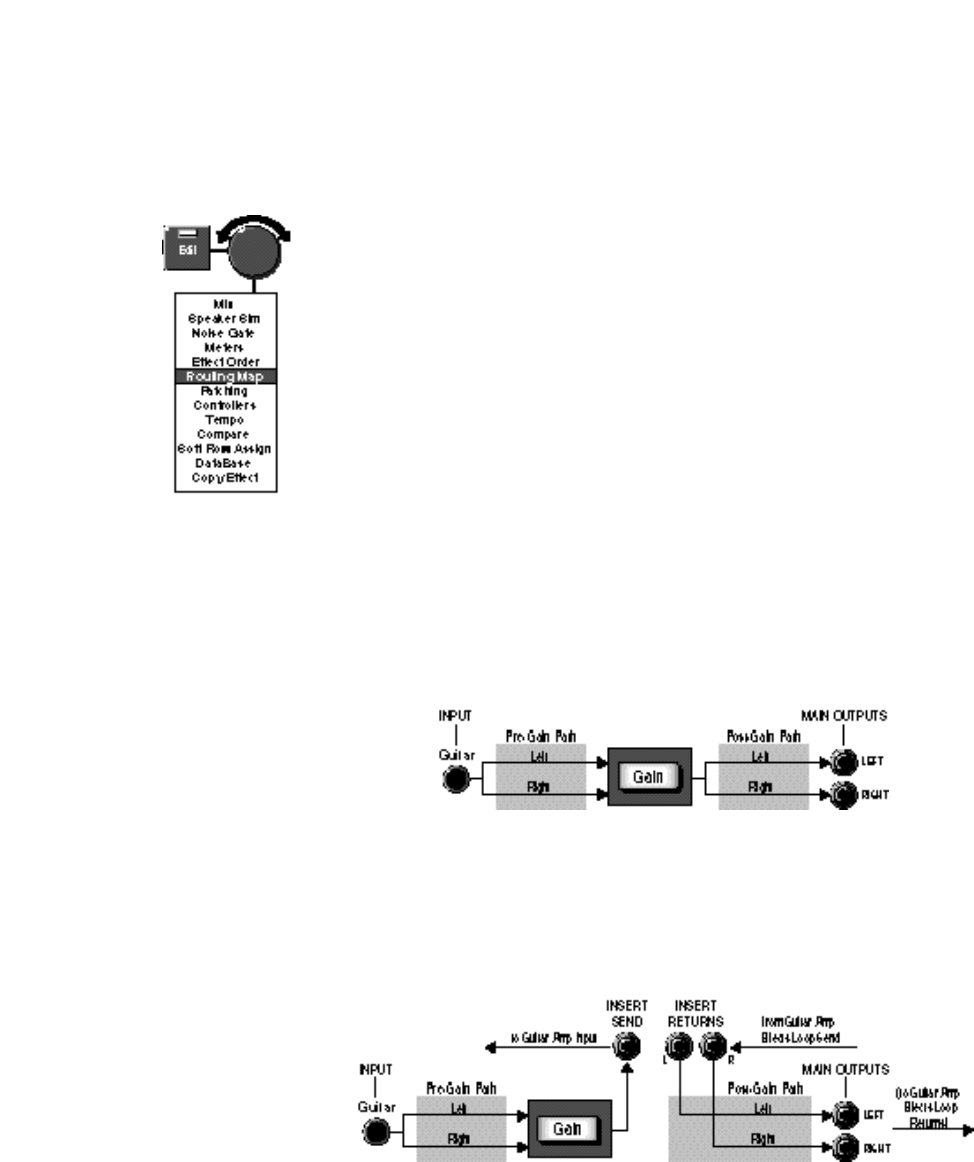
The overall signal flow through the MPX G2 is divided into two paths: a pre-gain
path and a post-gain path. The six DSP effect blocks (Effect 1, Effect 2, Chorus,
Delay, Reverb and EQ) can be placed in any combination on either the pre-gain
or post-gain portions of the audio path.
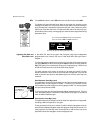
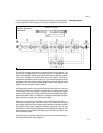
The position of the Gain effect block in the Routing Map determines the
boundary between the two paths. The pre-gain path is made up of the Gain effect
block and all effects on the path that connect to the inputs of the Gain effect. The
post-gain path consists of all effects on the path connected to the outputs of the
Gain effect block.
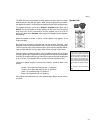
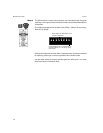
When you want to connect the G2 to external guitar amp or other gear, it is
important to understand where the Send and Insert Returns are in relation to the
Routing Map display. The Send jack is permanently connected to the path at a
point immediately following the Gain block outputs. The Insert Return jacks are
permanently connected to the path at a point immediately following the Send.


