8. Random Access Adjustment Mode
How to adjust the Blanking?
1. Push the cursor key ↑ or ↓ to highlight Blanking and press ENTER to select. (menu 8-53)
The Blanking menu will b e displayed. (menu 8-54)
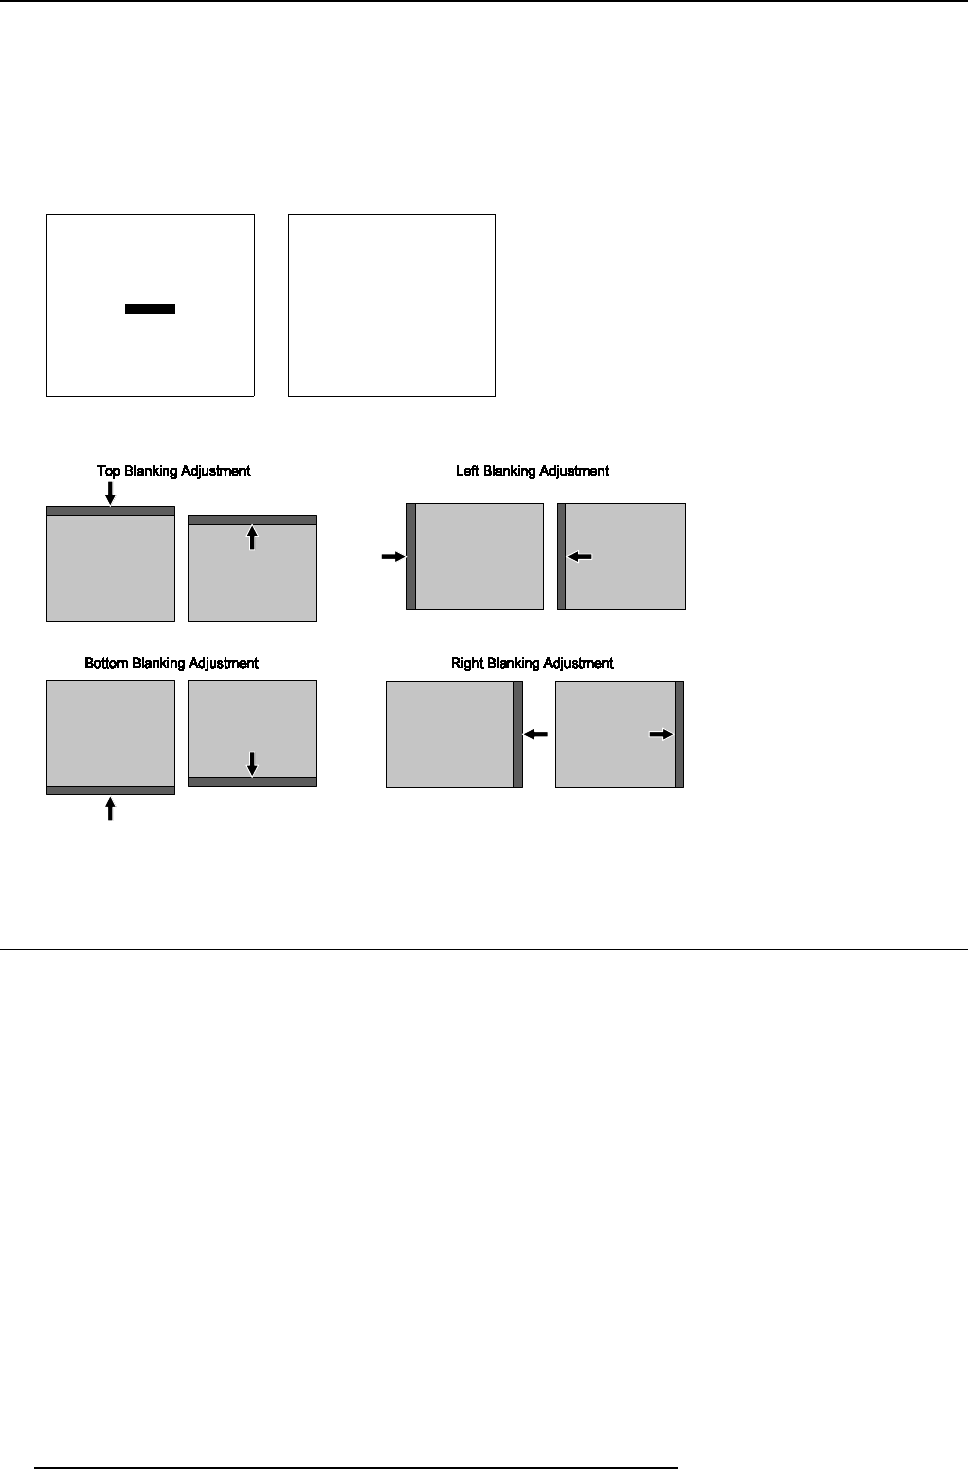
2. Push the c ursor key ↑ or ↓ to highlight the desired blanking position and press ENTER to select. ( image 8-22)
3. Push the cursor keys to adjust the blanking and press ENTER to confirm.
4. Press EXIT to return to the Geometry menu.
GEOMETRY
H PHASE
RASTER SHIFT
LEFT-RIGHT (E-W)
TOP-BOTTOM (N-S)
SIZE
V LINEARITY
BLANKING
Select with
↑
or
↓
then <ENTER>
<EXIT> to return
Menu 8-53
BLANKING
TOP
BOTTOM
LEFT
RIGHT
Select with
↑
or
↓
then <ENTER>
<EXIT> to return
Menu 8-54
Image 8-22
Blanking Adjustments
8.7 Convergence Adjustment
Overview
• Starting Up Convergence
• Convergence Adjustment
8.7.1 Starting Up Convergence
What has to be done?
Convergence adjustments affect both the horizontal and vertical lines of the setup pattern. T hese adjustments are performed on the
green image first, if green conv ergence is a vailable, until these lines or s traight and then on the red imag e while s uperimposed on
the green image and on the blue image while superimposed on the green image. A djust the red and blue until they exactly m atch
with the green lines.
80
R5976584 BA RCO CINE7 26022003
