


Advanced setup
11
95
En
3 When you're finished, select RETURN and press
ENTER.
You will return to the Expert Setup menu.
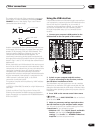
12 Volt Trigger
• Default setting: OFF · OFF (all components)
After connecting a component to one of the 12 volt
triggers (see Switching components on and off using the
12 volt trigger on page 74), it switches on automatically
when you select an input function set to switch the
trigger on. Specify which input functions switch on
which trigger(s) below.
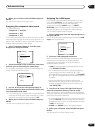
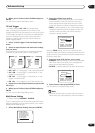
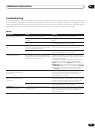
1 Select ‘12 Volt Trigger’ from the Expert Setup
menu.
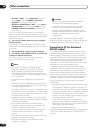
2 Select an input function and choose the setting
that you want.
This should be the input function, that when selected,
switches on one (or both) of the 12 volt triggers.
• OFF · OFF – 12 volt triggers 1 and 2 are switched off.
• OFF · ON – 12 volt trigger 1 is switched off; 12 volt
trigger 2 is switched on.
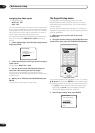
• ON · OFF – 12 volt trigger 1 is switched on; 12 volt
trigger 2 is switched off.
• ON · ON – 12 volt triggers 1 and 2 are switched on.
3 Repeat for as many input functions as you would
like to set.
4 When you're finished, select RETURN and press
ENTER.
You will return to the Expert Setup menu.
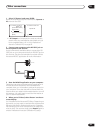
Multi-Room Setting
• Default setting: VARIABLE / PIONEER
If you’ve made multi-room connections (see Multi-room
setup on page 83) you may need to specify your volume
setting and IR receiver type.
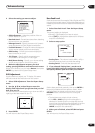
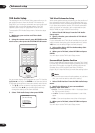
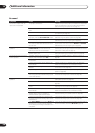
1 Select ‘Multi-Room Setting’ then press ENTER.
2 Select the volume level setting.
• VARIABLE – Use this setting if you’ve connected a
power amplifier in the sub room (this receiver is
simply being used as a pre-amp) and you will be
using this receiver’s controls to adjust the volume.
• FIXED – Use this setting if you’ve connected a fully
integrated amplifier (such as another Pioneer VSX
receiver) in the sub room and want to use that
receiver’s volume controls.
With the FIXED setting, the source is sent from this
receiver at maximum volume, so make sure the volume is
quite low in the sub room at first and then experiment to
find the correct level.
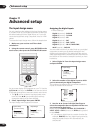
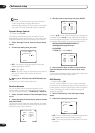
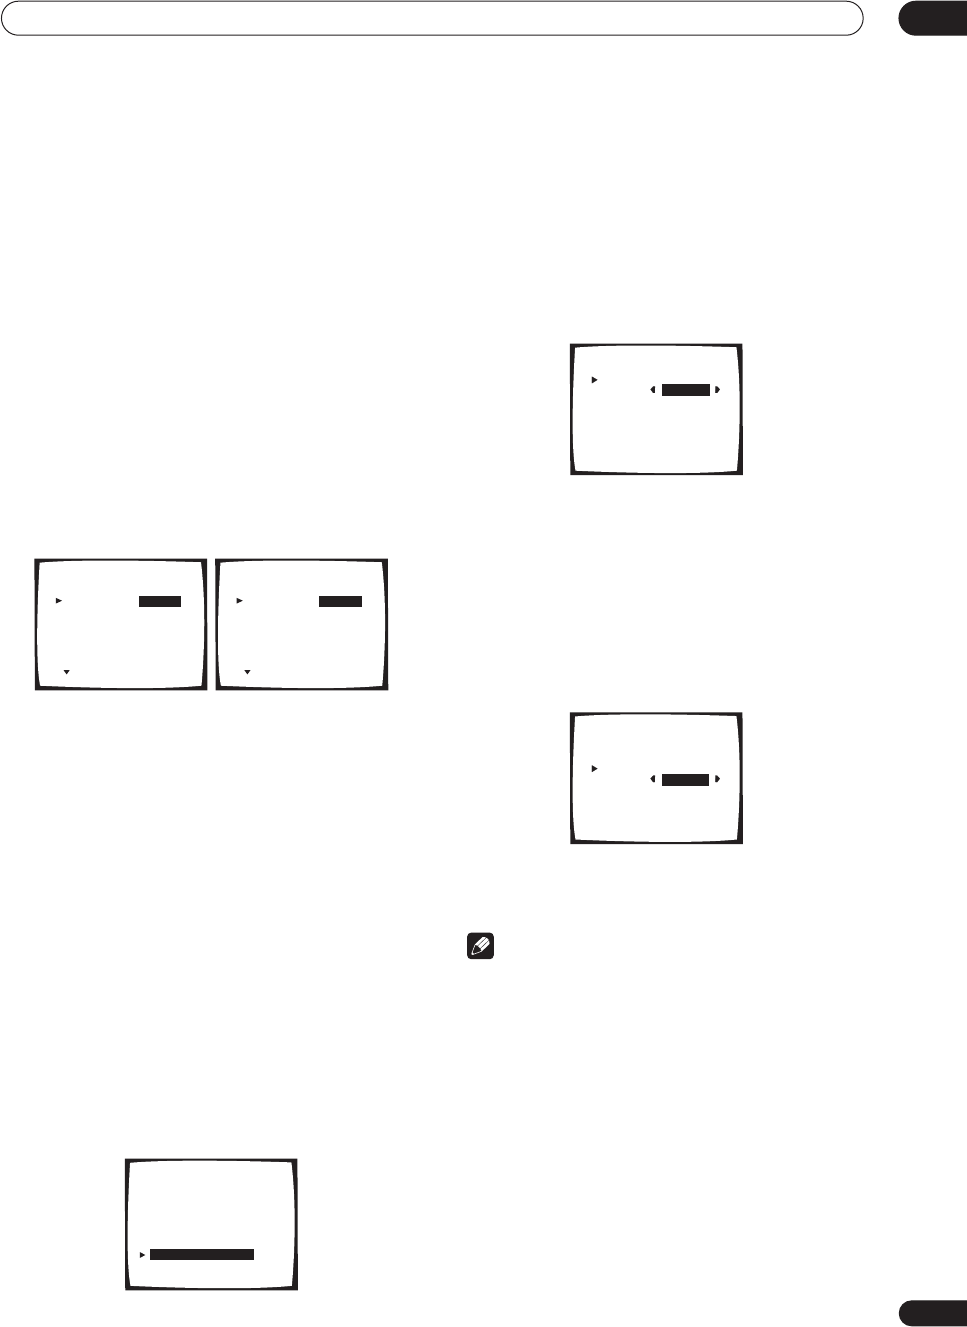
3 Select the type of IR receiver you’re using.
• PIONEER – Use this setting if you’re using a Pioneer
MR-100 (or if the IR receiver you’re using doesn’t
seem to work after selecting others).
• OTHERS – Use this setting for all other IR receivers.
4 Select ‘Return’ then press ENTER to finish.
You will return to the Expert Setup menu.
Note
• Some IR receivers may not work with this receiver.
Check with your audio dealer for more information.
3.6. 12V Trigger
1 2
DVD/LD [OFF
.
OFF ]
TV/DVD [OFF
.
OFF ]
SAT [OFF
.
OFF]
VIDEO [OFF
.
OFF]
DVR/VCR1 [OFF
.
OFF]
VCR2 [OFF
.
OFF]
VCR3 [OFF
.
OFF]
( Next)
3.6. 12V Trigger
1 2
DVD/LD [ON
.
OFF ]
TV/DVD [OFF
.
OFF ]
SAT [OFF
.
OFF]
VIDEO [OFF
.
OFF]
DVR/VCR1 [OFF
.
OFF]
VCR2 [OFF
.
OFF]
VCR3 [OFF
.
OFF]
( Next)
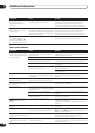
3.Expert Setup
[1. OSD Adjustment ]
[2. Bass Peak Level ]
[3. D-Range Control ]
[4. Function Rename ]
[5. OSD Overlay ]
[6. 12V Trigger ]
[7. Multi-Room Setting ]
[Return]
3.7. Multi-Room Setting
Volume Level
[
VARIABLE
]
IR Receiver
[
PIONEER
]
[Return]
CAUTION:
If the "FIXED"
position is chosen,the
volume will be loud.
3.7. Multi-Room Setting
Volume Level
[
VARIABLE
]
IR Receiver
[
OTHERS
]
[Return]
CAUTION:
If the "FIXED"
position is chosen,the
volume will be loud.