


Getting started
04
39
En
Chapter 4
Getting started
Introduction to home theater
You are probably used to using stereo equipment to listen
to music, but may not be used to home theater systems
that give you many more options (such as surround
sound) when listening to soundtracks.
Home theater refers to the use of multiple audio tracks to
create a surround sound effect, making you feel like
you're in the middle of the action or concert. The
surround sound you get from a home theater system
depends not only on the speakers you have set up in your
room, but also on the source and the sound settings of
the receiver.
DVD-Video has become the basic source material for
home theater due to its size, quality, and ease of use. The
true multichannel audio possible using DVD is what
creates a convincing surround sound effect and gives
you the feeling of ‘being there’.
Follow the steps in Automatically setting up for surround
sound below to achieve the best possible surround
sound by calibrating this receiver to your listening area.
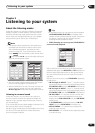
Automatically setting up for
surround sound
The Auto Surround Setup measures the acoustic
characteristics of your listening area, taking into account
ambient noise, speaker size and distance, and tests for
both channel delay and channel level. After you have set
up the microphone provided with your system, the
receiver uses the information from a series of test tones
to optimize the speaker settings and equalization for your
particular room.
Make sure you do this before moving on to Playing a
source on page 41.
Important
• Make sure the microphone and speakers are not
moved during the Auto Surround Setup.
• Using the Auto Surround Setup will overwrite any
existing speaker settings in the receiver.
• After three minutes of inactivity during the Auto
Surround Setup, the OSD will go to sleep until a
button is pressed.
Caution
• The test tones used in the Auto Surround Setup are
output at high volume.
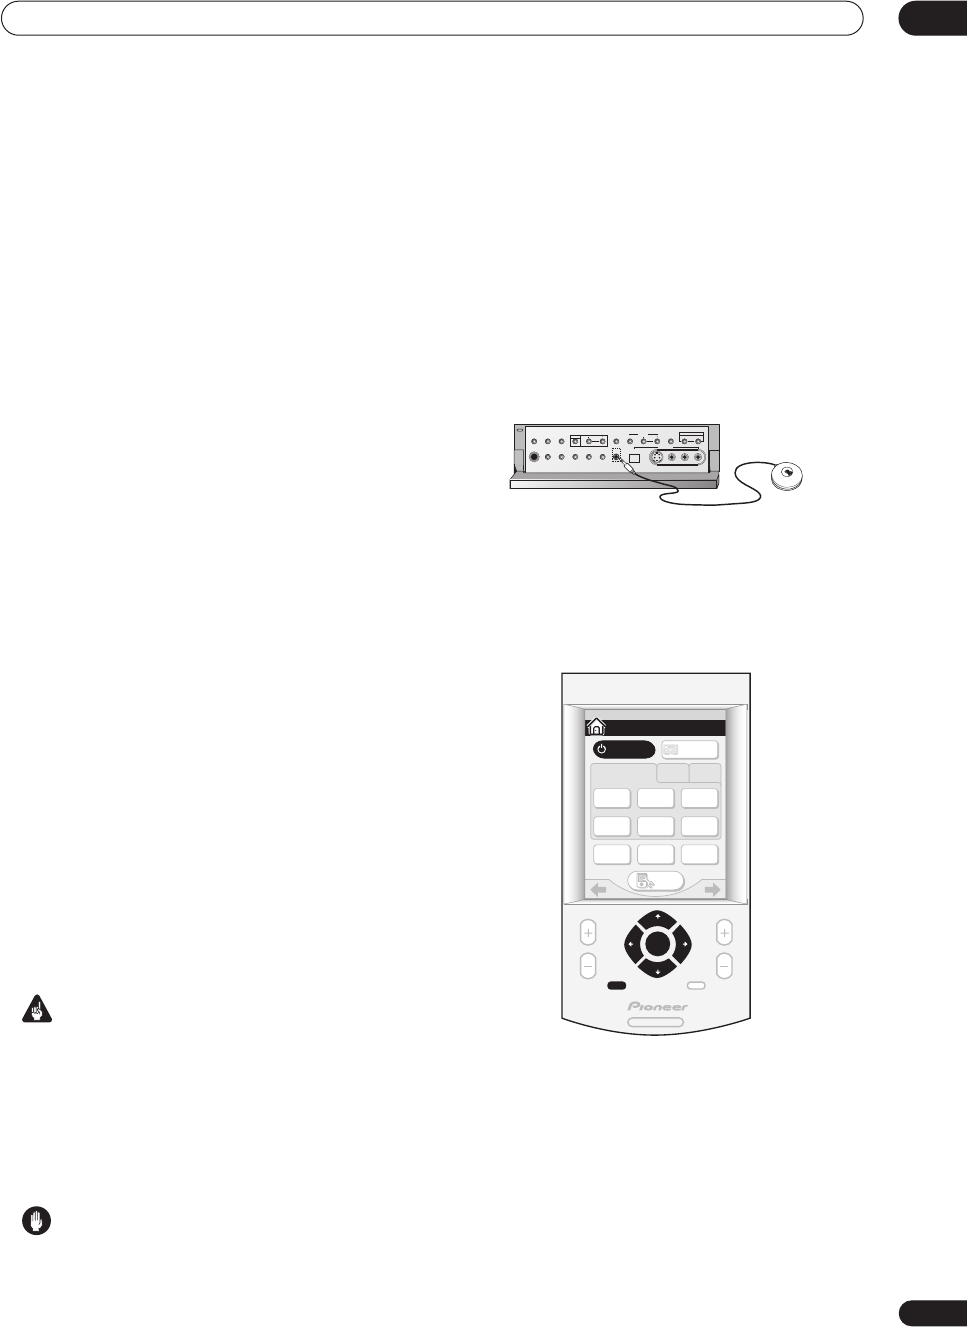
1 Switch on the receiver and your TV.
If headphones are connected to the receiver, disconnect
them.
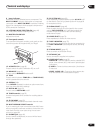
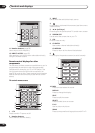
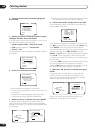
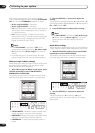
2 Connect the microphone to the SETUP MIC jack
on the front panel.
Make sure there are no obstacles between the speakers
and the microphone.
If you have a tripod, use it to place the microphone so that
it’s about ear level at your normal listening position.
Otherwise, place the microphone at ear level using a
table or a chair.
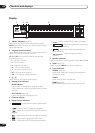
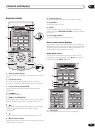
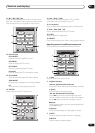
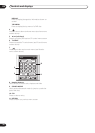
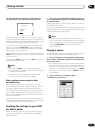
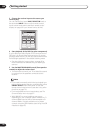
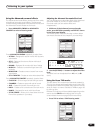
3 Using the remote control, press RECEIVER on the
touch screen, then press the SYSTEM SETUP button.
An on-screen display (OSD) appears on your TV. Use the
/// hard keys and ENTER on the remote control
to navigate through the screens and select menu items.
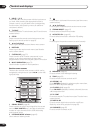
• The / (cursor up/down) hard keys select menu
items and the / (cursor left/right) hard keys
change the setting of the item selected.
PHONES
SP SYSTEM
A/B
SIGNAL
SELECT
VIDEO
SELECT
TAPE2
MONITOR
STREAM
DIRECT
SETUP
MIC
SB CH
MODE
DIGITAL IN
S-VIDEO VIDEO
VIDEO INPUT
AUDIOLR
MIDNIGHT
TONE OPTION DIGITAL NR CLASS STATION
MULTI ROOM & SOURCE
CONTROL
ON/OFF
TUNER
ACOUSTIC
CAL.
AV AMPLIFIER
MENU MUTE
CHANNEL VOLUME
SYSTEM
SETUP
ENTER
HOME
SYSTEM
OFF
TV
CONT
MULTI
OPERATION
TV
/ DVD
DVD
/ LD
DVR
/ VCR1
SAT
INPUT 1 2 3
CD TUNER
SETUP
RECEIVER
RECEIVER
1/3