


The Surround Setup menu
07
65
En
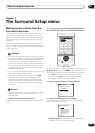
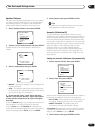
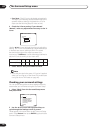
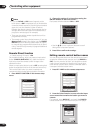
6 If you selected ‘Reverb Measurement’, select
‘Start’ and press ENTER.
!! Complete !! is displayed on screen when the reverb
measurement is finished (this may take 2–6 minutes).
You can select Reverb View (above) to see the results
on-screen. See Connecting a PC for Advanced MCACC
output on page 88 for more on setting up your computer
for the graphical output.
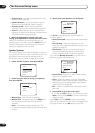
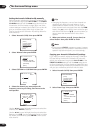
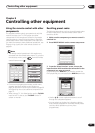
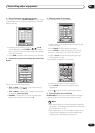
7 If you selected ‘Reverb View’, you can use the
cursor buttons (hard keys) to check the reverb
characteristics for each channel. Select ‘Return’ and
press ENTER when you’re done.
Use the / (cursor left/right) buttons to select the
channel and the frequency you want to check. Use the
/ (cursor up/down) buttons to go back and forth
between the two. Note that the markers on the vertical
axis indicate decibels in 2dB steps.
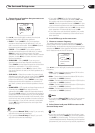
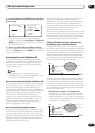
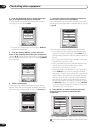
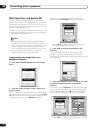
8 If you selected ‘Advanced EQ Setup’, input the
time setting you want to use for calibration, then
select ‘Go’. Select ‘Start’ from the next screen.
Based on the reverb measurement above, you can
manually choose the time period that will be used for the
final frequency adjustment and calibration. Even though
you can make this setting without reverb measurement,
it is best to use the measurement results as a reference
for your time setting. For an optimal system calibration
based on the direct sound coming from the speakers, we
recommend using the 20–40ms setting.
Use the / (cursor left/right) buttons to select the
channel, frequency, and time setting. Use the /
(cursor up/down) buttons to switch between them.
You can switch between your connected speakers
(excluding the subwoofer), and display the
measurements for the following frequencies: 63Hz, 125
Hz, 250Hz, 500Hz, 1kHz, 2kHz, 4kHz, 8kHz and 16kHz.
Select the setting from the following time periods (in
milliseconds): 0–20ms, 10–30ms, 20–40ms, 30–50ms,
40–60ms, 50–70ms and 60–80ms. This setting will be
applied to all channels during calibration.
When you’re finished, select Go. It will take about 2–11
minutes for the calibration to finish.
!! Complete !! is displayed on-screen after the acoustic
calibration equalization is set. If you want to check the
settings, select Check and press ENTER.
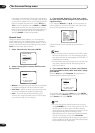
X-Curve
Most soundtracks mixed for cinema sound too bright
when played back in large rooms. The X-Curve setting
acts as a kind of re-equalization for home theater
listening, and restores proper tonal balance of movie
soundtracks.
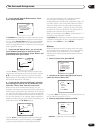
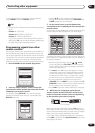
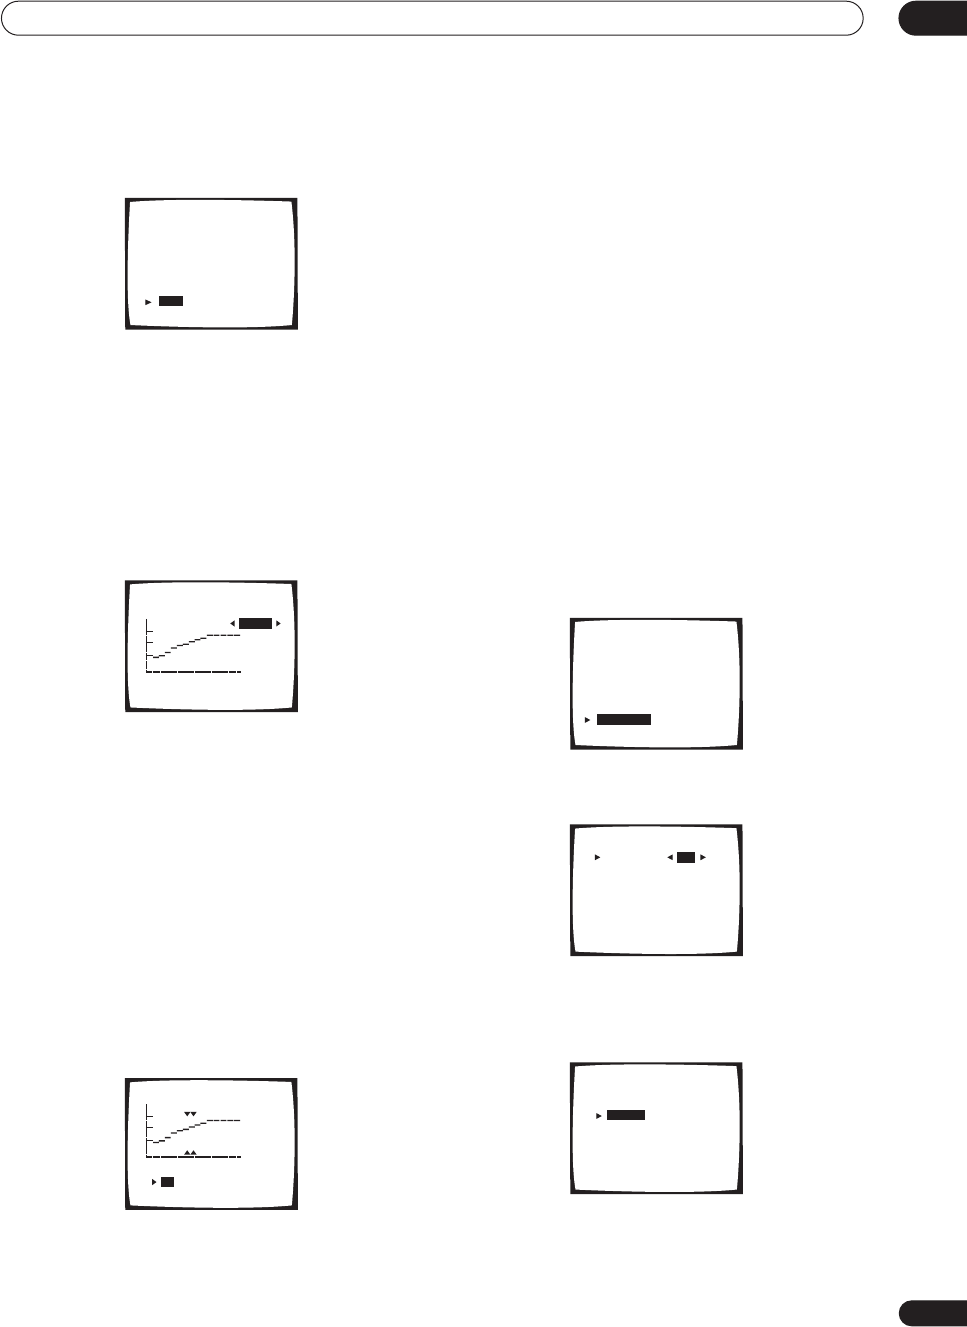
1 Select ‘X-Curve’ then press ENTER.
2 Use the / (cursor left/right) hard keys to
switch the X-Curve ON or OFF.
If you select OFF, the frequency curve will be flat and you
won’t be able to adjust the X-Curve.
3 Select a setup option and press ENTER.
• Manual – Adjust the X-Curve manually.
2.4. Acoustic Cal EQ Pro.
Reverb
•Connect microphone
•Please be quiet
•Move obstacles away
•If you have a subwoofer
turn power on and
turn volume up
[Start]
[Cancel]
dB
080160ms
2.4. Acoustic Cal EQ Pro.
Reverb View
[ C ]
[ 500Hz ]
[Return]
dB
080160ms
2.4. Acoustic Cal EQ Pro.
[ C ]
[ 500Hz ]
[20~40ms]
[Go]
[Return]
[ Check ]
[ 1. Speaker Systems ]
[ 2. Channel Level ]
[ 3. Speaker Distance ]
[ 4. Acoustic Cal EQ ]
[ 5. X-Curve ]
[ Return ]
2. Surround Setup
ON
2. 5. X-Curve
X-Curve [ ]
[ Manual ]
[ Semi Auto ]
[ Return ]
Your X-Curve
" –0.5dB/oct "
ON
2. 5. X-Curve
X-Curve [ ]
[ Manual ]
[ Semi Auto ]
[ Return ]
Your X-Curve
" –0.5dB/oct "