


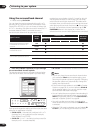


The Surround Setup menu
07
58
En
• Channel Level – Adjust the overall balance of your
speaker system (page 60).
• Speaker Distance – Specify the distance of your
speakers from the listening position (page 61).
• Acoustic Cal EQ – Adjust overall equalization
depending on your room characteristics (page 61).
• X-Curve – Adjust the amount of ‘re-equalization’
necessary to achieve a flat frequency response from
your home theater system (page 65).
5 Make the adjustments necessary for each
setting, pressing ENTER to confirm after each screen.
When you’re finished, you can check through your
settings screen by screen by selecting Check from the
Surround Setup menu (see Checking your surround
settings on page 66 for more on this).
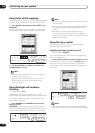
Speaker Systems
You need to specify the number of speakers you have in
your system, and how you want to route the sound. It is a
good idea to make sure that the settings made in
Introduction to home theater on page 39 are correct.
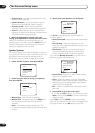
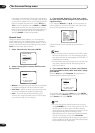
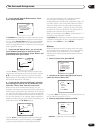
1 Select ‘Speaker Systems’ then press ENTER.
2 Select how you want to set up your speakers
then press ENTER.
• Manual Free – Manually set all speakers.
• Manual THX – All speakers are set to SMALL. You
can only select the number of surround back
speakers.
• Auto – All speakers are set automatically. (The
microphone must be hooked up to the front panel to
do this.)
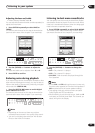
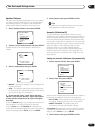
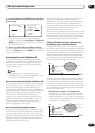
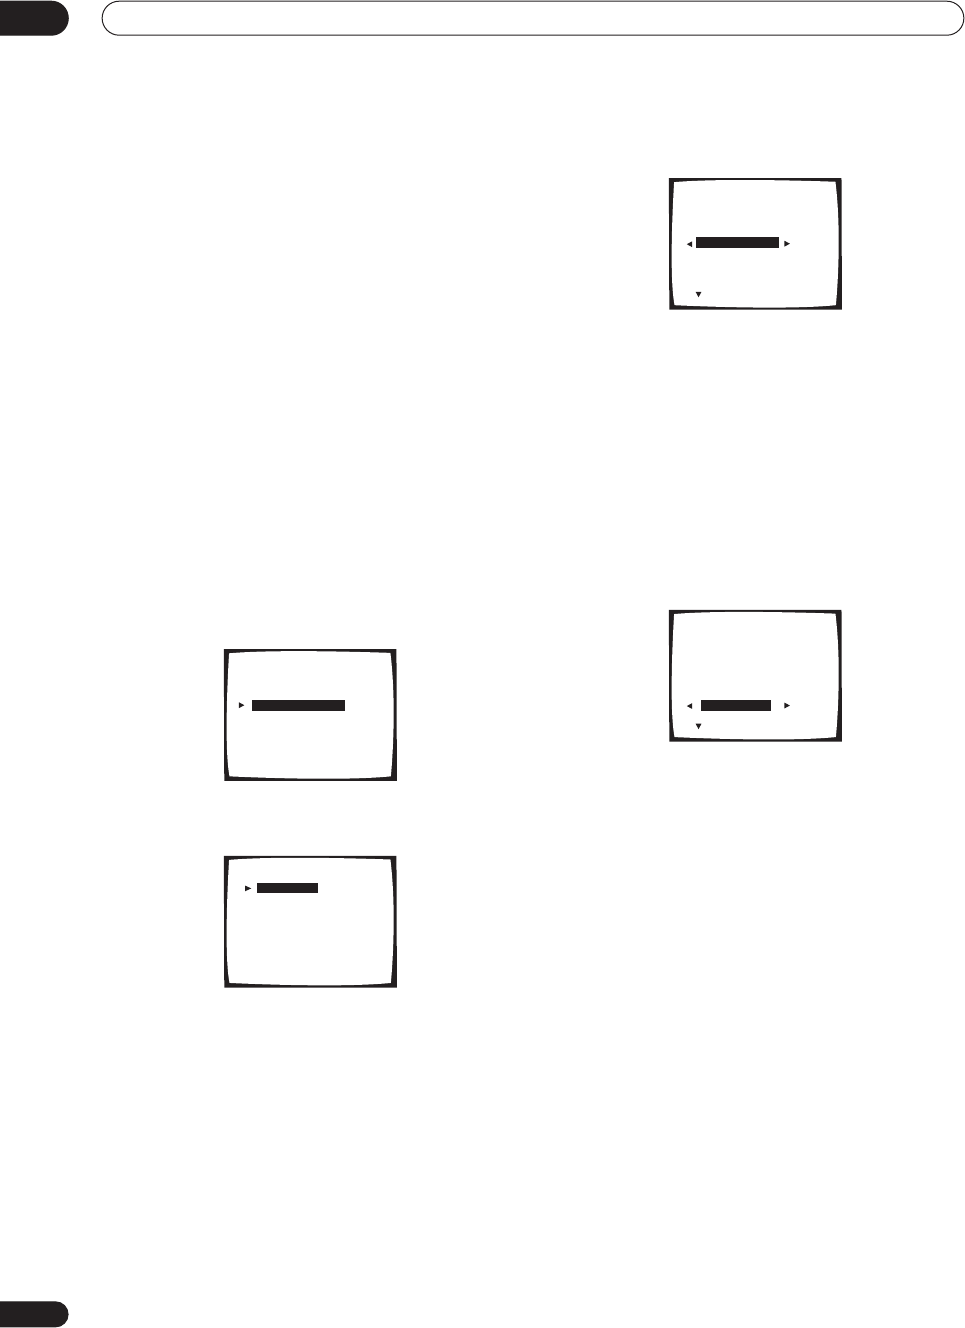
3 Specify how your speakers are configured.
Use / (cursor left/right) to cycle through the
following options:
• Normal Surround – Select for normal home theater
use.
• Front Bi-Amp – Select this setting if you’re bi-
amping your front speakers (see Bi-amping your front
speakers on page 81).
• Bi-Surround – Select if you’re using two sets of
surround speakers (see Adding a second set of
surround speakers for Bi-Surround on page 82).
If you selected Normal Surround, you’ll also have to
select the speaker system B setting:
• Second Zone – Select if you want to hear speaker
system B in a separate room.
• ITU-R – Select this setting to use two switchable
main speaker systems using speaker system B (see
Alternating surround speaker setups using speaker
system B (ITU-R) on page 80).
• OFF – Select if no speakers are connected to the B
terminals.
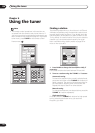
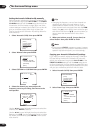
4 Press ENTER to go to the next screen.
• If you selected Auto in step 2, you will have to select
Next and then press ENTER to continue to the auto
(test tone) setup.
Select Start and press ENTER to start the test tones
when you’ve made sure the room is free of ambient noise.
Go to step 8 when you see OK appear on the OSD.
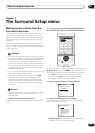
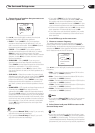
2.Surround Setup
[ Check ]
[ 1.Speaker Systems ]
[ 2.Channel Level ]
[ 3.Speaker Distance ]
[ 4.Acoustic Cal EQ ]
[ 5.X-Curve ]
[Return]
2.1. Speaker Systems
[Manual Free]
[Manual THX]
(all small)
[Auto]
[Return]
2.1.Speaker Systems
Manual Free
Speaker System Select
[Normal Surround ]
SP
_
B:
[ Second Zone ]
[ Next]
2.1.Speaker Systems
Manual Free
Speaker System Select
[Normal Surround ]
SP
_
B:
[ Second Zone ]
[ Next]