


Using other functions
09
75
En
Chapter 9
Using other functions
Making an audio or a video recording
You can make an audio or a video recording from the
built-in tuner, or from an audio or video source
connected to the receiver (such as a CD player or TV).
Keep in mind you can't make a digital recording from an
analog source or vice-versa, so make sure the
components you are recording to/from are hooked up in
the same way (see Connecting your equipment on
page 14 for more on connections).
You can record using composite and S-video
connections interchangeably, but you won’t be able to
record sources connected to the component video
inputs. See About the video converter on page 22 for more
on this.
For more information about video connections, see
Connecting a VCR or DVD recorder on page 20 and
Connecting other video sources on page 21.
1 Select the source you want to record.
Use the INPUT buttons (or the INPUT SELECTOR dial on
the front panel).
2 Select the input signal (if necessary).
Press SIGNAL SELECT to select the input signal
corresponding to the source component (see Selecting
the input signal type on page 48 for more on this).
3 Prepare the source you want to record.
Tune to the radio station, load the CD, video, DVD etc.
4 Prepare the recorder.
Insert a blank tape, MD, video etc. into the recording
device and set the recording levels.
Refer to the instructions that came with the recorder if
you are unsure how to do this. Most video recorders set
the audio recording level automatically—check the
component's instruction manual if you're unsure.
5 Start recording, then start playback of the source
component.
Note
• The receiver's volume, tone (bass, treble, Midnight,
Loudness), and surround effects have no effect on
the recorded signal.
• Some digital sources are copy-protected, and can
only be recorded in analog.
• Some video sources are copy-protected. These
cannot be recorded.
Monitoring your recording
You can listen to (monitor) the recording as it’s being
made if you’ve connected a cassette deck with a
monitoring function to the TAPE 2 MONITOR jacks on
the rear panel.
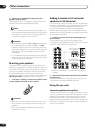
• Press TAPE 2 MONITOR to switch between the
recorded signal and the original source signal.
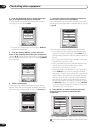
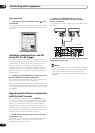
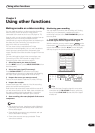
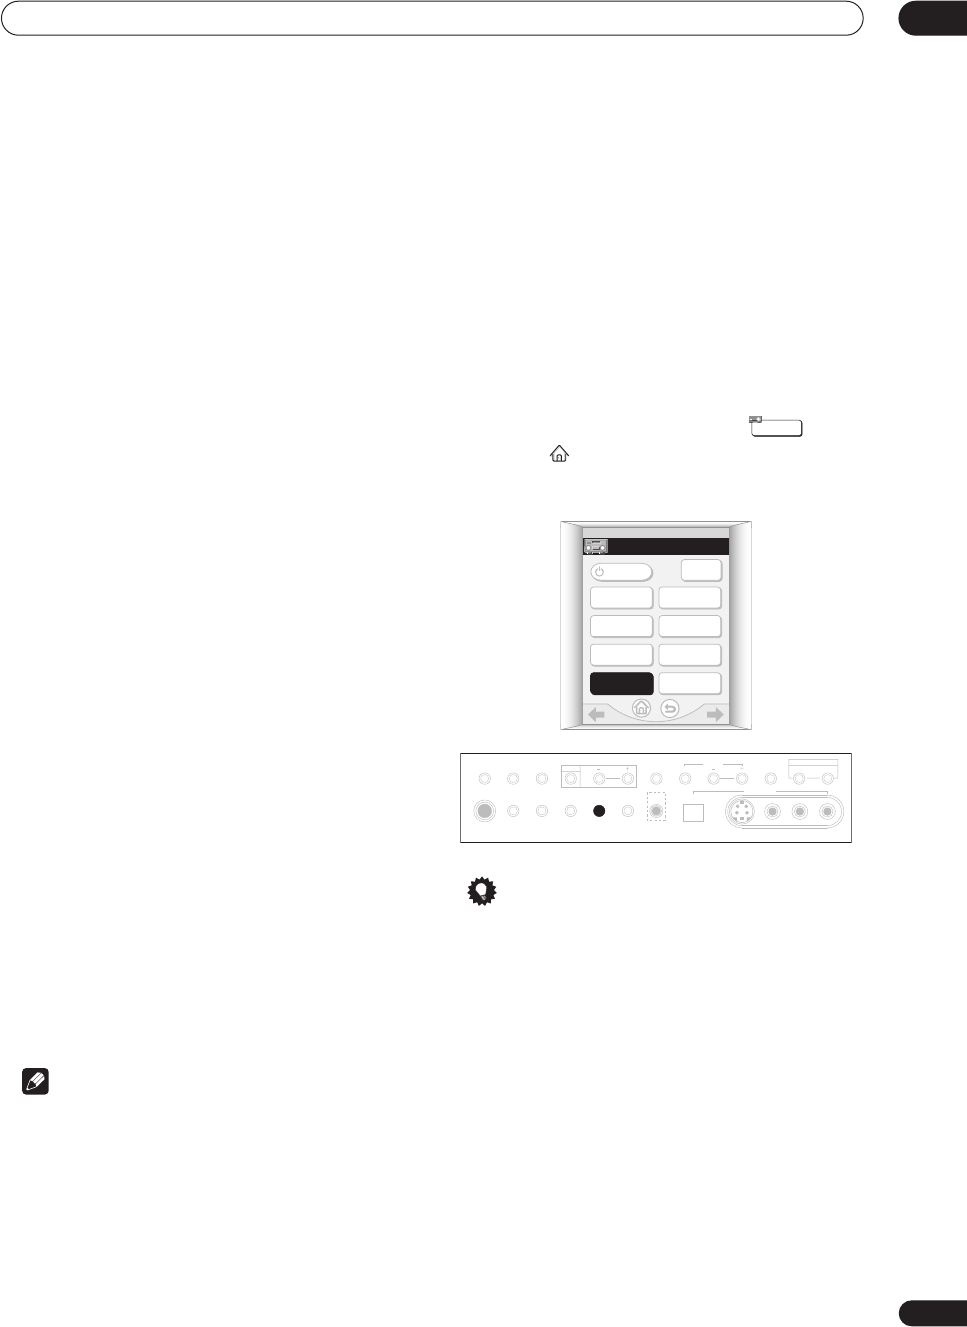
With the remote, you may need to press on the
Home menu ( ) first before reaching the receiver menu
screen shown below (use the / (cursor left/right)
soft keys to go to the previous/next menu screen).
Tip
• To record the tape 2 monitor signal to a recorder
connected to the CD-R/TAPE 1 inputs, select any
input (except CD-R/TAPE 1) and switch the tape 2
monitor on.
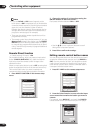
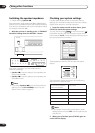
RECEIVER
RECEIVER
3/4
SB CH
MODE
INPUT
STATUS
INPUT
AT T
SPEAKER
A/B
VIDEO
SELECT
TAPE2
MONITOR
DISPLAY
DIMMER
RECEIVER
TV
CONT
PHONES
SP SYSTEM
A/B
SIGNAL
SELECT
VIDEO
SELECT
TAPE2
MONITOR
STREAM
DIRECT
SETUP
MIC
SB CH
MODE
DIGITAL IN
S-VIDEO VIDEO
VIDEO INPUT
AUDIOLR
MIDNIGHT
TONE OPTION DIGITAL NR CLASS STATION
MULTI ROOM & SOURCE
CONTROL
ON/OFF
TUNER
ACOUSTIC
CAL.