45
Selecting Your Favorite SEA Mode
(Also see page 31)
1. Press MENU.
The MAIN MENU appears on the TV.
• Pressing one of the % / fi / @ / # buttons also displays the
MAIN MENU.
2. Press % / fi to move to “SOUND
CONTROL,” then press @ / #.
The SOUND CONTROL menu appears.
3. Press % / fi to move
to “SEA,” then press @
/ #.
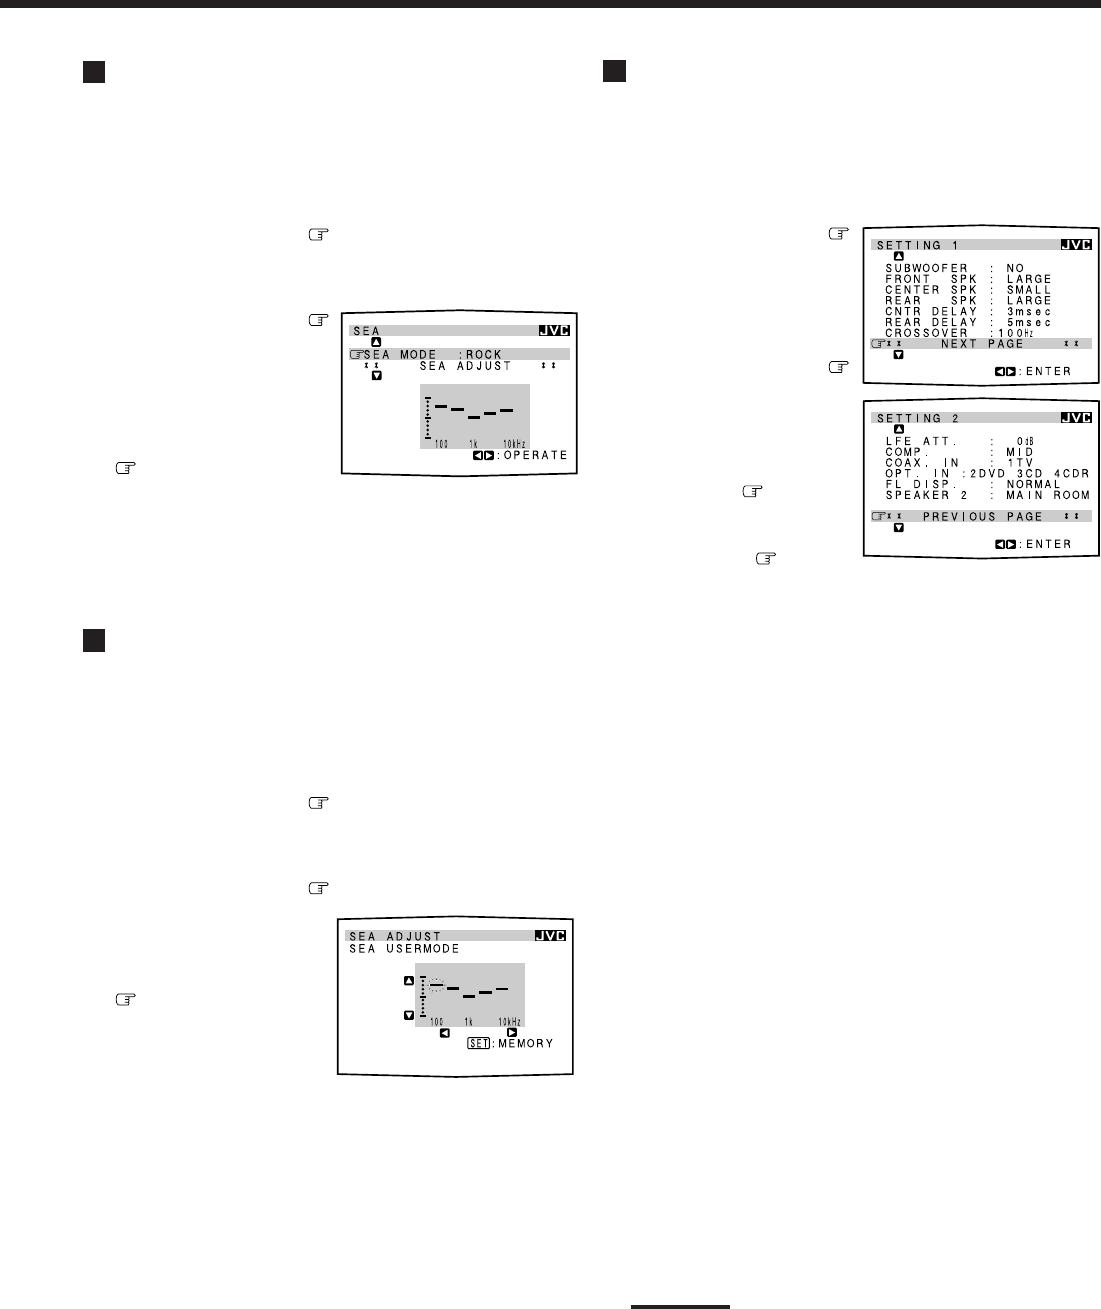
The SEA menu appears.
4. Press % / fi to move
to “SEA MODE.”
5. Press @ / # to select the SEA mode you want.
6. When you finish, press EXIT repeatedly until the
menu disappears from the TV.
Creating Your Own SEA Mode
(Also see page 31)
1. Press MENU.
The MAIN MENU appears on the TV.
• Pressing one of the % / fi / @ / # buttons also displays the
MAIN MENU.
2. Press % / fi to move to “SOUND
CONTROL,” then press @ / #.
The SOUND CONTROL menu appears.
3. Press % / fi to move to “SEA,” then press
@ / #.
The SEA menu appears.
4. Press % / fi to move
to “SEA ADJUST.”
The SEA ADJUST menu
appears.
5. Press % / fi / @ / # to
adjust the SEA mode as
you want.
@ / # : Select the frequency ranges.
% / fi : Adjust the frequency levels.
6. Press SET to store the setting into the SEA
USERMODE.
• If you press EXIT, without pressing SET in this step, you can
return to the SEA menu. (The adjustment you have made is
active but not stored.)
7. When you finish, press EXIT repeatedly until the
menu disappears from the TV.
Setting the Basic Setting Items (Also see
pages 23 – 27)
1. Press MENU.
The MAIN MENU appears on the TV.
• Pressing one of the % / fi / @ / # buttons also displays the
MAIN MENU.
2. Press % / fi to move
to “SETTING,” then
press @ / #.
The SETTING 1 or SETTING
2 menu appears.
3. Press % / fi to move
to the item you want to
set or adjust, then press
@ / #.
• To go to the SETTING 2
menu, move to “NEXT
PAGE,” then press @ / #.
• To go back to the SETTING
1 menu, move to
“PREVIOUS PAGE,” then
press @ / #.
On the SETTING 1 and 2 menus, you can do the following:
“SUBWOOFER”: Set the subwoofer information (see
page 23).
“FRONT SPK”: Set the front speaker information (see
page 24).
“CENTER SPK”: Set the center speaker information (see
page 24).
“REAR SPK”: Set the rear speaker information (see
page 24).
“CNTR DELAY”: Adjust the delay time of the center
speaker output (see page 24). *
“REAR DELAY”: Adjust the delay time of the rear
speaker output (see page 24). **
“CROSSOVER”: Set the crossover frequency
(see page 25).
“LFE ATT.”: Set the low frequency effect attenuator
level (see page 25).
“COMP.”: Set the dynamic range compression
(see page 25).
“COAX. IN”: Set the digital input terminal 1
(see page 26).
“OPT. IN”: Set the digital input terminal 2/3/4
(see page 26).
“FL DISP.”: Shows the disc text information on the
display (see page 27).
“SPEAKER 2”: Select where to use the speakers
connected to the FRONT 2/SUB
ROOM terminals (see page 23).
Notes:
*
Not adjustable when “CENTER SPK” is set to “NONE” (see
page 24) or the SUB ROOM speaker (SPEAKERS 2) lamp
is lit green (see page 22).
**
Not adjustable when “REAR SPK” is set to “NONE” (see
page 24) or the SUB ROOM speaker (SPEAKERS 2) lamp
is lit green (see page 22).
4. When you finish, press EXIT repeatedly until the
menu disappears from the TV.
EN42_53.RX-9000V[J]/f 00.2.15, 3:22 PM45


