


35NILES AUDIO CORPORATION – 1-800-BUY-HIFI – 305-238-4373
SYSTEM CONFIGURATION
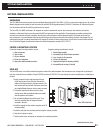
The Niles ZR-6 MultiZone Receiver is simple to confi gure using the
front panel buttons and LCD display. No computer is necessary.
NOTE: THE ZR-6, THE SLAVE ZR-6 (IF APPLICABLE), ALL SOURCE
DEVICES, KEYPADS AND SPEAKERS MUST BE CONNECTED PRIOR TO
PERFORMING ANY OF THESE OPERATIONS.
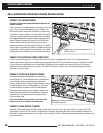
MAIN POWER
The ZR-6 MultiZone Receiver has a mechanical latching main
power switch on its front panel. The ZR-6 and its accessories will
not work until it has been engaged. Press in the Main Power switch
to the on position. It is illuminated with LEDs to indicate that it is on
and ready to operate.
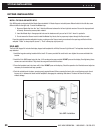
ENTERING THE CONFIGURATION MODE
To enter confi guration mode, power down the ZR-6 MultiZone
Receiver(s) by disengaging the Main Power switch for fi ve seconds
and then power it up again while simultaneously holding down the
Band and Set buttons. Release the Band and Set buttons when
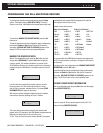
[RELEASE BUTTONS TO CONTINUE] appears on the display.
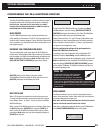
RELEASE BUTTONS
TO CONTINUE
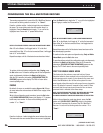
[MASTER] will be on the display. If there are multiple
ZR-6 MultiZone Receivers, repeat the above step on each unit.
[MASTER] will appear on the display of all units.
MASTER
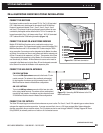
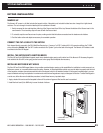
MASTER/SLAVE
When a ZR-6 system is expanded to include more zones (up to
18 zones with three receivers), each chassis must have a unique
name: Master, Slave 1, or Slave 2. There can only be one Master
MultiZone Receiver.
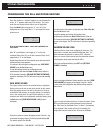
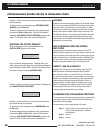
When a second ZR-6 MultiZone Receiver is used as a Slave, press
the Band button once. [MASTER] will change to [SLAVE 1]. If
there is a third ZR-6 MultiZone Receiver that is used as a Slave,
pressing the Band button one more time changes the display to
[SLAVE 2] for that unit.
SLAVE 1 SLAVE 2
On each Slave ZR-6 MultiZone Receiver, hold down the Band
and Set buttons to save the change. [RELEASE BUTTONS TO
CONTINUE] will appear on the display. The Slave ZR-6 MultiZone
Receiver(s) will return to the normal operating mode.
Paging Volume and Zone 4, 5, and 6 Preamp confi gurations must
be confi gured on each chassis (Master and all slaves connected).
When a chassis is named as Slave 1 or Slave 2, only these items
will appear in the confi guration menu.
All other confi guration settings will be performed on the
Master ZR-6 MultiZone Receiver only.
To continue to the fi rst confi guration step on the Master ZR-6
MultiZone Receiver,
Zone Linking
, press the Set button once.
To save the settings and exit the confi guration mode, hold down the
Band and Set buttons. After the Master ZR-6 MultiZone Receiver
saves the settings [RELEASE BUTTONS TO CONTINUE] appears
on the display. The Master ZR-6 MultiZone Receiver will return to
the normal operating mode.
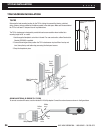
TECH TIP
All external IR and RS-232 control connections
must be made to the Master ZR-6 MultiZone
Receiver, and not to the Slave(s). The commands
used to control the Slave(s) are relayed through the
Expansion Ports. All MicroFlashers for source device control must be
connected to the Master ZR-6 MultiZone Receiver, and not the Slave(s).
IR from the keypads to the Slave(s) is routed to the Master through the
Expansion Ports
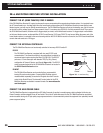
ZONE LINKING
This feature allows two or more zones to always play the same
source at the same time. Volume, bass, treble, and mute functions
will remain independent for each zone.
NOTE: ONLY ONE ZONE LINKING GROUP MAY BE CREATED PER CHASSIS
(ONE FOR THE MASTER, ONE FOR EACH OF THE SLAVES).
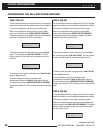
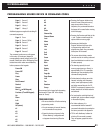
While in the confi guration mode (see above), press the Set button
until [123456 LINKING MASTER] shows in the display.
LINKING
MASTER
123456
CONFIGURING THE ZR-6 MULTIZONE RECEIVER