29
twice before pressing the SETUP Push-button.
2. Use the Down directional Push-button on the Re-
mote Control to select the PROGRESSIVE MODE
Menu. Refer to figure 34.
3. To change from the default setting use the Right
directional Push-button followed by Up or Down
directional Push-buttons and then press the SELECT
Push-button.
Note: The title of the icon button-bar will change color
from yellow (the cursor color) to blue indicating
the selected item.
4. Return to the Video Setup Menu by pressing the Left
followed by the Up directional Push-buttons.
5. Next continue to the PIXEL CROPPING Settings. If
no other changes are to be made in Setup Mode at this
time, exit by pressing the RTRN (Return) Push-button.
Note: The SETUP Push-button may also be pressed to
exit the setup mode.
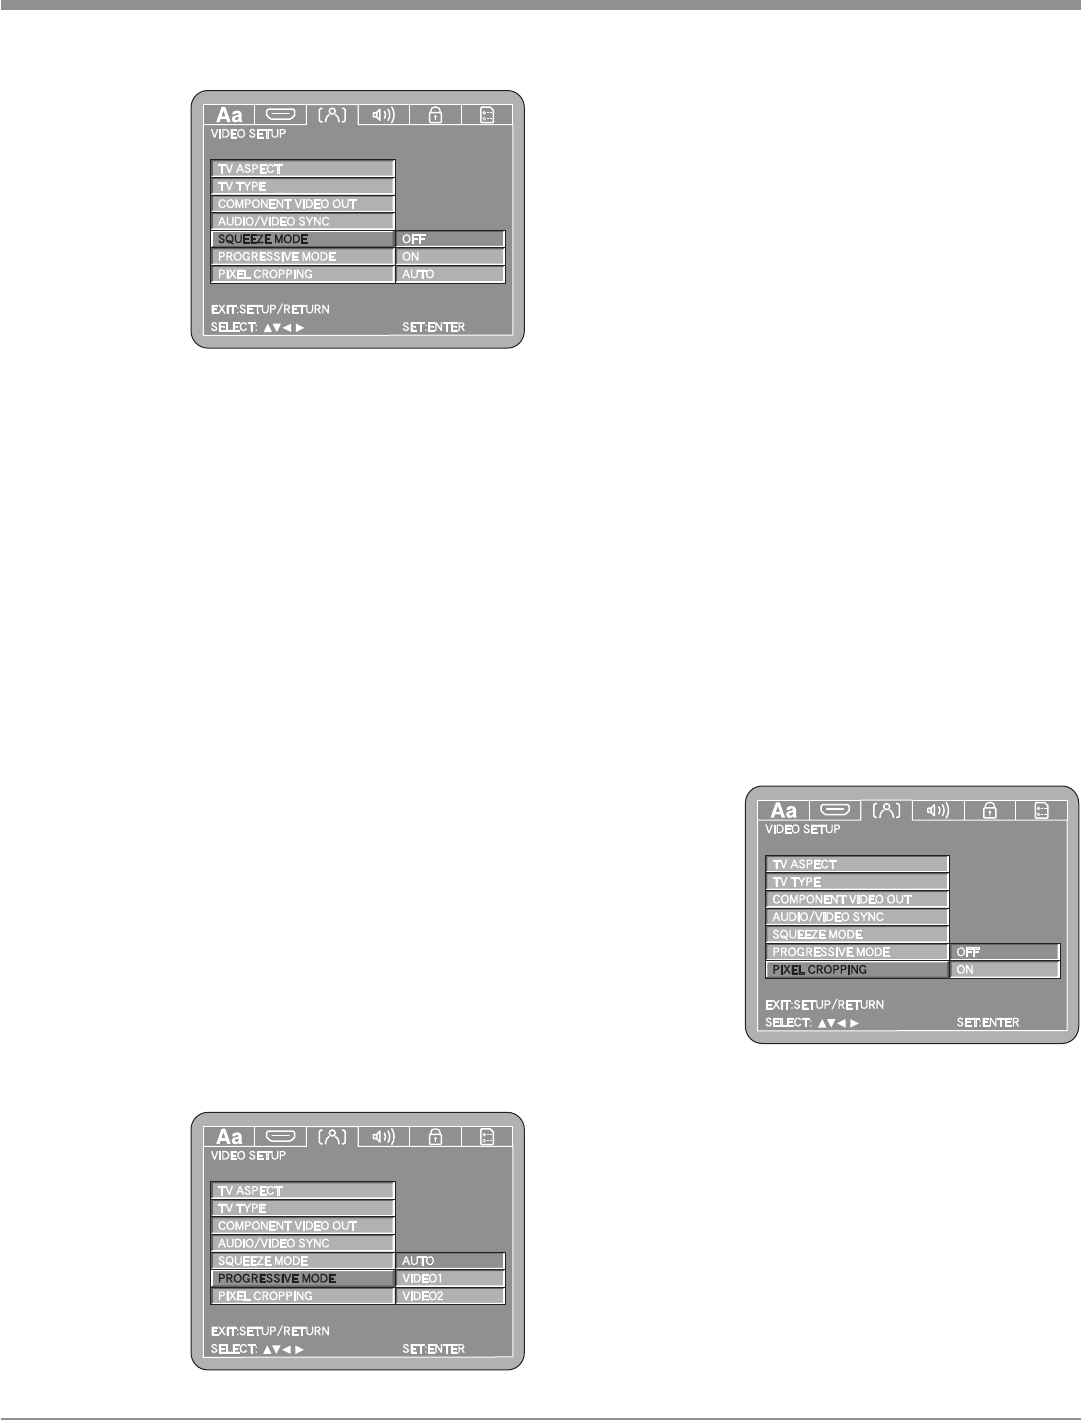
Pixel Cropping
A small number of TV/Monitors might exhibit some
horizontal instability (jitter). This can be removed by Pixel
Cropping Circuitry in the MVP871. To activate perform
the following:
1. Press the SETUP Push-button on the supplied Remote
Control to access the Language Setup Menu. Then
press the Right directional Push-button to select the
Video Menu Icon Tab. Refer to figure 24.
Note: If there
is a Disc
playing
in the
MVP871
press
the
STOP
Push-
button
twice
before
pressing
the SETUP Push-button.
2. Use the Down directional Push-button on the Re-
mote Control to select the PIXEL CROPPING Menu.
Refer to figure 35.
3. To change from the default setting use the Right
directional Push-button followed by Up or Down
directional Push-buttons and then press the SELECT
Push-button.
Note: The title of the icon button-bar will change color
from yellow (the cursor color) to blue indicating
the selected item.
Note: The title
of the
icon
button-
bar will
change
color
from
yellow
(the
cursor
color)
to blue
indicating the selected item.
4. Return to the Video Setup Menu by pressing the Left
followed by the Up directional Push-buttons.
5. Next continue to the PROGRESSIVE MODE Settings.
If no other changes are to be made in Setup Mode at
this time, exit by pressing the RTRN (Return) Push-
button.
Note: The SETUP Push-button may also be pressed to
exit the setup mode.
Progressive Mode
When the Component Video Output (Analog Video) is
connected to the TV/Monitor and the Progessive Mode is
set to Auto (default setting) the MVP871 will produce the
best possible picture quality. The two additional Modes of
Progressive Scan “Video1” and “Video2” allow for manual
override when the Progressive Scan Circuits can not
detemine whether the video signal is film or video based.
Video1 setting will look best with Video Source material
and Video2 will look best with Film Source material. For
additional important information on using the Component
Video Outputs and the Progressive Scan Mode refer to
“Component Video” on page 27. To switch Off the Proges-
sive Scan Mode perform the following:
1. Press the SETUP Push-button on the supplied Remote
Control to access the Language Setup Menu. Then
press the Right directional Push-button to select the
Video Menu Icon Tab. Refer to figure 24.
Note: If there
is a Disc
playing
in the
MVP871
press
the
STOP
Push-
button
SETUP, con’t
Figure 35
Figure 33
Figure 34


