18
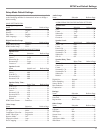
Your McIntosh MVP871 has been factory configured for
default operating settings that will allow you to immedi-
ately enjoy superb video and high fidelity audio from a
DVD-Video. It also reproduces DVD-Audio, SACDs and
CDs with unparalleled sonic purity. If you wish to make
changes to the factory default settings, a Setup feature is
provided to customize the operating settings using the On
Screen Display (OSD) Menus.
The On-Screen Menuing System is interactive and the
ability to change a given setting or whether some menus
appear, is dependent on the operational state of the player
and the choices made in other menu items. If a disc is play-
ing in the MVP871 and the STOP Push-button is pressed
once (the disc playback is paused), some but not all menu
items are available for change. To make all of the menu
items available for possible change, the playback of the
disc must be stopped which requires two presses of the
STOP Push-button.
Notes: The MVP871 must be connected to a MONI-
TOR/TV either through an A/V Control Center or
directly, for setup and use. The Remote Control
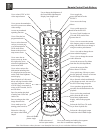
supplied with the McIntosh MVP871 has several
Push-buttons that are labeled differently than as
indicated on the On Screen Menu, please refer to
the following Setup Instructions in this Owner’s
Manual for the correct Push-button.
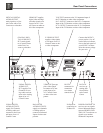
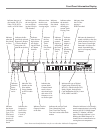
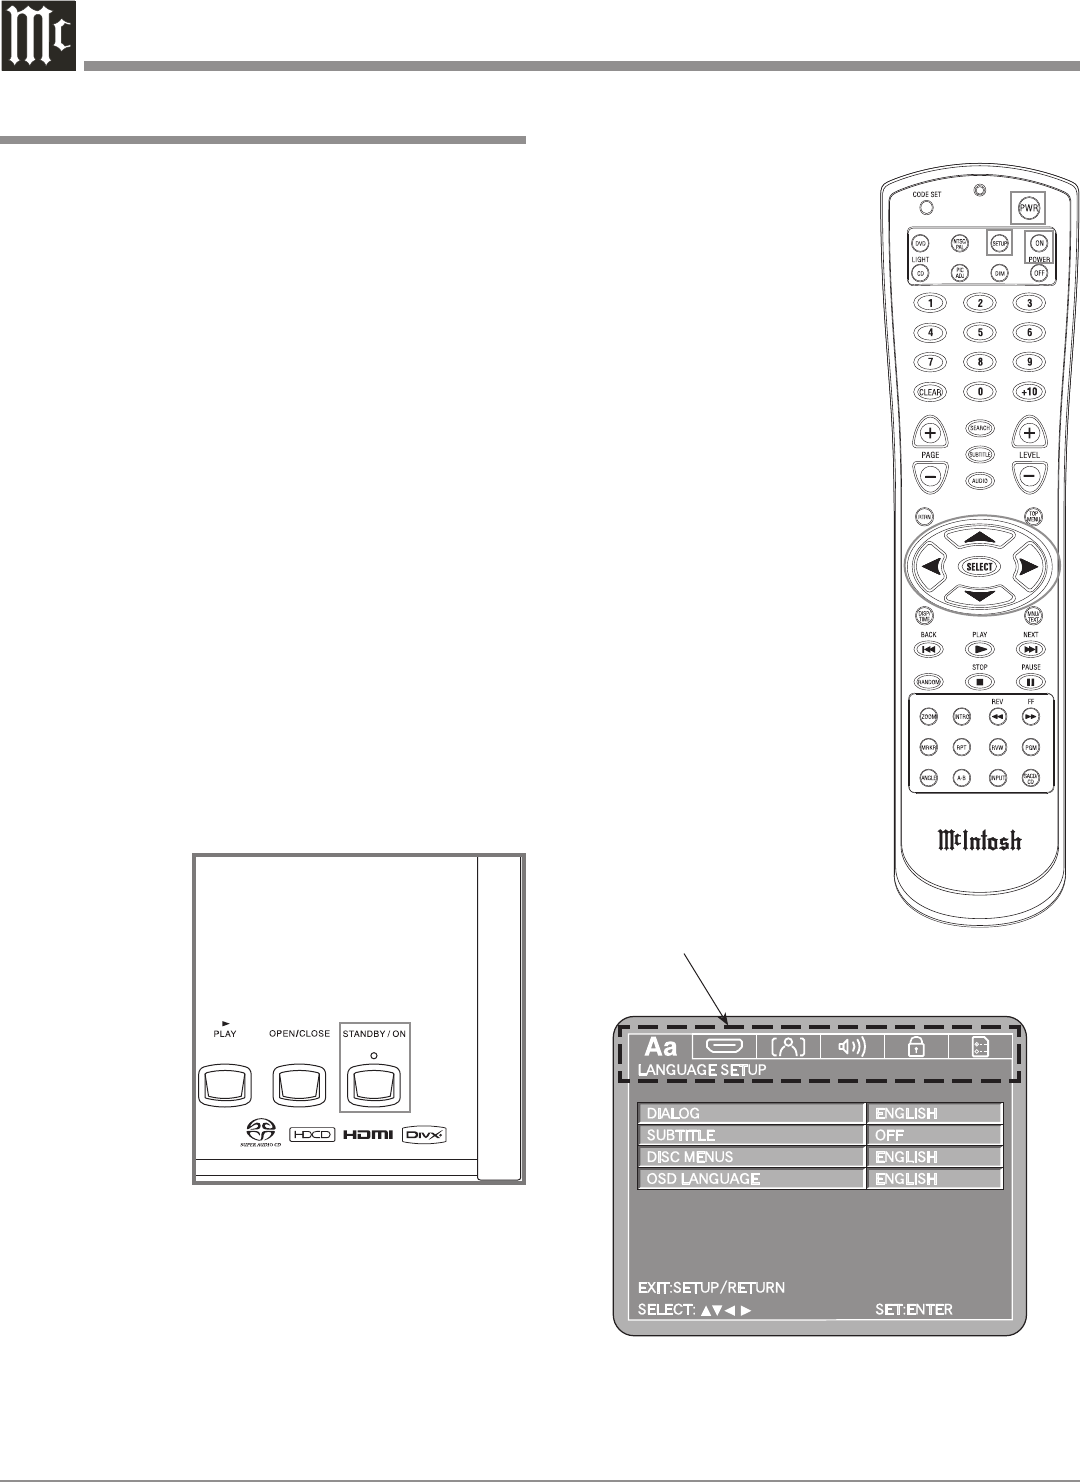
1. The Red LED above the STANDBY/ON switch lights
to indicate the
MVP871 is in
Standby mode.
To Switch ON
the MVP871,
press the
STANDBY/ON
Push-button
on the Front
Panel or on the
Remote Con-
trol either the
PWR(Power)
or POWER ON
Push-button.
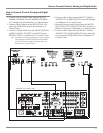
Refer to figures 1 and 2.
Note: When AC Power is initially applied to the MVP871
the unit will momentarily switch On and then go
into the Standby Mode.
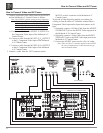
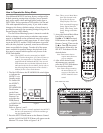
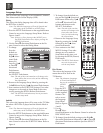
2. Press the SETUP Push-button on the Remote Control
and the LANGUAGE SETUP Menu will appear on the
Monitor/TV screen. Refer to figures 2 & 3.
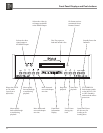
Note: There are six Main Menu
Icon Tabs located at the
Top of the On-Screen
Setup Display. The Icon
Tabs are named Language
Setup, Digital Interface
Setup, Video Setup, Audio
Setup, Ratings and Other
Setup.
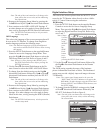
3. Access the desired Main Menu
Icon Tab by pressing the
Right or Left directional
Push-buttons on the supplied
Remote Control. Then use the
Up or Down directional
Push-buttons followed by the
SELECT Push-button for the
desired choice.
Note: Some menu choices
require more than one
step to complete.
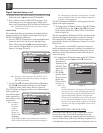
4. After all the desired setup
adjustments are complete,
press the SETUP Push-button
to exit the Setup Mode.
Note: Some changes made to
the menu options will
not occur until after the
SETUP Mode has been
exited.
How to Operate the Setup Mode
Main Menu Icon Tabs
Figure 3
Figure 2
Figure 1


