


28
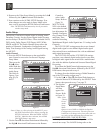
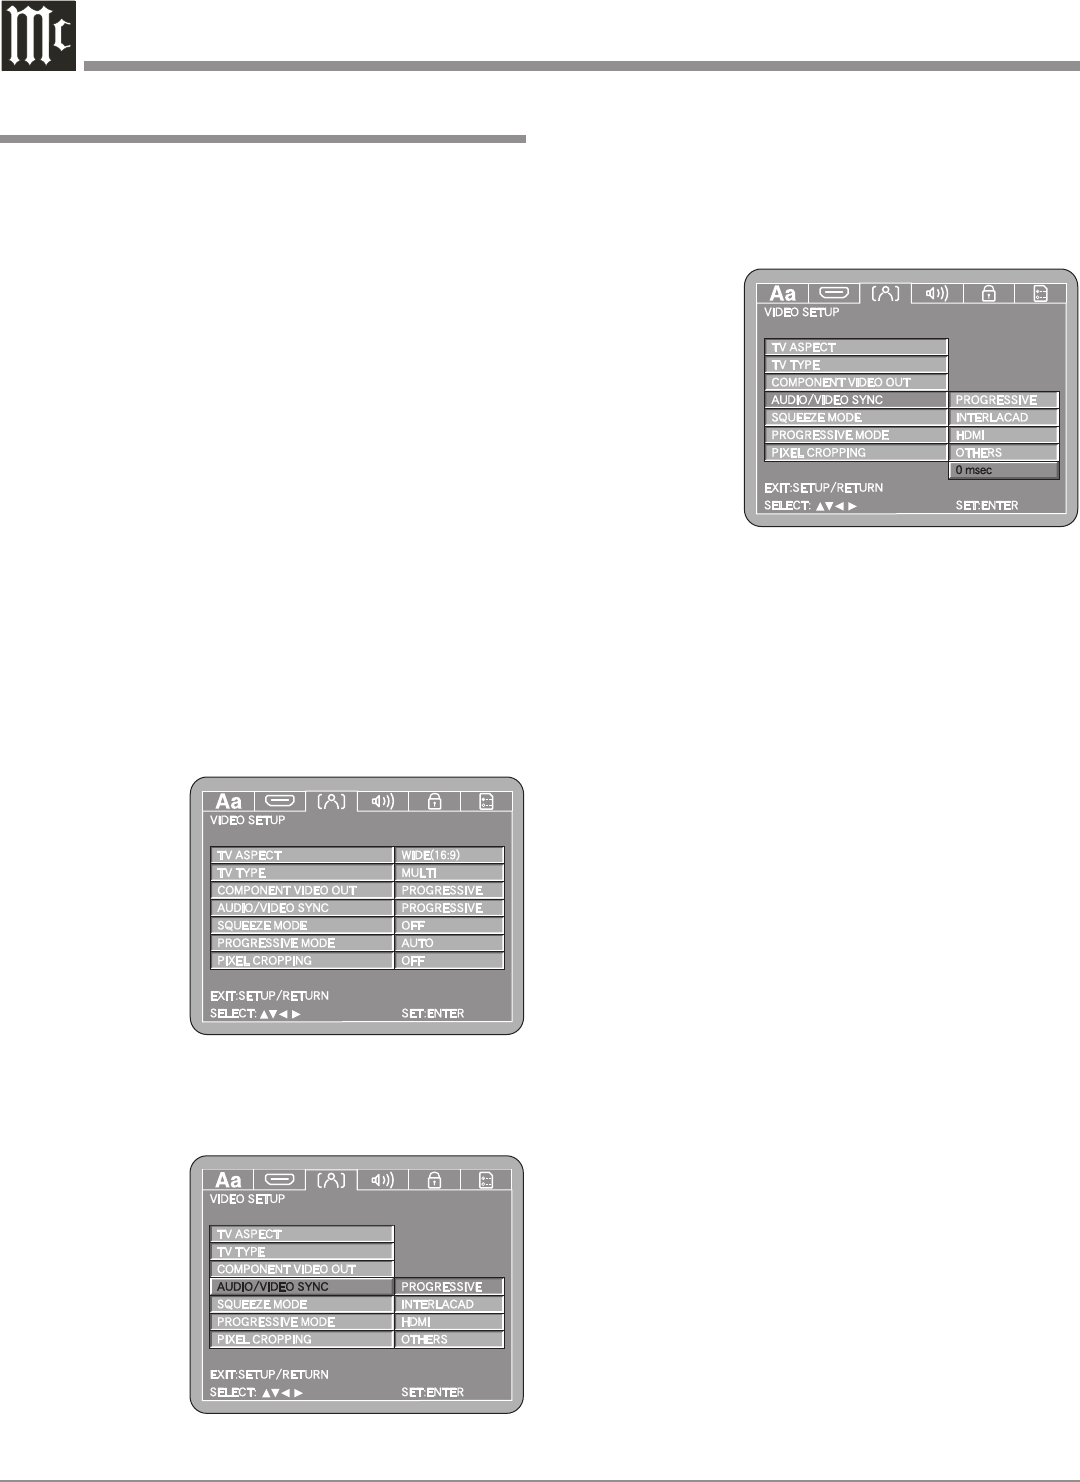
Up or Down directional Push-buttons to select one
of two other presets (Interlaced or HDMI) followed by
pressing the SELECT Push-button. If a different delay
value is needed, use the Up or Down directional
Push-buttons to
select OTHER
followed by
the SELECT
Push-button.
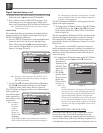
Use the Up or
Down direc-
tional Push-but-
tons to enter
the offset delay
value followed
by the SELECT
Push-button. Refer to figure 32.
Note: The title of the icon button-bar will change color
from yellow (the cursor color) to blue indicating
the selected item.
4. Return to the Video Setup Menu by pressing the Left
followed by the Up directional Push-buttons.
5. Next continue to the SQUEEZE MODE Settings. If
no other changes are to be made in Setup Mode at this
time, exit by pressing the RTRN (Return) Push-button.
Note: The SETUP Push-button may also be pressed to
exit the setup mode.
Squeeze Mode
When the MVP871 is connected to a TV/Monitor with ei-
ther a Component Video or HDMI connection and the TV
Aspect Ratio is set to 16:9 and a video source with an As-
pect Radio of 4:3 is displayed, the image will be stretched
out. The Squeeze Mode will compensate by displaying the
4:3 image in the center of the screen. The default setting is
Off with additional choices of On or Auto. To change from
the default setting perform the following steps:
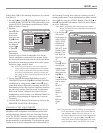
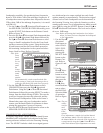
1. Press the SETUP Push-button on the supplied Remote
Control to access the Language Setup Menu. Then
press the Right directional Push-button to select the
Video Menu Icon Tab. Refer to figure 24.
Note: If there is a Disc playing in the MVP871 press
the STOP Push-button twice before pressing the
SETUP Push-button.
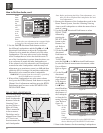
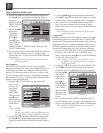
2. Use the Down directional Push-button on the Re-
mote Control to select the SQUEEZE MODE Menu.
Refer to figure 33
3. To change from the default setting use the Right
directional Push-button followed by Up or Down
directional Push-buttons and then press the SELECT
Push-button.
Video Setup, con’t
4. Return to the Video Setup Menu by pressing the Left
followed by the Up directional Push-buttons.
5. Next continue to the AUDIO/VIDEO SYNC Settings.
If no other changes are to be made in Setup Mode at
this time, exit by pressing the RTRN (Return) Push-
button.
Note: The SETUP Push-button may also be pressed to
exit the setup mode.
Audio/Video Sync
Due to the difference in the amount of time it takes for the
processing of the Video and Audio signals, they can be
out of synchronization which is especially noticeable with
dialog. The MVP871 allows for the correction of any loss
of sync. There are separate settings for HDMI (Digital
Video), Analog Video (both Interlaced and Progressive
Scan modes) and OTHER which is a variable setting with
an offset delay 0-200ms. The variable delay is useful when
multiple video connections such as Interlaced, Progressive
and Digital are all used simultaneously. The default setting
is Analog Progressive Scan Video. To change from the
default setting perform the following steps:
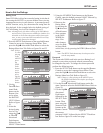
1. Press the SETUP Push-button on the supplied Remote
Control to access the Language Setup Menu. Then
press the Right directional Push-button to select the
Video Menu
Icon Tab. Refer
to figure 24.
Note: If there
is a Disc
playing
in the
MVP871
press
the
STOP
Push-
button twice before pressing the SETUP Push-but-
ton.
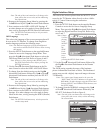
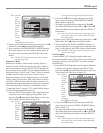
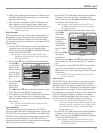
2. Use the Down directional Push-button on the Re-
mote Control to
select the AU-
DIO/VIDEO
SYNC Menu.
Refer to figure
31.
3. To change from
the default
setting use the
Right direc-
tional Push-but-
ton followed by
Figure 31
Figure 32
Figure 24