22
4. Return to the Video Setup Menu by pressing the Left
followed by the Up directional Push-buttons.
5. Next continue to the AUDIO SETUP Settings. If no
other changes are to be made in Setup Mode at this
time, exit by pressing the RTRN (Return) Push-button.
Note: The SETUP Push-button may also be pressed to
exit the setup mode.
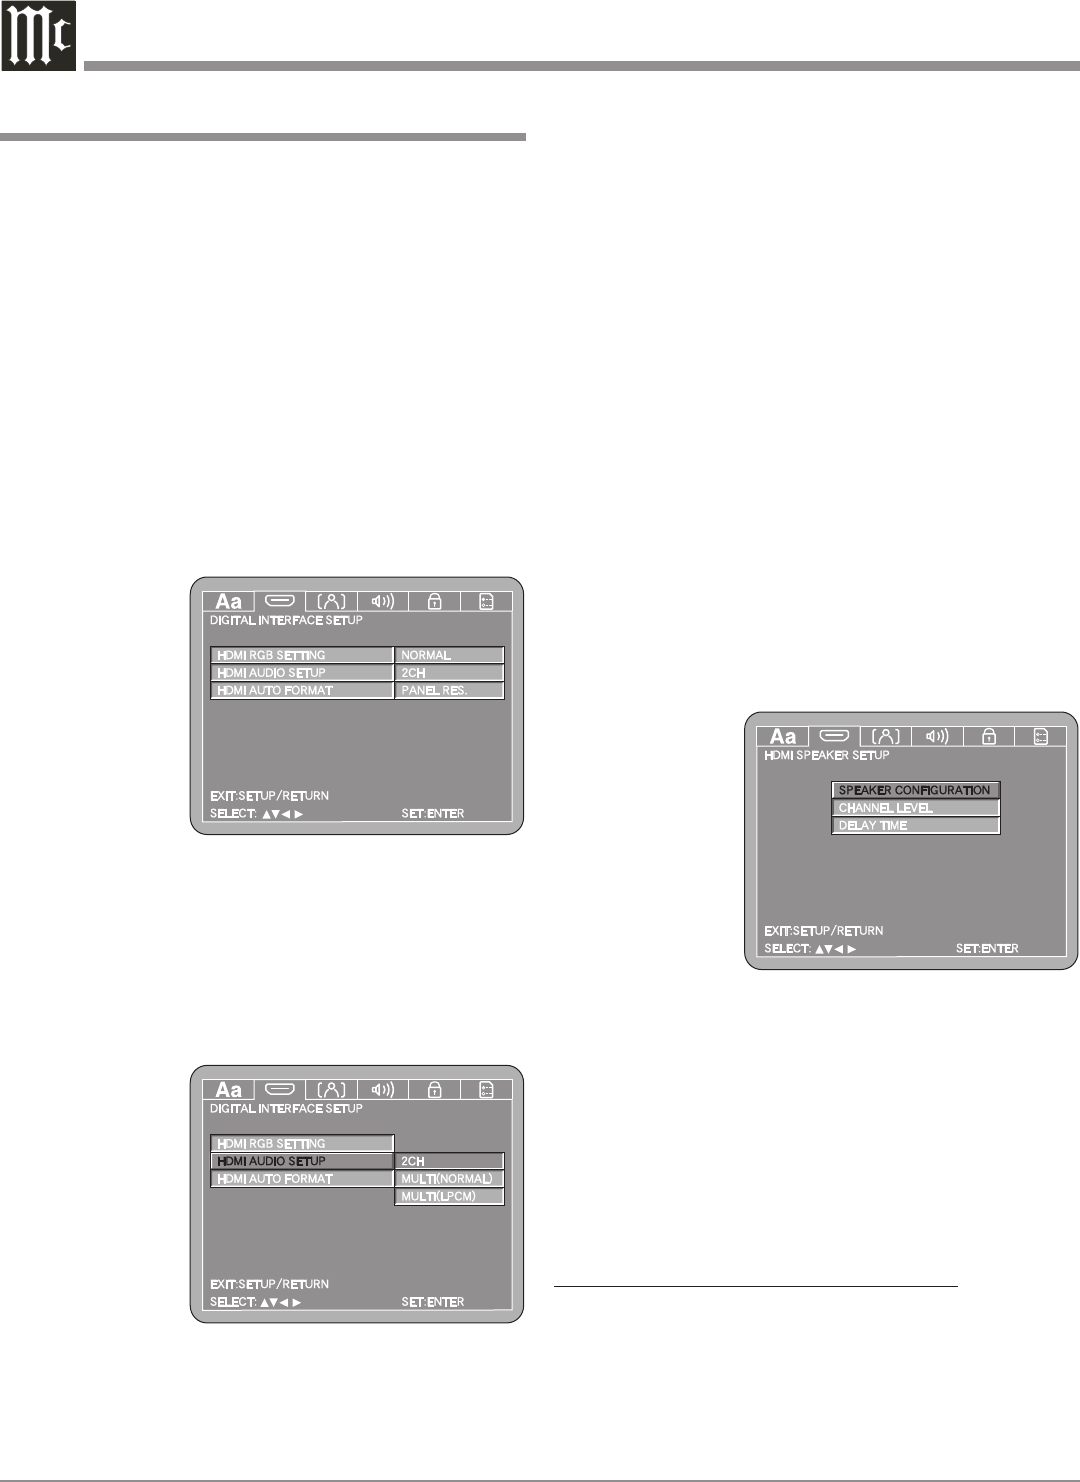
Audio Setup
The Audio Setup selects the number of channels and ad-
ditional settings of the Digital Audio Signal leaving the
MVP871 through the connection.
1. Press the SETUP Push-button on the supplied Remote
Control to access the On-Screen Language Setup
Menu. Then press the Right directional Push-but-
ton to select the Digital Interface Setup Tab. Refer to
figures 5 (on page 20) and 9.
Note: If there is a Disc playing in the MVP871, press
the STOP Push-button twice before pressing the
SETUP Push-button.
2. Use the Down directional Push-button followed by
the Right directional Push-button on the Remote
Control to select Audio Setup. Refer to figure 10.
The 2CH default setting passes thru a two channel digital
audio signal and a
two channel digital
audio signal down
mixed from a multi-
channel disc.
Note: If either of
the MUL-
TIchannel
settings
below are
chosen, the
MVP871 Au-
dio Setup’s
Audio Channel Menu item automatically switches to
MULTI CHANNEL and will use the same settings as
Digital Interface Setup, con’t
the Audio Setup for Speakers Configuration, Channel
Levels and Delay Time; the only exception being there
is no SW+10dB adjustment.
The MULTIchannel (NORMAL) setting passes thru the
digital audio signal unaltered.
3. To change from 2CHannel setting to the MULTIchan-
nel (NORMAL) use the Up or Down directional
Push-buttons followed by the SELECT Push-button.
Refer to figure 10.
The last setting MULTIchannel (LPCM), will decode the
Digital Audio Signal from the disc and will re-encode it
into a digital PCM Audio Signal. It will also allow ad-
justments for Speaker Configuration, Channel Level and
Delay Time.
The circuitry in the MVP871 queries the Inputs of
all the components connected, looking for the number of
channels. The number of channels displayed On Screen
and their possible adjustments are determined by the re
-
sults of the query.
4. To change from 2CHannel setting to the MULTIchan-
nel (LPCM) use the Up or Down directional
Push-buttons
followed by the
SELECT Push-
button. Refer to
figure 10.
5. The HDMI
Speaker Setup
Menu will now
appear On-
Screen. Refer
to figure 11.
Notes: The
title of
the icon button-bar will change color from yellow
(the cursor color) to blue indicating the selected
item. The following steps for Multichannel Loud-
speaker Adjustments (Speaker Configuration,
Channel Level and Delay Time) are also the same
for a 2-Channel Loudspeaker System. If the query
detected a 2-Channel Audio component connected,
only the Front Left and Right Menus items will be
adjustable.
LOUDSPEAKER SIZE CONFIGURATION:
In the steps below the size of the Loudspeakers will be
entered into setup. The LARGE Setting refers to the
Loudspeaker capability for reproducing bass frequencies
down to 35Hz within -3dB of the midrange frequencies. If
a Loudspeaker can not reproduce bass frequencies down to
Figure 10
Figure 11
Figure 9


