26
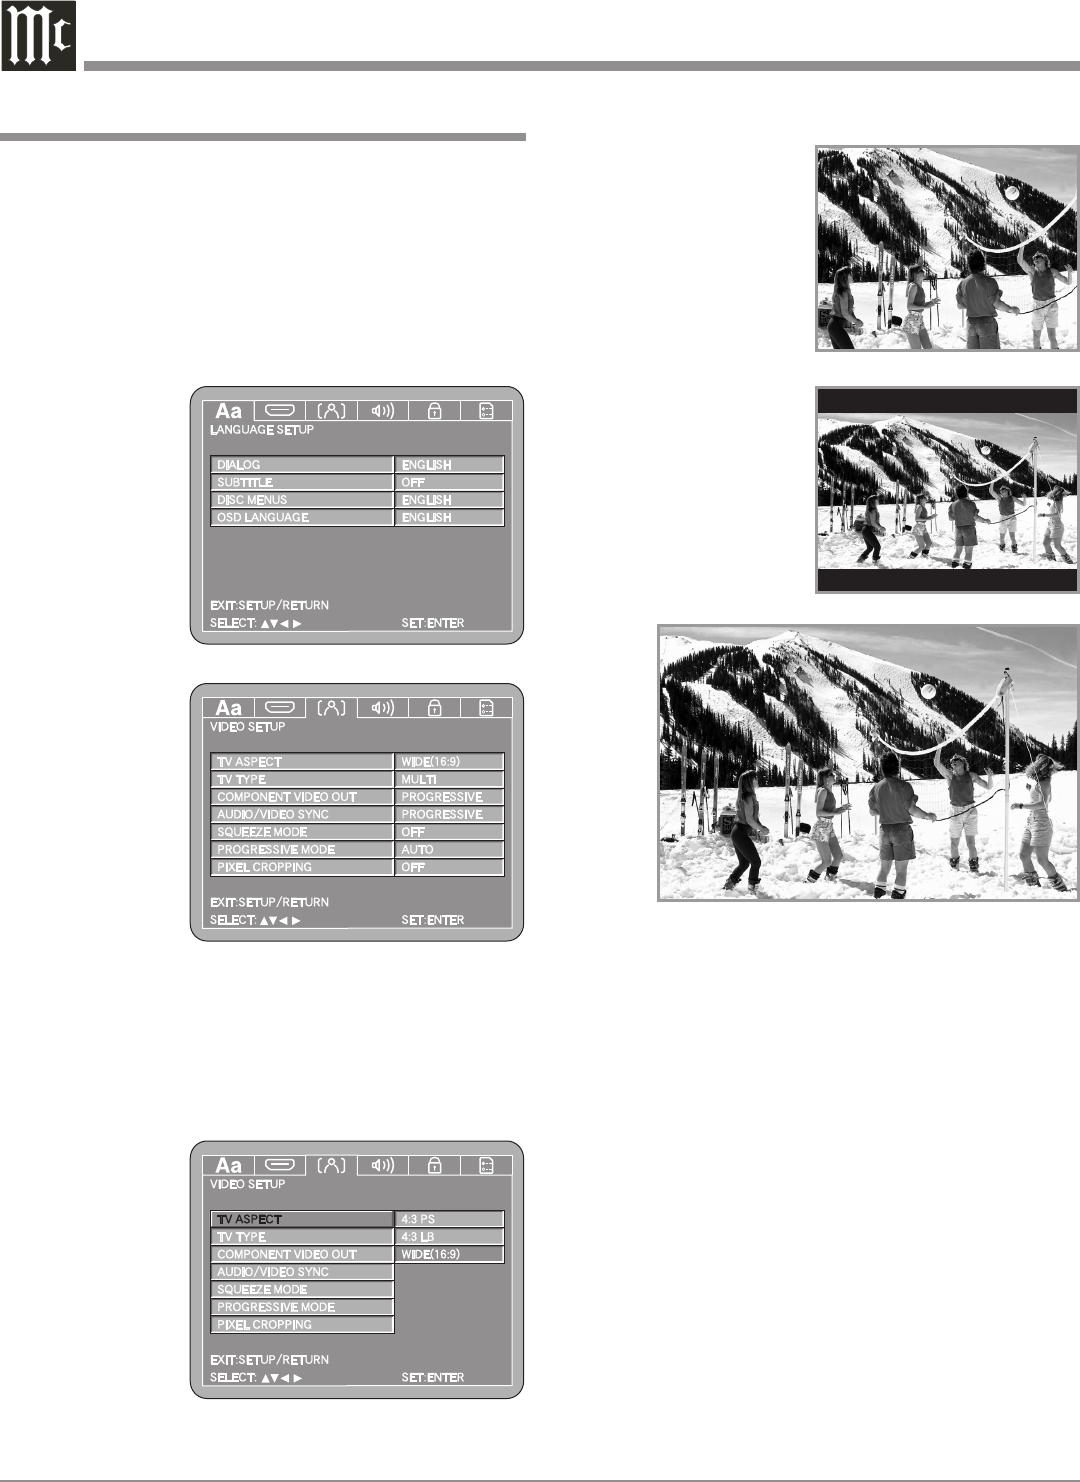
(4:3 PS) Conventional Screen
Mode with Pan and
Scan Format refer to
figure 25.
(4:3 LB) Conventional Screen
Mode with Letter
Box Format refer to
figure 26.
(16:9) Wide Screen Mode
Format refer to figure
27.
Note: The title of
the icon but
-
ton-bar will
change color
from yellow
(the cursor
color) to blue
indicating the
selected item.
4. Return to the Video Setup Menu by pressing the Up
directional Push-button.
5. Next continue to the TV TYPE Settings. If no other
changes are to be made in Setup Mode at this time,
exit by pressing the RTRN (Return) Push-button.
Note: The SETUP Push-button may also be pressed to
exit the setup mode.
TV Type
This selects the proper video signal format to match the
capabilities of the connected TV/Monitor. To change from
the default setting of MULTI perform the following steps:
Notes: The TV Type for use in U.S. and Canada is NTSC, for
use in parts of Europe is PAL and the MULTI Mode
will automatic select the proper video signal format. If
the TV/Monitor is displaying an image without color
and/or a loss of Horizontal/Vertical Synchronization,
refer to the TV/Monitor Owner’s Manual to determine
the correct setting to be used.
1. Press the SETUP Push-button on the supplied Remote
Control to access the Language Setup Menu. Then
TV Aspect
This selects the proper display ratio of height and width
to match the TV/Monitor connected to the MVP871. To
change from the default setting of Wide (16:9) perform the
following steps:
1. Press the SETUP Push-button on the Remote Control
to access the Language On-Screen Setup Menu. Then
press the Right
directional Push-button to select the
Video Setup Menu Icon Tab. Refer to figure 23.
Note: If there
is a Disc playing in the MVP871 press the STOP
Push-button twice before pressing the SETUP
Push-button.
2. Use the Down directional Push-button followed by
the SELECT Push-button on the Remote Control to
select the TV ASPECT Menu. Refer to figures 24 and
25.
3. To change
from the Wide
(16:9) setting
use the Up
or Down
directional
Push-buttons
followed by the
SELECT Push-
button:
Video Setup
Figure 28
Figure 26
Figure 27
Figure 23
Figure 24
Figure 25


