


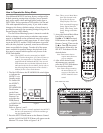
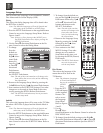
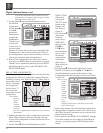

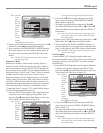
24
to the next Loudspeaker three seconds after user
adjustments have stopped. Refer to figure 16 if the
Automatic Mode will be used.
3. Use the Down directional Push-button to select
the different
Louspeakers
and the Right
or Left
directional
Push-buttons
to adjust the
Loudspeaker
Volume Level
to match the
volume level of
the other Loud-
speakers. This may take several cycles through all the
Loudspeakers to achive the desired results. If one of
the Loudspeakers is quieter than the others, use it as a
reference to match the other loudspeakers to.
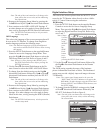
4. When all the Loudspeakers are at the same volume
level press the RTRN (Return) Push-button to stop the
Channel Level Adjustments and then press the RTRN
Push-button again to return to the SPEAKER CON-
FIGURATION Menu.
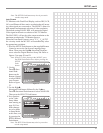
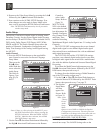
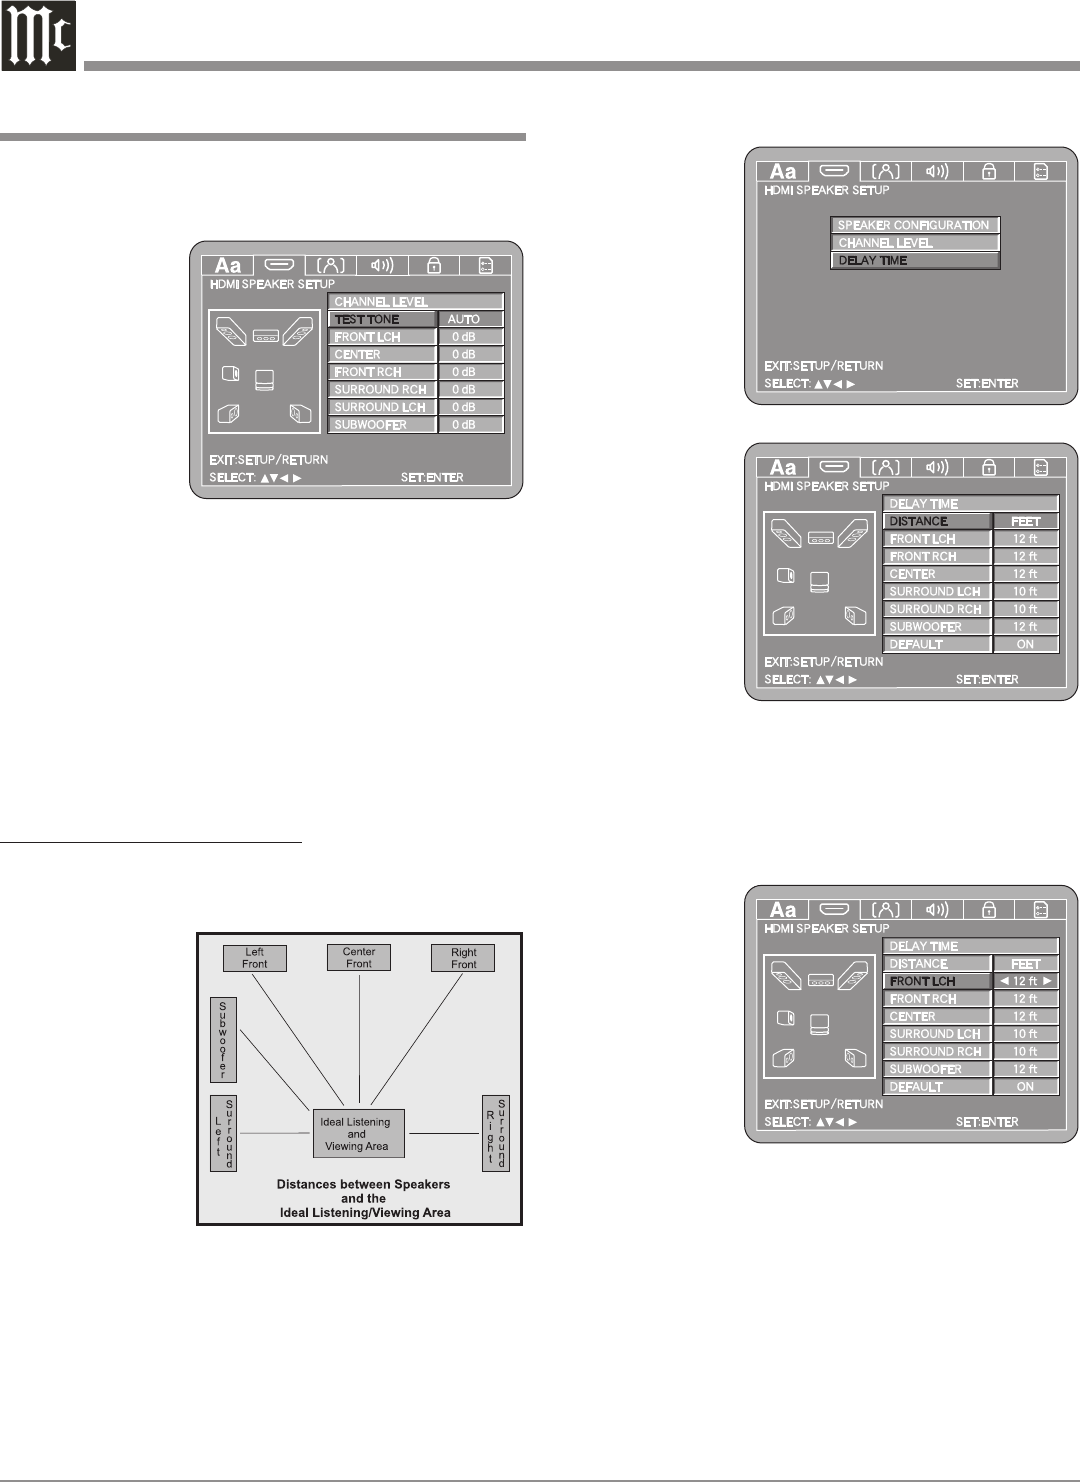
DELAY TIME ADJUSTMENTS:
The following Delay Time Adjustments will electronically
compensate for different Loudspeaker distances from the
Listening/Viewing Area. Refer to figure 17. Delay Time is
measured in feet or
meters. The delays
can be adjusted
from 0 foot to 27
feet in one foot
increments for each
Loudspeaker.
Note: Before
perform-
ing the
Delay
Time ad-
justments,
you must
first have completed the Loudspeaker Size and Level
adjustments.
1. Measure the distances of the Loudspeakers used in the
Home Theater System, from the Listening/Viewing
Area to each Loudspeaker to within the nearest foot or
tenth of a meter.
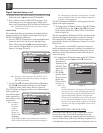
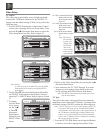
2. Use the Down directional Push-button to select
Digital Interface Setup, con’t
DELAY TIME
followed by
pressing the
SELECT Push-
button on the
Remote Con-
trol. Refer to
figure 18.
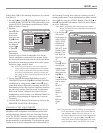
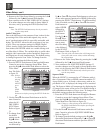
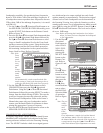
3. Use the Down
directional
Push-but-
ton to select
DISTANCE
then press the
Right or
Left direc-
tional Push-but-
tons to select
the desired
measurement
increments,
either Feet or
Meters. Refer to
figure 19
4. Use the Down directional Push-button to select
FRONT LCH then use the Right or Left direc-
tional Push-buttons to enter in the distance of the
Loudspeaker from the Listening/Viewing Area. Refer
to figure 20.
Note: To reset
all the
Loud-
peaker
Delay
Time
settings
to the
default
settings
first
select
DEFAULT menu choice and then press the SE-
LECT Push-button.
5. Enter in the distances for the remaining Loudspeakers.
6. When all the Loudspeaker distances are entered, press
the RTRN (Return) Push-button twice to return to the
Digital Interface Setup.
7. Next continue to the HDMI AUTO FORMAT Settings.
If no other changes are to be made in Setup Mode at
this time, exit by pressing the RTRN (Return) Push-
button.
Figure 16
Figure 17
Figure 18
Figure 19
Figure 20