42
ADVANCED FUNCTIONS
Convergence and Edge Focus
The crosshatch pattern that may surround the test screen may
be used to evaluate edge focus and convergence in front- or rear-
projection video displays. If you are unable to improve the picture
using the available controls, contact the video display manufacturer’s
authorized service representative for assistance.
When you have finished making any video adjustments, press the
Back/Exit Button.
MULTIZONE OPERATION
With the multizone system in use, you may enjoy an exciting
5.1-channel home theater presentation in the main listening area,
while others listen to the same materials or an entirely different
presentation in another room.
Although installation of a multizone system is not complicated, it
requires running wires inside walls. Check your local building codes
and comply with the requirements for in-wall wiring systems, to
prevent the possibility of a dangerous situation. If you have any
questions about installing a multizone system, it is strongly recom-
mended that you contact a professional custom installer. See Step
Nine of the Installation section on page 23 for instructions on
installing a multizone system.
Operating the Multizone System
The AVR 2600’s multizone system is accessed using the on-screen
Zone 2 menu. Press the Setup Button, and use the 5/1 Buttons
to navigate to the Zone 2 line. Press the OK Button to display the
Zone 2 menu. See Figure 39.
Figure 39 – Zone 2 Menu
Status: Turns the multizone system on or off. When no one is
listening in the remote room, leave this setting at the default of OFF.
Source: Indicates the source input for the remote zone. You may
select a different source from the main listening area. However, if the
same source has been selected for both the main listening area and
the remote zone, listeners in both areas will hear the same content.
NOTE: Only analog audio sources, including The Bridge III,
are available to the multizone system. To hear digital devices,
such as a CD player, in the remote zone, follow these steps:
1. In addition to a digital audio connection, connect the source
device’s analog audio outputs to the AVR. Make a note in
Table A5 in the appendix which set of inputs was used.
2. In the Info Settings menu, leave the Audio Input From
Source setting at the digital audio input. Scroll down to the
Zone 2 Audio setting and select the analog audio input.
Volume: The volume is controlled separately for the remote zone.
Surround Back Amps: Informational only. Automatically
reassigns the surround back channels to the multizone system
when the multizone system is turned on. When this line is set to
Zone 2, you may only configure the main listening room for up to
5.1 channels. Since the EzSet/EQ process will only configure the
main system, use the Manual Setup section of the Speaker Setup
menu to configure the remote speakers with the Status setting off,
then turn the Status setting on.
To operate the multizone system using the main remote, slide the
Zone Select Switch at the bottom of the remote to the “2” position.
To select a zone using the Zone 2 remote, press the Zone Selector,
and the Zone Indicator will turn green when the remote is set to
operate Zone 1, or red to operate Zone 2.
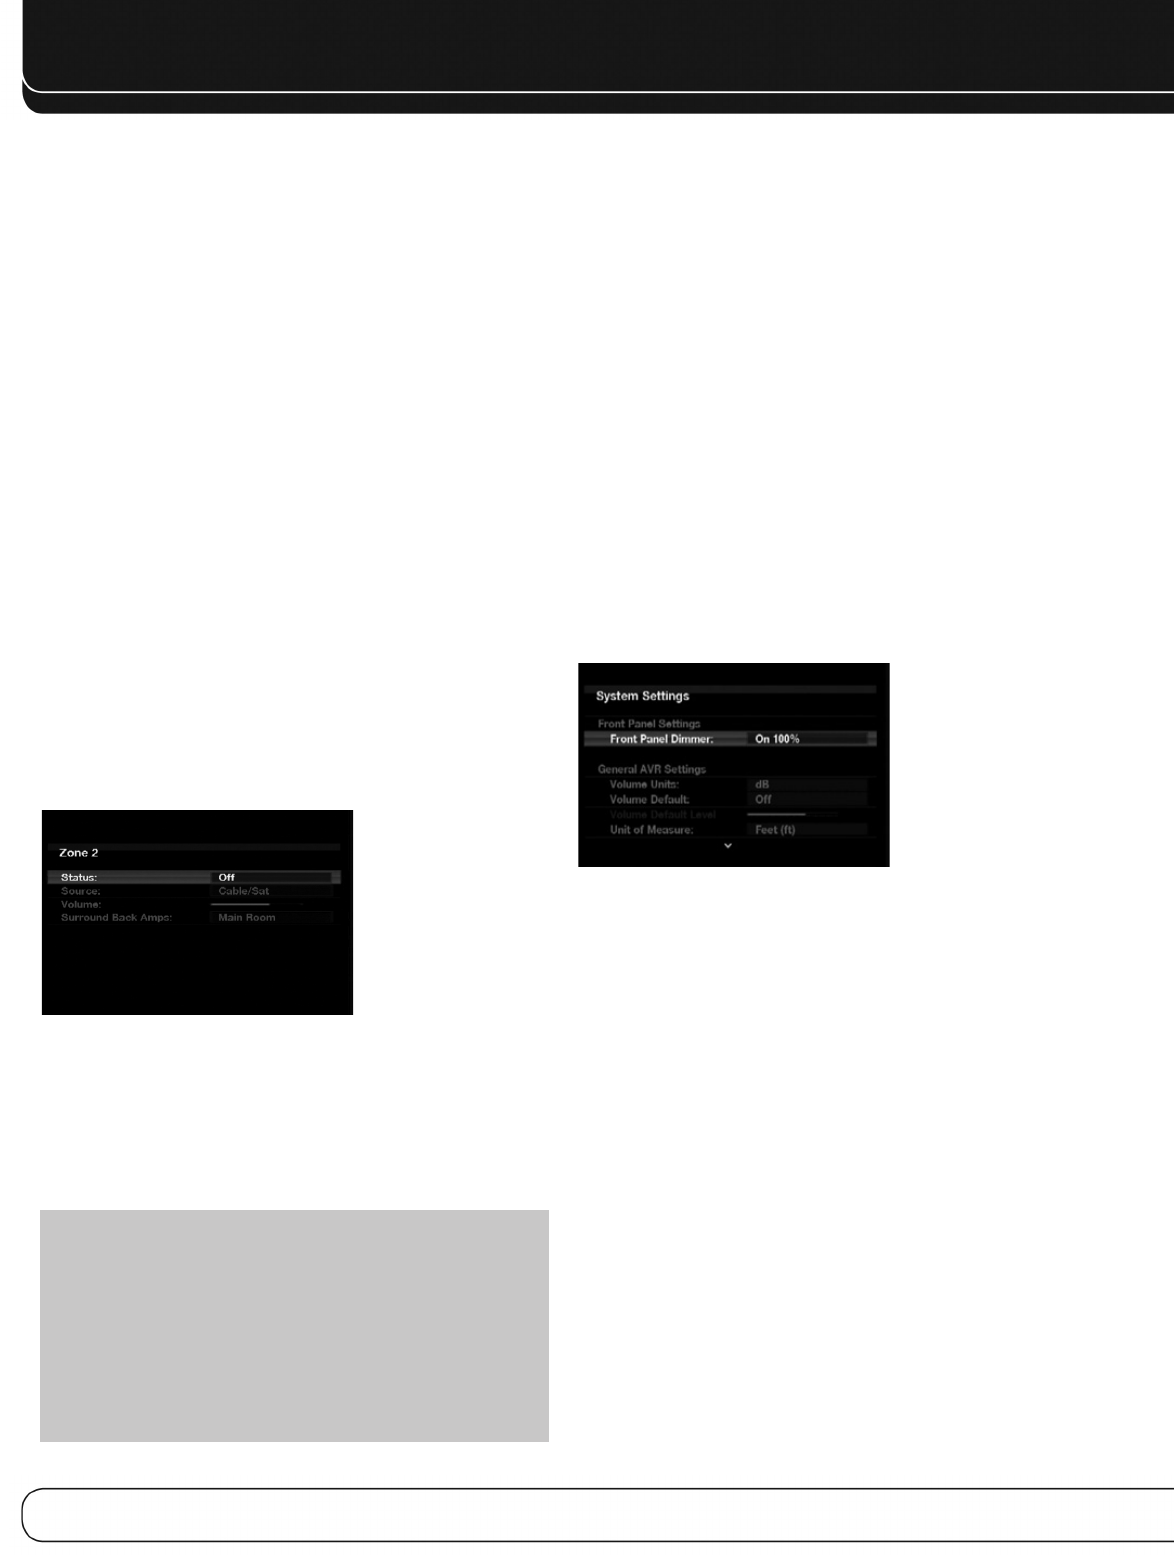
SYSTEM SETTINGS
The AVR 2600 offers system settings for ease of use. These
settings may be accessed from the System Settings menu, which
is selected by pressing the Setup Button and navigating to the
System line. Press the OK Button to display the System Settings
menu. See Figure 40.
Figure 40 – Systems Settings Screen
Front-Panel Dimmer: Select On 100% for full brightness,
dim to 50% or 25% of full brightness or select Off to fully darken
the display. The light inside the Volume Control will go out when the
display is partly or fully dimmed, but the Power Indicator will always
remain lit to remind you that the AVR is powered on.
General AVR Settings
Volume Units: Select whether volume is displayed in the
conventional decibel scale or on a numeric scale from 0 to 90.
When the decibel scale is used, 0dB is the maximum recommended
volume, with lower volumes displayed as negative values.
Volume Default and Volume Default Level: These two
settings are used together to program the volume level at turn-on.
Turn Volume Default on, and then set the Volume Default Level to
the desired turn-on volume. When the Volume Default setting is left
off, the AVR will play at the last-used volume setting from the previ-
ous listening session.
Unit of Measure: Adjusts the speaker-distance settings for
Manual Speaker Setup. Select between meters and feet.
Language: Select the preferred language for the AVR’s on-screen
menus and displays: English, French, Spanish, German, Italian or
Russian.
0142CSK - HK AVR 2600 OM Inlay_ENG_v2.qxp:HKP1477AVR245om.v2.qxd 26/05/09 10:36 Side 42


