8. Image Menu
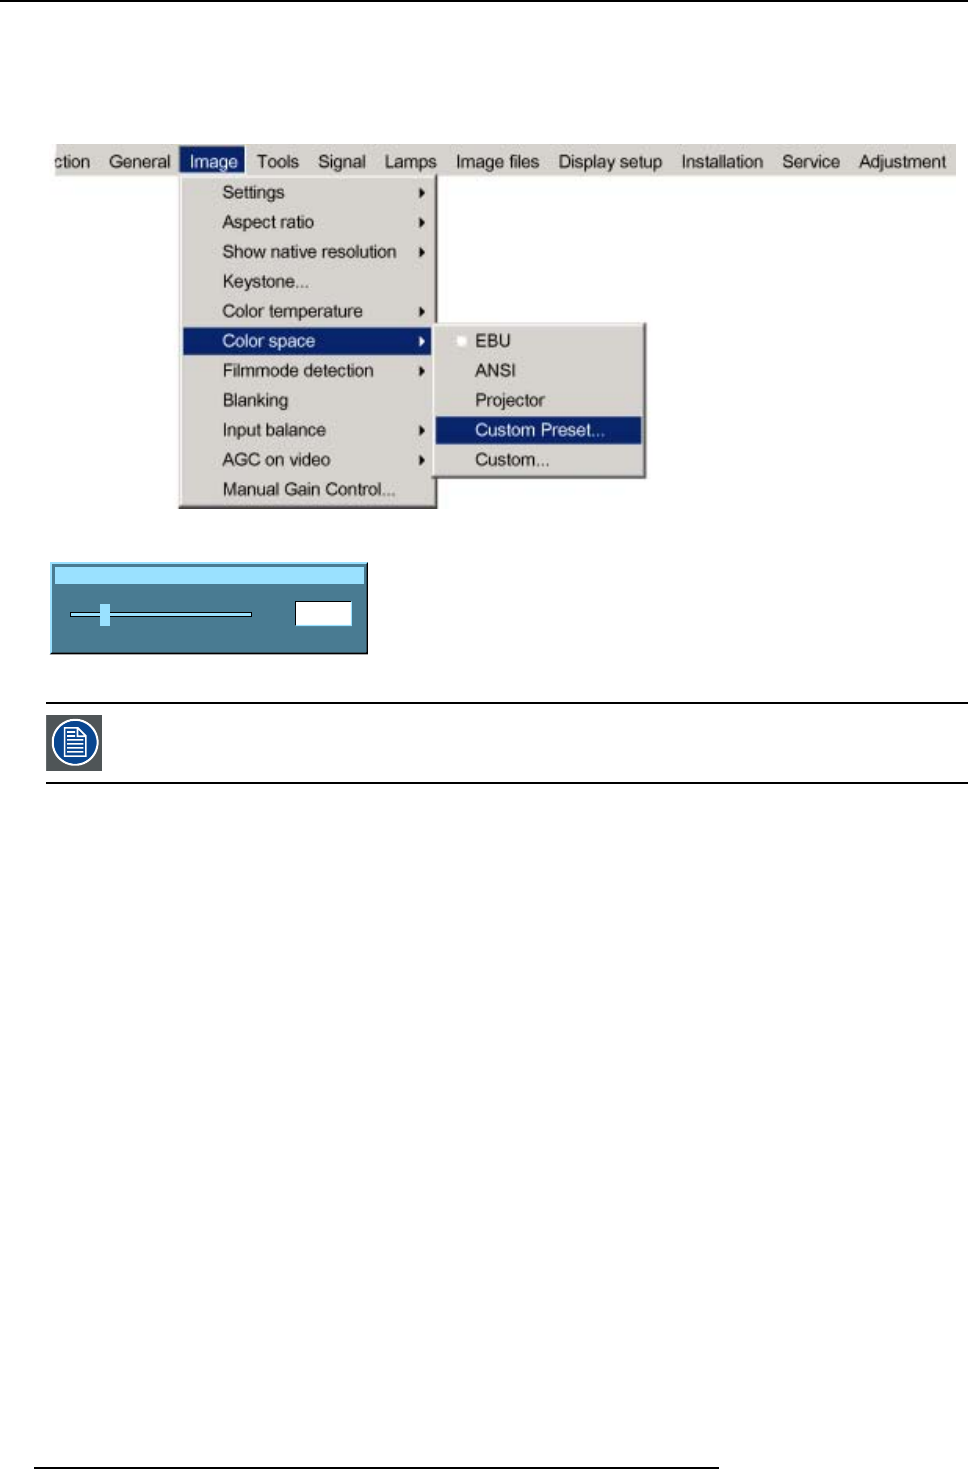
A slide box for Red x-coordinate will be displayed as well as a wizard text box in the lower part of the screen. (image 8-29)
Adjust first Red x to the desired value. Use COLOR to switch to the next adjustment. The adjustment order is Red x → Red y
→ Green x → Green y → Blue x → Blue y.
The created color space is save as Custom Preset and can be recalled at anytime.
Image 8-28
Red x
200
0
1000
Image 8-29
the x and y coordinate changes between 0.00 and 1.00. For practical reasons, the values on the slider box are
multiplied by 1000.
How to
change the custom color space ?
1. Press MENU to activate the menu bar.
2. Press → to select the Image item. (image 8-30)
3. Press ↓ to pull down the Image menu.
4. Use ↑ or ↓ to select Color space.
5. Press → to pull down the menu.
6. Use ↓ or ↑
to select the Custom.
7. Press ENTER.
A slide box for Red x-coordinate will be displayed as well as a wizard text box in the lower part of the screen. (image 8-31)
Adjust first Red x to the desired value. Use COLOR to switch to the next adjustment. The adjustment order is Red x → Red y
→ Green x → Green y → Blue x → Blue y.
When anot
her color space is selected, the current values will be lost.
78
R5976817 RLM H5 02/06/2006
