7. General Menu
Howtofreezetheimage?
1. Press MENU to activate the menu bar.
2. Press → to select General.
3. Press ↓ to pull down the General menu.
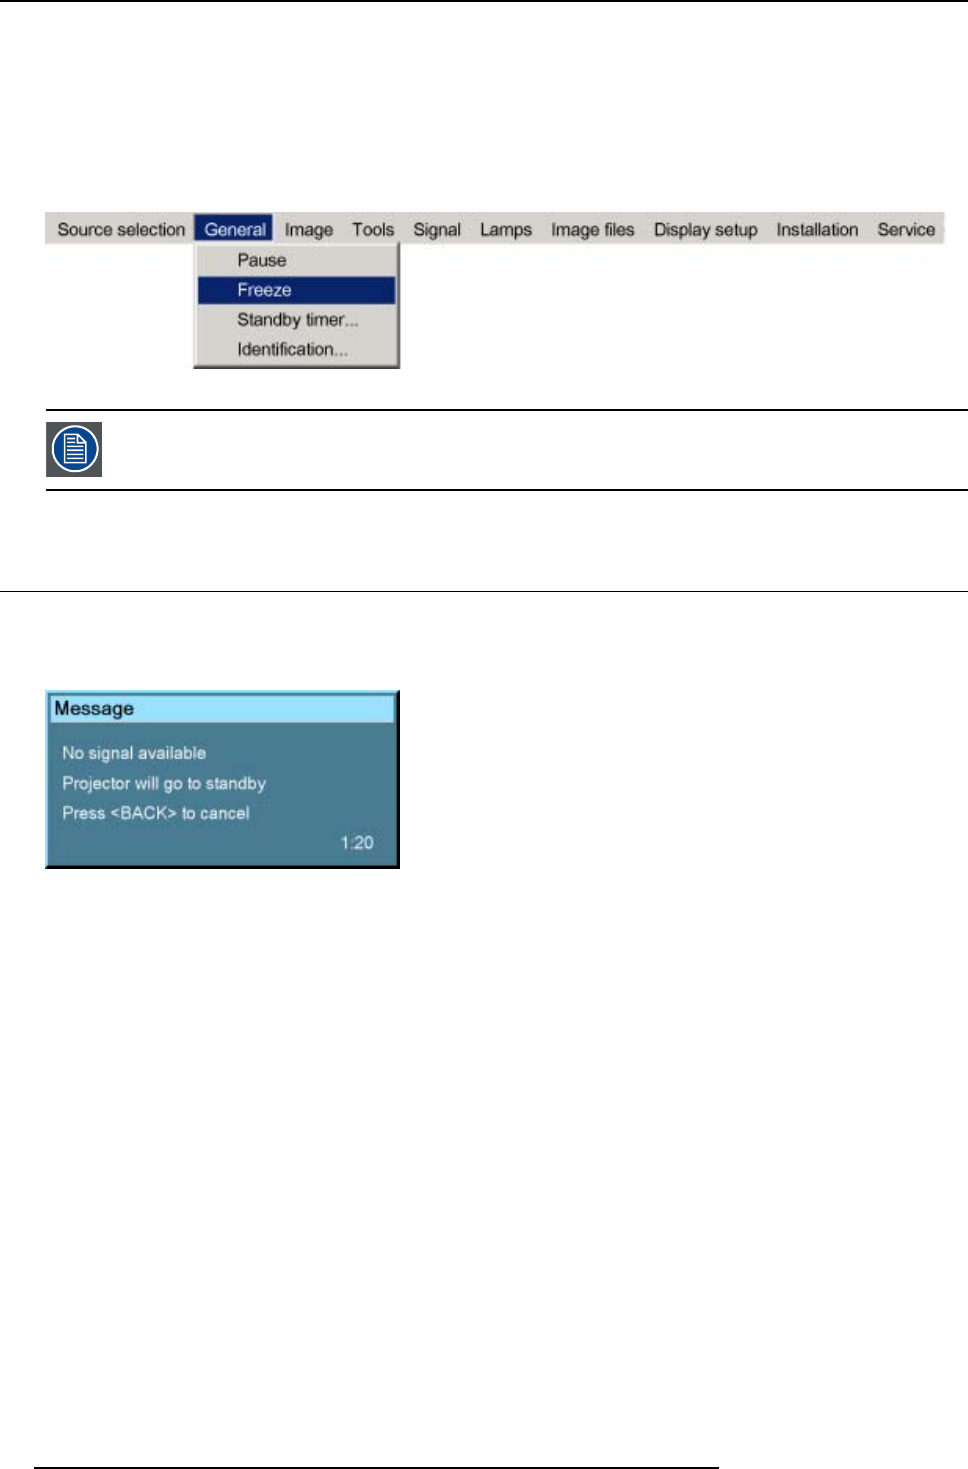
4. Use ↑ or ↓ to select Freeze. (image 7-2)
5. Press ENTER to activate the Freeze function.
Image 7-2
The image can also be frozen using the FREEZE key on the RCU.
7.4 Standby Timer
Purpose of the Standby Timer
If there is no signal, and the standby timer is enabled, a dialog box is displ
ayed and the projector will shut down after a determined
time.
Image 7-3
The countdown time can be set in a dialog box in a range from 180 to 3600 seconds (default value = 300). The Timer can also be
disabled.
How to enable the standby timer ?
1. Press MENU to activate the menu bar.
2. Press → to select General.
3. Press ↓ to pull down the General menu.
4. Use ↑ or ↓ to select Standby Timer.(image7-4)
5. Press ENTER to activate the function.
On the screen appears a dialog box. (image 7-5)
6. Use ↑ or ↓ to select Enabled .
A box surrounds the selected item.
7. Press ENTER to activate.
8. Use ↑ or ↓ to browse to the input field.
9. Use ← or → , the numeric keys on the remote or the keypad to change the countdown setting.
10.Press MENU or BACK to exit or to go back to the previo
us menu.
58
R5976817 RLM H5 02/06/2006


