13. Display Setup
How to set up Auto Image?
1. Press MENU to activate the menu bar.
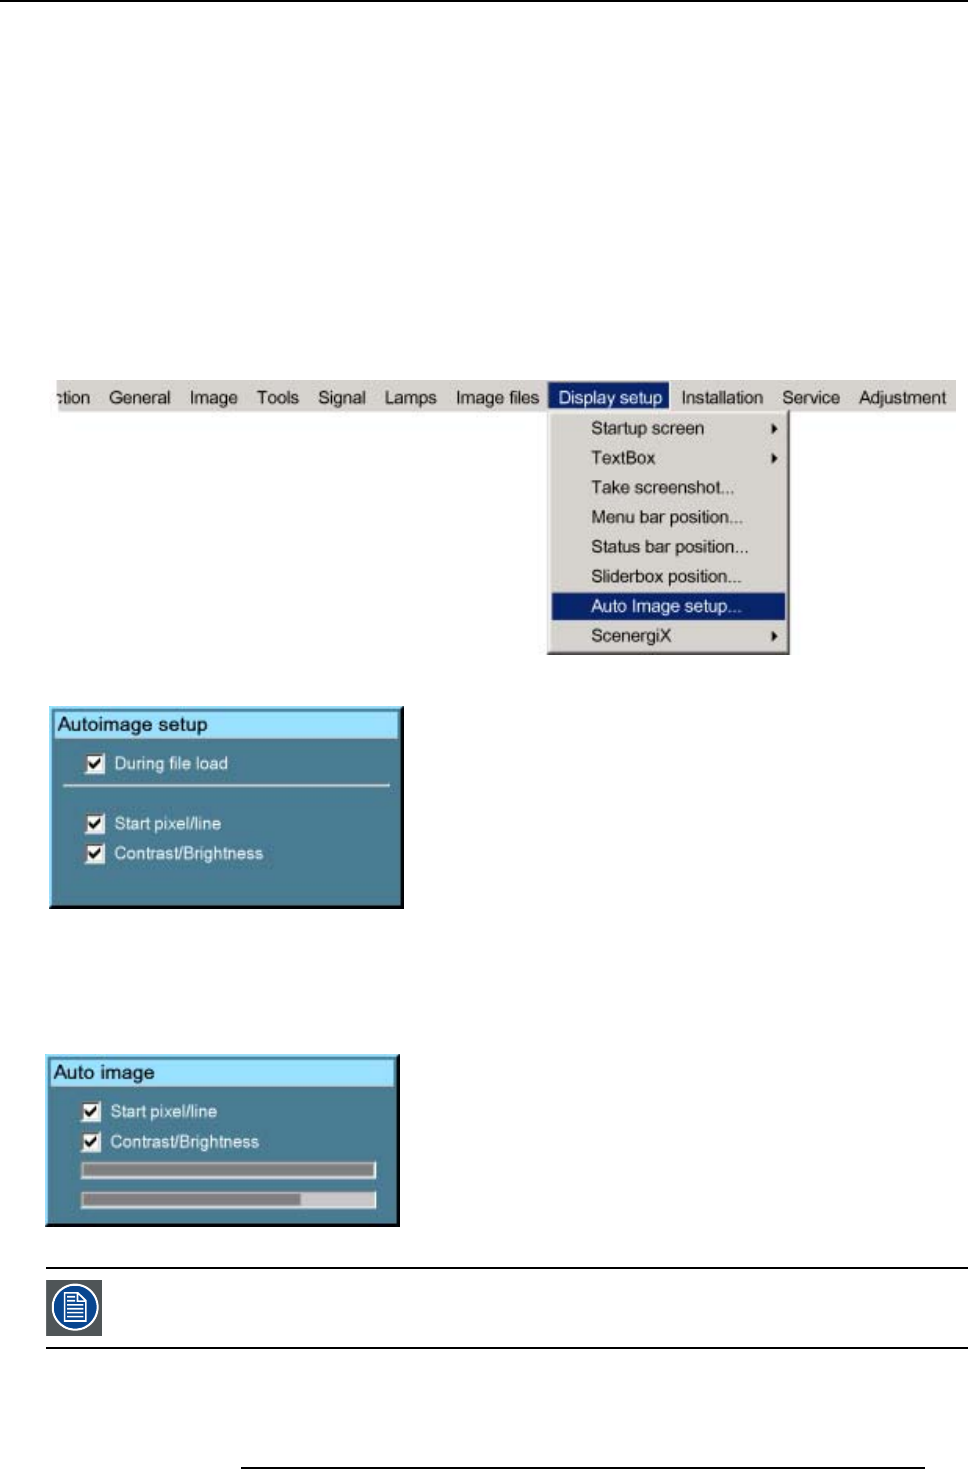
2. Press → to select the Display setup item. (image 13-9)
3. Press ↓ to pull down the Display setup menu.
4. Use ↑ or ↓ to select Auto Image setup.
5. Press ENTER to confirm.
A dialog box is displayed. (image 13-10)
6. Use the arrow keys to select the desired item and press ENTER to enable or disable that item.
During file load When checked and when a new file is loaded for the first time due to a switch from one source to
another source, the selected auto image setup will be executed.
When the new loaded file was already once used, then the auto image detection will not be done.
Image 13-9
Image 13-10
How to perfo
rm Auto Image ?
1. press Auto Image on the RCU
A text box showing a progress bar is displayed. (image 13-11)
Image 13-11
During the AUTO IMAGE measuring process the data source disappears temporarily.
R5976817 RLM H5 02/06/2006 123
