


2. Installation Guidelines
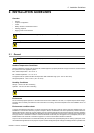
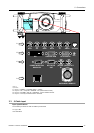
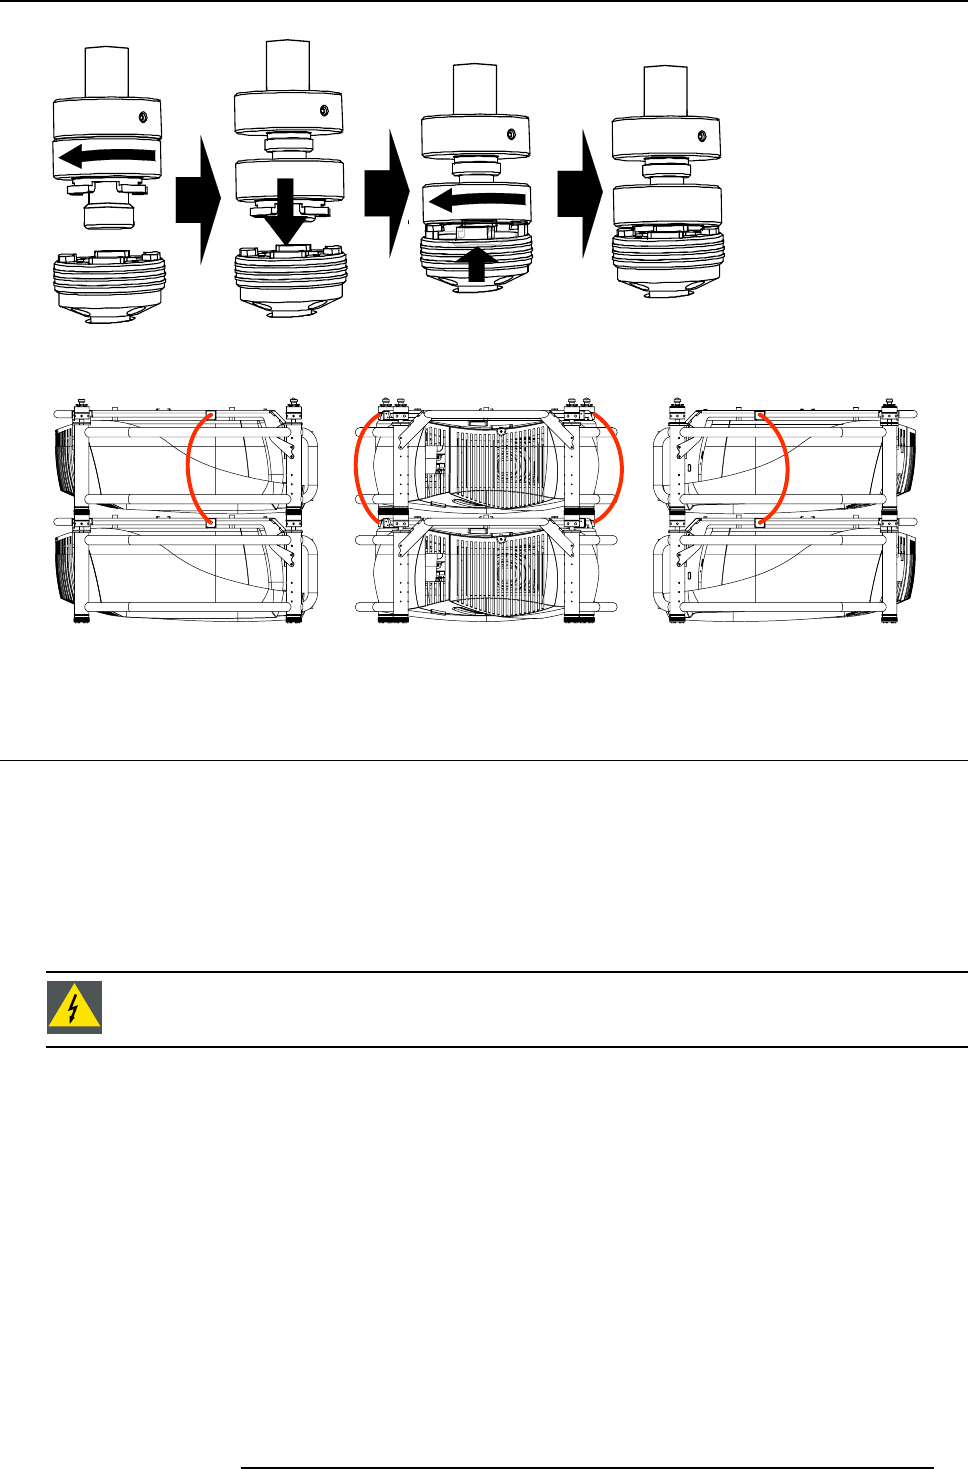
Image 2-8
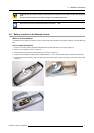
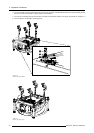
Closing the rigging sockets
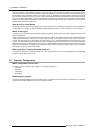
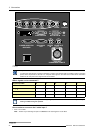
Image 2-9
Mounting the security chain
2.6 Riggi
ng points and accessories
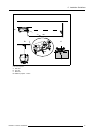
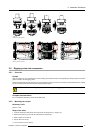
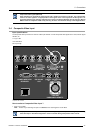
2.6.1 Overview
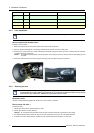
Clamps
Slo
ts are made in the carry handle frame for easy inserting the overlockers and for easy adjusting the clamps position so that this
position matches with the rigging points.
Consult a professional structural engineer prior to suspending the ceiling mount from a structure not intended for that use. Always
ensure the working load limit of the structure supporting the projector.
WARNING: When mounting the projector to the ceiling or to a rigging system, always mount security chains.
Complete documentation
For a complete documentation consult manual R5976746.
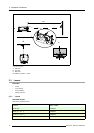
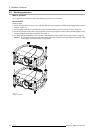
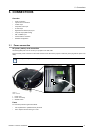
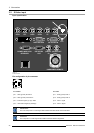
2.6.2 Mounting the clamps
Necessary tools
Wrench 17 mm
Steps to be taken
1. Insert the mushroom head square neck bolt into the mounting hole (1). (image 2-10)
2. Slide the bolt into the groove until the exact position is reached (2).
3. Slide a washer on the bolt (3).
4. Secure with a first nut (4).
5. Turn a second nut on the bolt (5).
R5976817 RLM H5 02/06/2006
19