masterpage:Left
filename[E:\SONY\STRLV700R_2nd\4249847121GB\4249847121\4249847121STRLV700RCEL
\01GB09_STR-LV700-CEL.fm]
76
GB
model name1[STR-LV700R]
[4-249-847-12(1)]
To cancel a timer recording
1 In step 3 of “Timer recording”, use /
to select the timer recording that
you want to cancel, and then press the
SELECT button.
A submenu appears.
2 Use / to select Cancel Timer
programming, and then press the
SELECT button.
A confirmation message appears.
3 Use / to select OK, and then
press the SELECT button.
This cancels the timer recording.
To change a timer recording
1 In step 3 of “Timer recording”, use /
to select the timer recording that
you want to change, and then press the
SELECT button.
A submenu appears.
2 Use / to select Change Timer
programming, and then press the
SELECT button.
3 Change the timer recording settings,
select OK, and then press the SELECT
button.
The timer recording settings are changed.
You can change the recording mode.
Read this section along with “Recording
television broadcasts” (page 73).
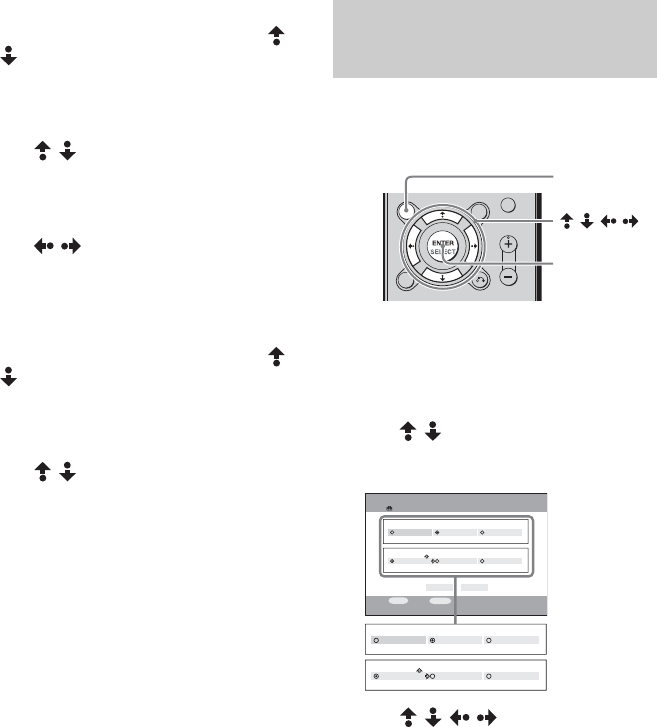
1 When watching a television broadcast
received by the VAIO computer, press
the OPTIONS button.
The OPTIONS menu appears.
2 Use / to select TV Settings, and
then press the SELECT button.
The TV Settings screen appears.
3 Use / / / to select High
Quality (high image quality),
Standard (medium image quality), or
Long Play (low image quality) as the
recording mode.
4 Select OK, and then press the
SELECT button.
The television screen reappears.
Note
When recording, it is not possible to change the
recording mode (High Quality, Standard, Long
Play).
Changing the recording
quality
///
SELECT
OPTIONS
Settings
TV Settings
OK CANCEL
High Quality
REC Mode
Standard Long Play
High Quality
Live Mode
Standard Low Bandwidth
SELECT
:Select
RETURN
:Return
High Quality
REC Mode
Standard Long Play
High Quality
Live Mode
Standard Low Bandwidth
