6
¶4¢
£8
•
1¡
7
MUSIC
SCAN
123
456
789
CLEAR
0
DISPLAY
MODE
MARGIN
RESET
SKIP
PLAY
REPEAT
1/ALL
CHECK ENTER
OPEN/
CLOSE
RMS
MODE RESET
COUNTER
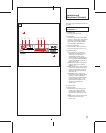
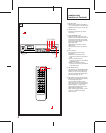
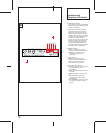
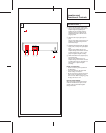
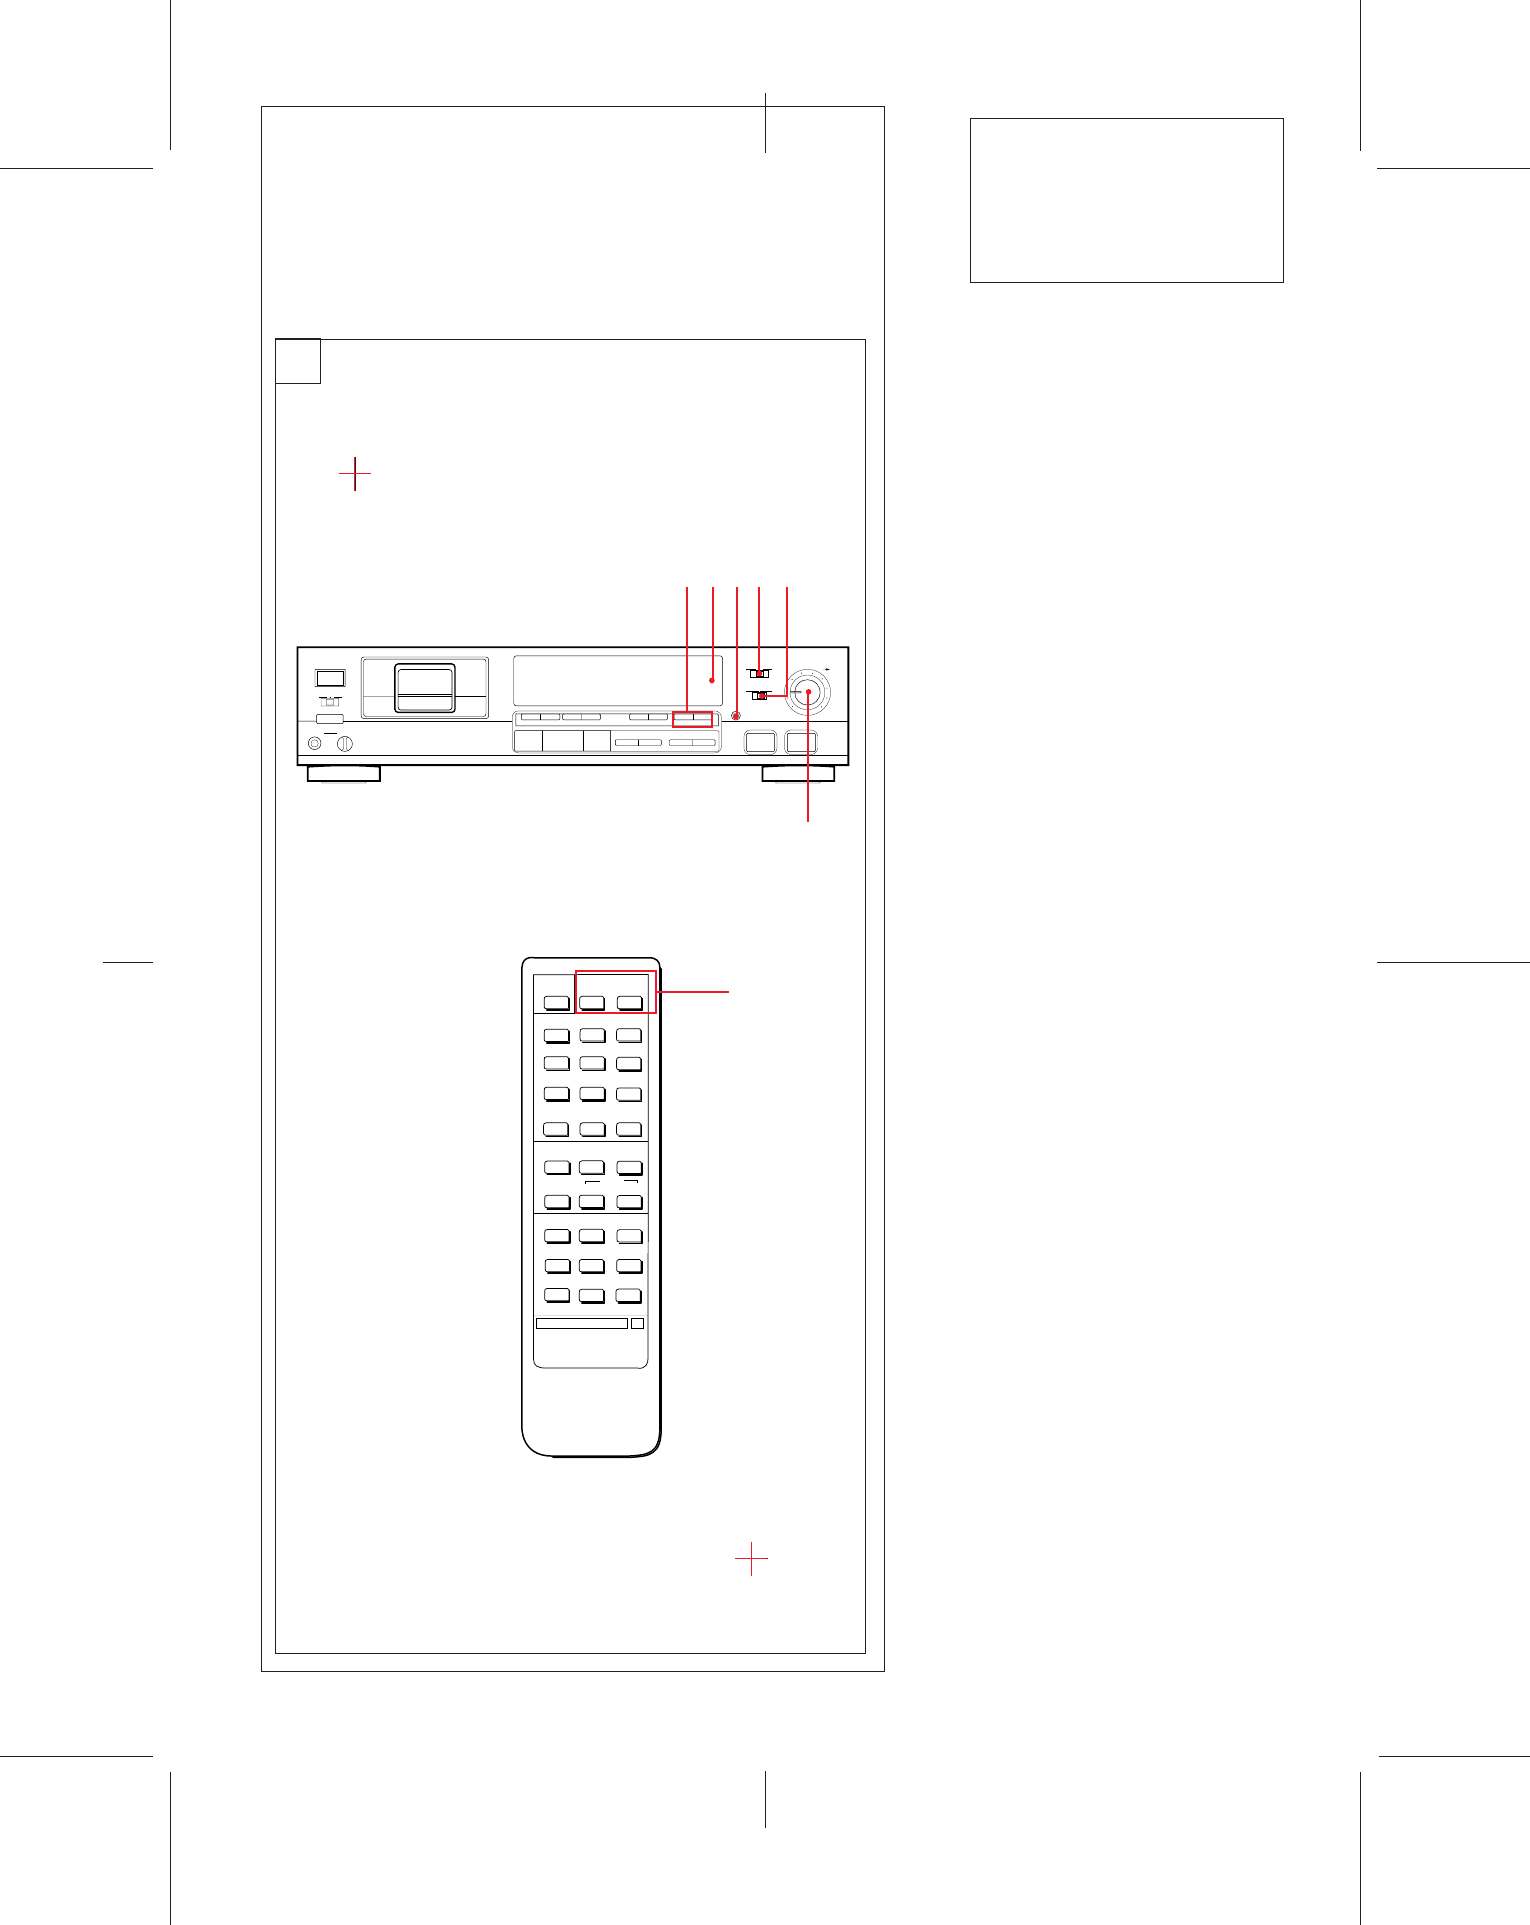
7 END ID buttons
WRITE: Press to write the ID signifying
the end of playback or recording. (40)
ERASE: Press to erase the end ID. (42)
8 Remote sensor
Receives the signal from the remote
commander.
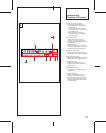
9 COUNTER MODE button
Selects the display mode among the
absolute time, remaining time to the end
of whole tape and linear counter (tape
running time). Each time you press the
button, the display changes
sequentially. (44)
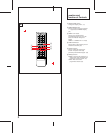
RESET button (only with the remote
commander)
Resets the linear counter to “0M 00S”.
(44)
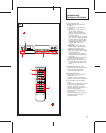
p INPUT selector
Set according to the signal to be
recorded.(21)
ANALOG: For recording from the
equipment connected to the LINE IN
jacks.
OPT: For recording from the
equipment connected to the DIGITAL
IN (OPTICAL) jack.
COAXIAL: For recording from the
equipment connected to the DIGITAL
IN (COAXIAL) jack.
q REC MODE selector
Normally set to the STANDARD position.
When this selector is set to the LONG
position, you can record analog input
signals or digital signals with 32 kHz in
the long-play mode. (21, 24)
w REC LEVEL (recording level) controls
Adjust the recording levels and balance
for the analog input signals.
The outer knob controls the L (left)
channel level and the inner knob the R
(right) channel level. The knobs can be
adjusted together. To adjust each
channel independently, turn the knob
while holding the other knob.
When recording digital signals, it is not
necessary to adjust the recording
levels. (21, 23)
A
)
7£8
1¡$›
•‡
0
4
28
5
3
1
6
7
9
10
-ON –STANDBY
POWER
REC OFF PLAY
TIMER
OPEN/CLOSE
PHONES LEVEL
O1O
AUTO
START ID
WRITE ERASERENUMBER
PAUSE
ERASEWRITE ERASEWRITE
SKIP ID END ID
AMS
INPUT
REC
MODE
COUNTER MODE
LONG
ANALOG OPT COAXIAL
REC LEVEL
REC MUTE REC
L R
STANDARD
7
8
9p
q
w
9
Location and
Function of Controls


