64
GB
Listening to non-preset radio
station
— Manual Tuning
1 Press TUNER BAND repeatedly (or
move TUNER lever on the DVD player
to FM or AM) to select “FM” or “AM”.
2 Press TUNING MODE repeatedly until
both “AUTO” and “PRESET”
disappear.
3 Press + or – on the remote repeatedly
to tune in the desired station.
Tips
• To improve broadcast reception, adjust the supplied
antennas, or connect a commercially available
external antenna.
• When an FM stereo program has static noise, press
FM MODE repeatedly until “MONO” appears.
There will be no stereo effect, but the reception will
improve.
• Press TUNING MODE repeatedly until “AUTO”
appears in step 2 above, then press + or – on the
remote. The frequency indication changes and
scanning stops when the system tunes in a station
(Automatic Tuning).
• To record the radio programs, use manual recording
(pages 45 and 68).
• You can switch from another source to the tuner by
pressing TUNER BAND (Automatic Source
Selection). However, while the Net MD function is
on, you cannot switch the function.
You can label each preset station with up to
10 characters (Station Name).
1 Tune in the station you want to label
(see “Listening to the radio” on
page 63).
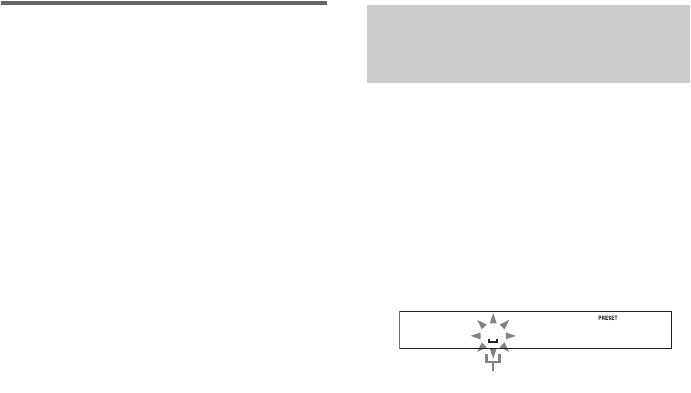
2 Press NAME EDIT/SELECT.
The cursor starts flashing.
3 Perform steps 3 to 6 of “Labelling an
MD/group/track” (page 52).
To cancel labelling
Press MENU/NO.
To erase the station name
1 Tune in the preset station you want to erase
the station name.
2 Press NAME EDIT/SELECT.
3 Press CLEAR repeatedly to erase the name.
4 Press ENTER.
Note
When you tune in a station that provides RDS services,
the station name is overwritten.
Labelling the preset
stations
— Station Name
Cursor


