ENGLISH
18
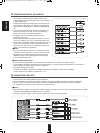
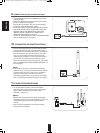
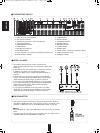
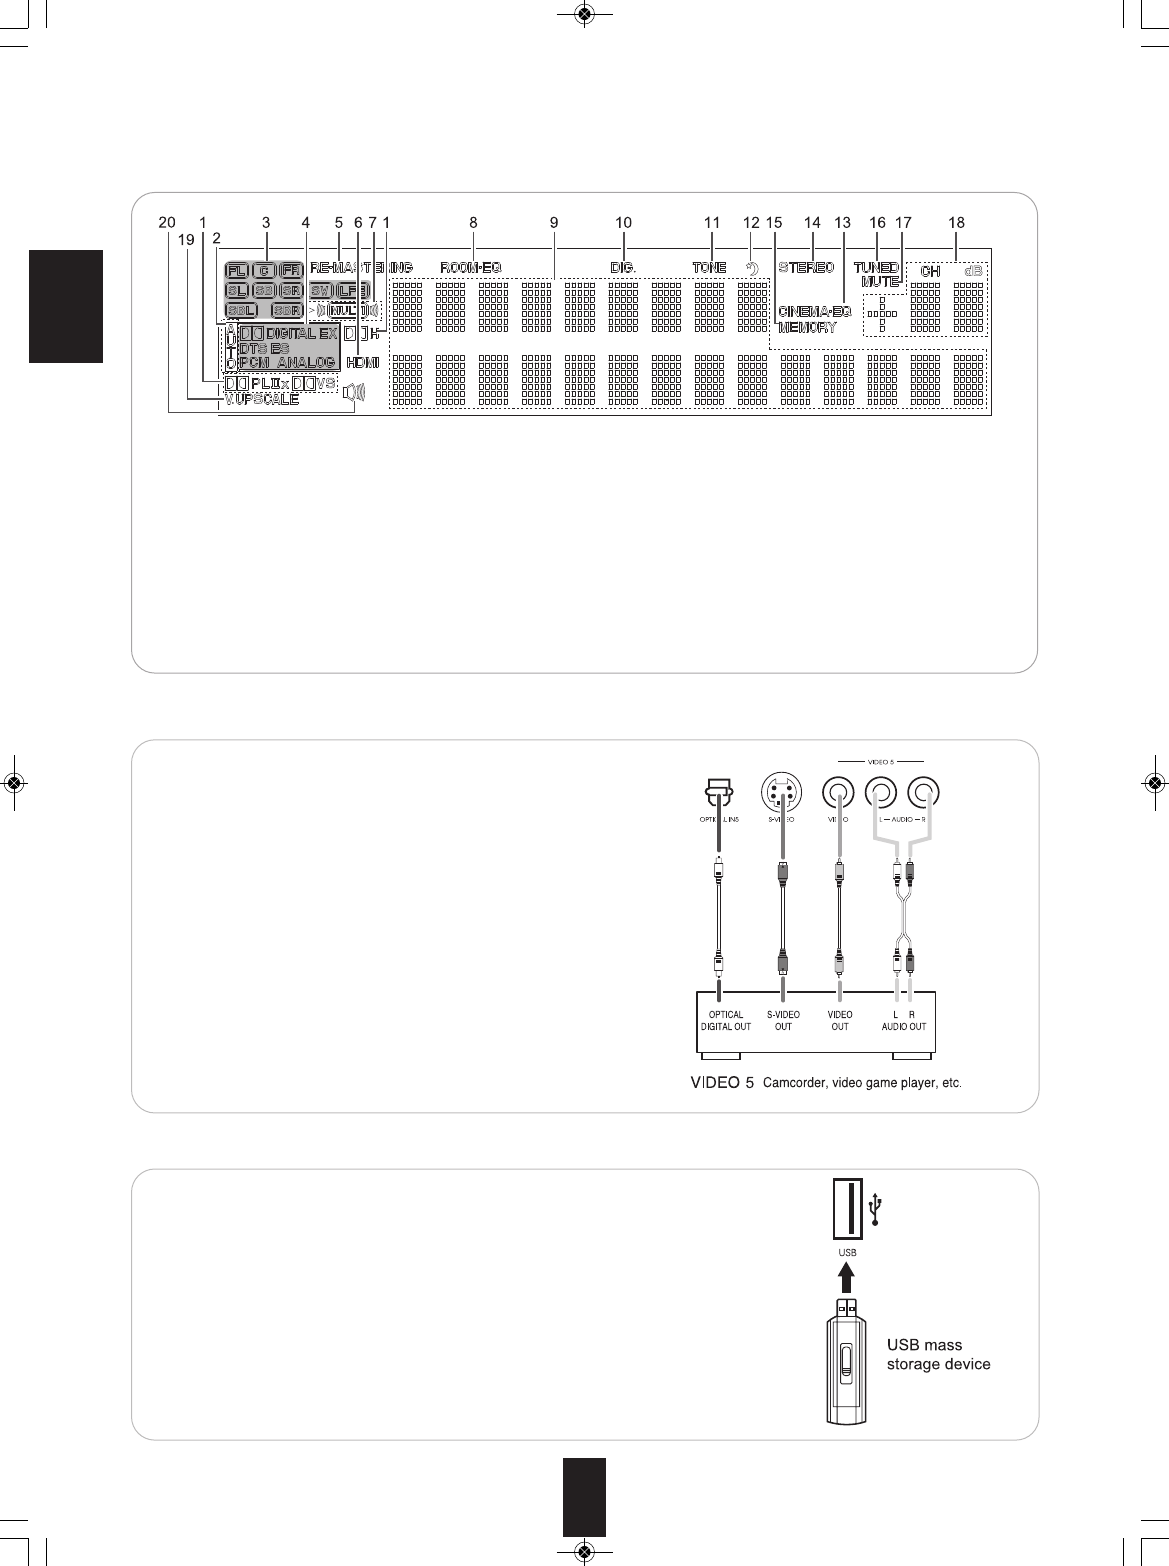
■VIDEO 5 IN JACKS
• The VIDEO 5 input jacks may be also connected to an
additional video component such as a camcorder, a video game
player, etc.
• If the OPTICAL IN 5 is connected to the component connected
to VIDEO 5, it is easier to do so following the default
settings.(For details, refer to "Digital input default settings" on
page 10.)
• If the OPTICAL IN 5 connection is different from the default
settings, you should assign the DIGITAL INs you used with the
"When selecting the Audio Assign" procedure on page 70.
• If you connect the COMPONENT VIDEO INs on the rear panel
to your video component, you should assign the COMPONENT
VIDEO INs you used with the "When selecting the Video
Assign" procedure on page 70.
• If you connect the HDMI INs on the rear panel to your video
component, you should assign the HDMI INs you used with the
"When selecting the HDMI Assign" procedure on page 70.
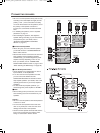
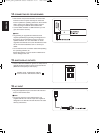
■USB CONNECTOR
• This connector can be connected to a USB mass storage device directly to
enjoy MP3 or WMA files stored on it through this receiver. (For details on the
operation of USB device, refer to "PLAYING MUSIC FILES" on page 48.)
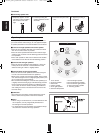
■Notes:
• After USB playback, remove the USB device in the stop mode or the standby
mode.
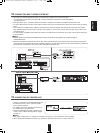
• You can connect this connector to PC for upgrades, too. (For details, refer to
"CONNECTING PC FOR UPGRADES" on page 16.)
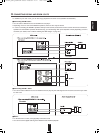
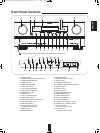
■FLUORESCENT DISPLAY
1. Dolby surround mode indicators
2. Auto surround indicator
3. Speaker(/channel output : outer box) indicators
4. Input signal indicators
5. REMASTERING indicator
6. HDMI indicator
7. ROOM 2 amp indicators
8. ROOM-EQ indicator
9. Input, frequency, surround mode, operating information, etc.
10. DIGITAL INPUT indicator
11. TONE indicator
12. SLEEP indicator
13. CINEMA EQ indicator
14. STEREO indicator
15. MEMORY indicator
16. TUNED indicator
17. MUTE indicator
18. Preset number, volume level, sleep time display
19. VIDEO UPSCALE indicator
20. SPEAKER indicator
R-972(A)_ENG_090225:R-972(A) 2009-04-15 오 9:00 페이지 18


