


66
DJS Ver. 1.600
4
Useful Functions Using the Auto Mix Function for Mixing Songs
ContentsIndex
3
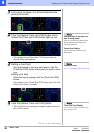
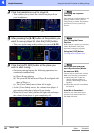
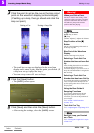
Click the headphone cue for player B.
• This enables you to check the sound from player B on
your headphones.
4
After pressing the [A/4] button at the position you
want to cue up player B, click the [CUE] button.
• This cues up the song at the position you pressed [A/4].
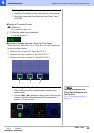
5
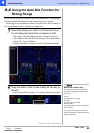
Click the [AUTO MIX] button at the place you
wish to start mixing.
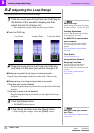
• Once auto mixing begins, the following operations are
conducted simultaneously.
• As the [Cross Fader] moves, the volume from player A
gets quieter while that of player B gets louder.
• When the [Cross Fader] reaches the right side and stops,
the volume from player A goes completely off.
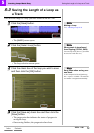
Changing the Playback
Position
Click either the waveform display or the
[Playing Address] when a player is
either playing or paused. The playback
position moves to the position you
clicked.
Fine Tuning the Pause
Position
While a player is paused, you can make
minute adjustments to the pause
position by turning the [Jog Dial].
Using the [CUE] button
‘Using the [CUE] button’ P.28
When the Beat and BPM
won’t Synchronize (Works
the same as MIX)
The beat will not synchronize with the
BPM in the following circumstances.
(a) During Auto Mix if either the
[Tempo Adjustment Slider] or
[Tempo Control Range] has been
operated.
(b) When either the beat or the BPM is
not detected.
Auto Mix is Cancelled…
Whenever any of the following are
operated: Cross Fader, Fader Curve,
Mix Mode, Mix Beat.
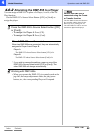
(a)
Player B starts playing.
(b)
The speed (BPM) and beat of Player B are aligned with
those of Player A.
(c) The [Cross Fader] moves from left to right.