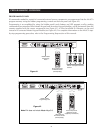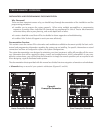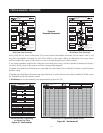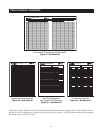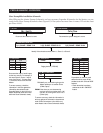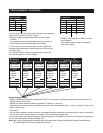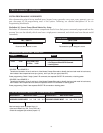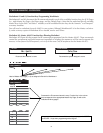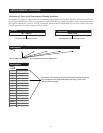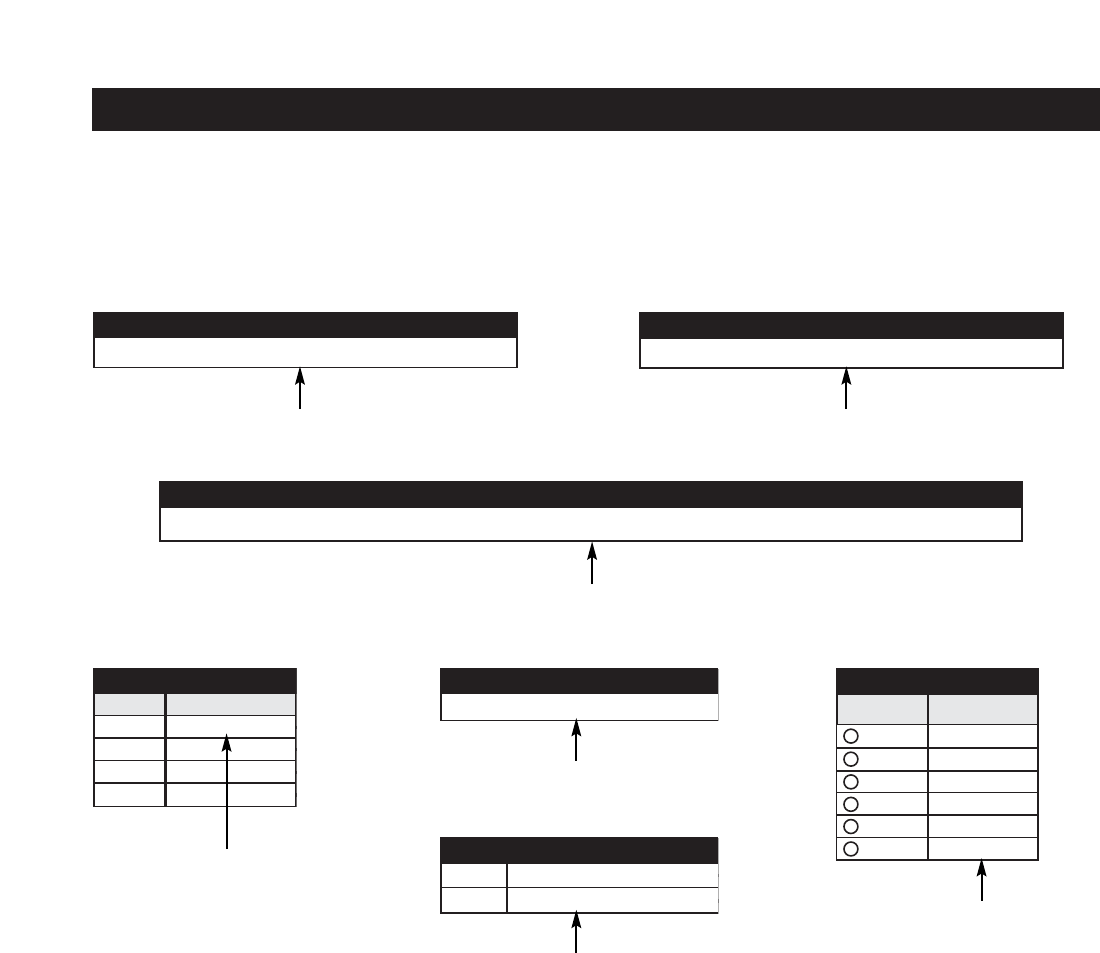
Slave Preamplifier Installation Schematic
After filling out the Master Preamp Schematic and any necessary Expander Schematics for the Master, you are
ready for the Slave Preamp Schematic sheet (Figure 43) if the system has more than six zones. Fill out one sheet
per Slave A4.6Ci.
53
PROGRAMMING OVERVIEW
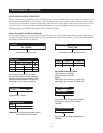
1
JOB TITLE
2
SYSTEM DESIGNER
Document the customer’s name. Document the system designer’s name.
Mr. Smith John Doe
3
PREAMPLIFIER (CHOOSE ONE)
❏ (1) SLAVE - ZONE 7-12 ❏ (2) SLAVE - ZONE 13-18
❏ (3) SLAVE - ZONE 19-24
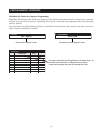
Identify if the sheet documents Slave 1, Slave 2, or Slave 3.
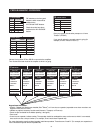
SOURCE
4
AUDIO INPUTS
1
3
4
2
SOURCE
FROM
5
PAGING DEVICE
❏ YES ❏ NO
Ci Net
™
Connections
TO
FROM
6
7
SLAVE A4.6Ci
3
_________
4
_________
2
_________
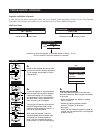
ZONE
ALL ON / PAGE
5
_________
6
_________
❏
❏
❏
❏
❏
❏
1
_________
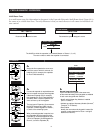
Document the origin of audio inputs
for the four sources. For example, if
this were Slave 2, Source 1 would
come from Slave 1. If it were Slave
1, the source would come from the
Master.
To ensure accuracy, check the
information in this box against the
information documented under
Cascade Output (in box #10 for the
Master Schematic sheet and in box
#8 for the Slave Schematic sheet).
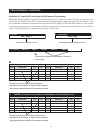
Paging device? (YES/NO)
TO Identify any connections going to the
Master preamp or to another Slave
(CiNet output).
FROM If the slave you are documenting
receives input from another slave, indi-
cate this, as coming from Slave 2 or 3
(CiNet input).
To ensure accuracy, check the information in
this box against the information documented
under CiNet Connections in box #6 for any
other Master and/or Slave Schematic sheets.
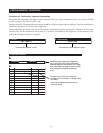
Dip switches on the front panel
determine which zones will be
enabled to the ALL-ON and PAGE
features.
• Check those that have been
enabled to the ALL-ON/PAGE
feature.


