


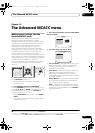

The Advanced MCACC menu
11
98
en
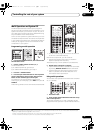
8 Make sure ‘
OK
’ is selected, then press
ENTER
.
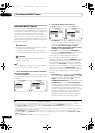
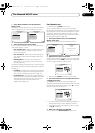
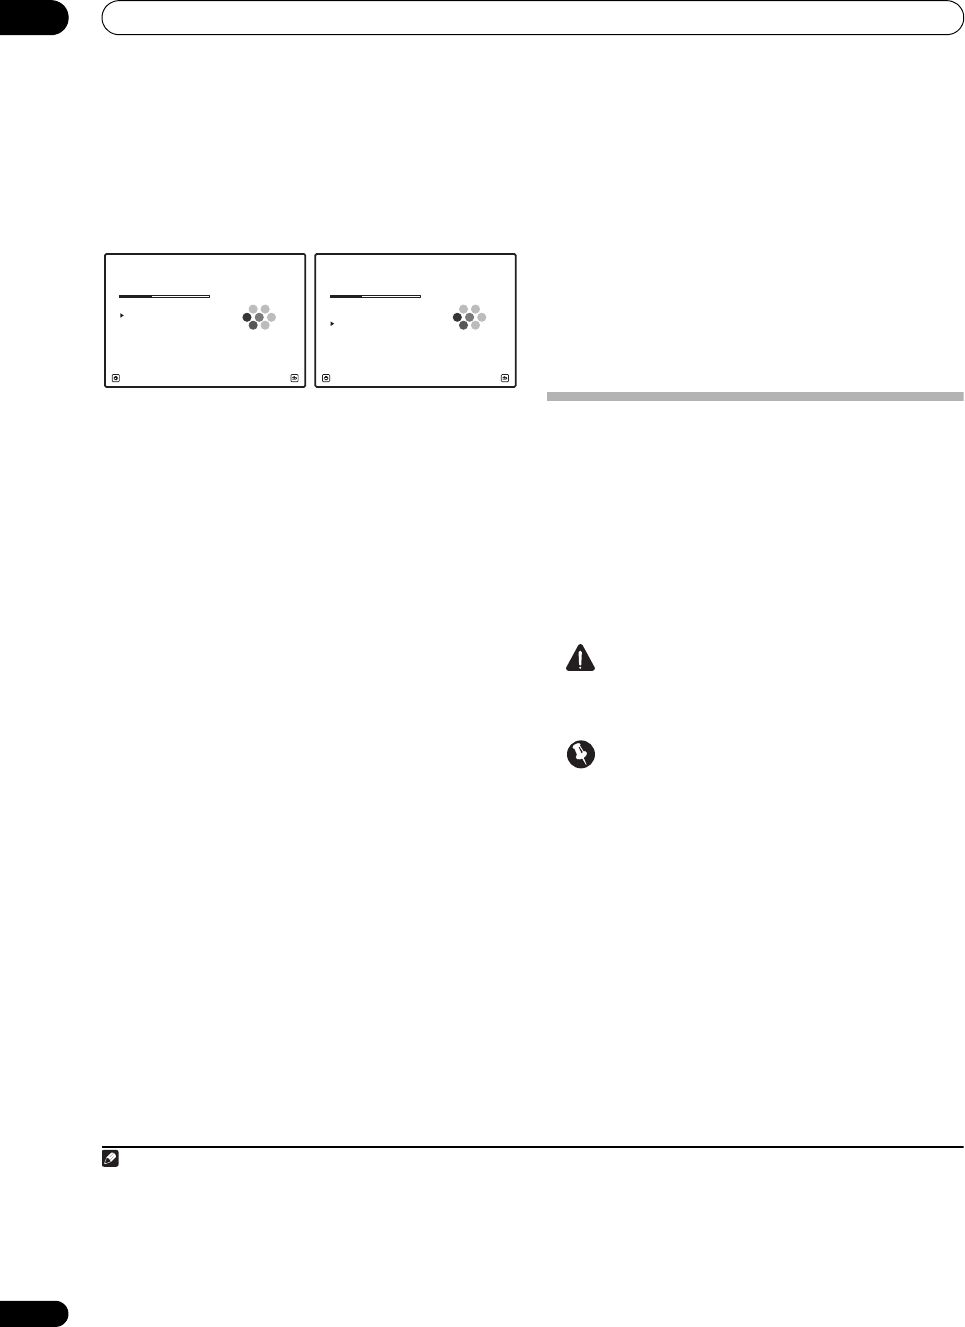
A progress report is displayed on-screen while the
receiver outputs more test tones to determine the
optimum receiver settings for channel level, speaker
distance, and Acoustic Calibration EQ.
Again, try to be as quiet as possible while this is
happening. It may take 3 to 7 minutes.
•If you selected a STAND.WAVE Multi-Point setup
(in step 2), you will be asked to place the mic at the
2nd and 3rd reference points before finally placing it
at your main listening position.
9 The Auto MCACC Setup procedure is completed and
the
Advanced MCACC
menu reappears automatically.
The settings made in the Auto MCACC Setup should give
you excellent surround sound from your system, but it is
also possible to adjust these settings manually using the
Manual MCACC setup menu (starting below) or Manual
SP Setup menu (starting on page 108).
1
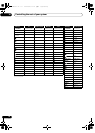
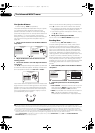
You can also choose to view the settings by selecting
individual parameters from the MCACC Data Check
screen:
• Speaker Setting – The size and number of speakers
you’ve connected (see page 109 for more on this)
• Channel Level – The overall balance of your speaker
system (see page 99 or 110 for more on this)
• Speaker Distance – The distance of your speakers
from the listening position (see page 100 or 111 for
more on this)
2
• Standing Wave – Filter settings to control lower
‘boomy’ frequencies (see page 100 for more on this)
• Acoustic Cal EQ – Adjustments to the frequency
balance of your speaker system based on the
acoustic characteristics of your room (see page 101
for more on this)
• Group Delay – The original characteristics of group
delay of the speakers calibrated and the targeted
characteristics can be displayed graphically (see
Group Delay on page 105 for more on this).
• Output PC – The data transfer mode with the
connected computer is set. The graphs of
the rever
b
characteristics and group delay characteristics
before and after calibration and the various MCACC
parameters can be checked (see Output PC on
page 106 for more on this).
Press RETURN after you have finished checking each
screen. When you’re finished, select RETURN to go back
to the HOME MENU.
Be sure to disconnect the microphone from this receiver
upon completion of the Auto MCACC Setup.
Manual MCACC setup
You can use the settings in the Manual MCACC setup
menu to make detailed adjustments when you’re more
familiar with the system. Before making these settings,
you should have already completed Automatically setting
up for surround sound (Auto MCACC & Full Band Phase
Control) on page 42.
You only need to make these settings once (unless you
change the placement of your current sp eaker system or
add new speakers).
CAUTION
• The test tones used in the Manual MCACC setup ar e
output at high volume.
Important
• You will need to first specify the MCACC preset you
want to adjust by pressing MCACC before pressing
HOME MENU (step 2 in Making receiver settings from
the Advanced MCACC menu on page 95).
•For some of the settings below, you’ll have to connect
the setup microphone to the front panel and place it
about ear level at your normal
listening posit
ion.
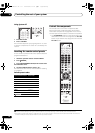
Press HOME MENU to display the HOME MENU
before you connect the microphone to this receiver. If
the microphone is connected while the HOME
MENU is not being displayed, the display will change
to the Full Auto MCACC under Advanced MCACC.
• See Problems when using the Auto MCACC Setup on
page 44 for notes regarding high background noise
levels and other possible interference.
•If you’re using a subwoofer, switch it on and turn up
the volume to the middle position.
Note
1• Depending on the characteristics of your room, sometimes identical speakers with cone sizes of around 12 cm (5 inches) will end up with
different size settings. You can correct the setting manually using the Manual speaker setup on page 108.
• The subwoofer distance setting may be farther than the actual distance from the listening position. This setting should be accurate (taking
delay and room characteristics into account) and generally does not need to be changed.
• If Auto MCACC Setup measurement results are incorrect due to the interaction of the speakers and viewing environment, we recommend
adjusting the settings manually.
2 Since the distance measurements have been set according to the sound characteristics of your speakers, there are cases where (for optimal
surround sound) the actual distance may differ from th
e speaker distance
setting.
Now Analyzing...
1b.Auto MCACC
A/V RECEIVER
Exit Cancel
Subwoofer Check :
Now Analyzing... 5/10
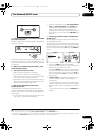
Surround Analysis
1b.Auto MCACC
A/V RECEIVER
Exit Cancel
Speaker System : OK
Channel Level :
Speaker Distance :
Standing Wave :
Reverb :
Aco Cal EQ Pro :
SC-9540.book 98 ページ 2009年4月24日 金曜日 午後1時42分