KURO LINK
08
80
en
About connections with a product of a
different brand that supports the KURO LINK
function
The synchronized operations below can be used when
the receiver’s KURO LINK function is connected to a TV
of a brand other than Pioneer that supports the KURO
LINK function. (Depending on the TV, however, some of
the KURO LINK functions may not work.)
• You can set whether to output the sound over the
speakers connected to the receiver or over the TV’s
speakers using the TV’s menu screen.
•You can adjust the receiver’s volume or mute the
sound using the TV’s remote control.
• When the TV’s power is set to standby, the receiver’s
power is also set to standby. (Only when the input for
a component connected to the receiver by HDMI
connection is selected or when watching the TV)
• The sound of TV programs or an
external input
connected to the TV can also be output from the
speakers connected to the receiver. (This requires
connection of an optical digital cable, etc., in addition
to the HDMI cable.)
The synchronized operations below can be used when
the receiver’s KURO LINK function is connected to a
player or recor der of a brand other than Pioneer that
supports the KURO LINK function.
• When playback starts on the player or recorder, the
receiver’s input switches to the HDMI input to which
that component is connected.
See the Pioneer website for the latest infor mation on the
models of non-Pioneer brands and produc
ts that
support
the KURO LINK function.
KURO LINK Setup
You must adjust the settings of this receiver as well as
KURO LINK-compatible connected components in order to
make use of the KURO LINK function. For more information
see the operating instructions for each component.
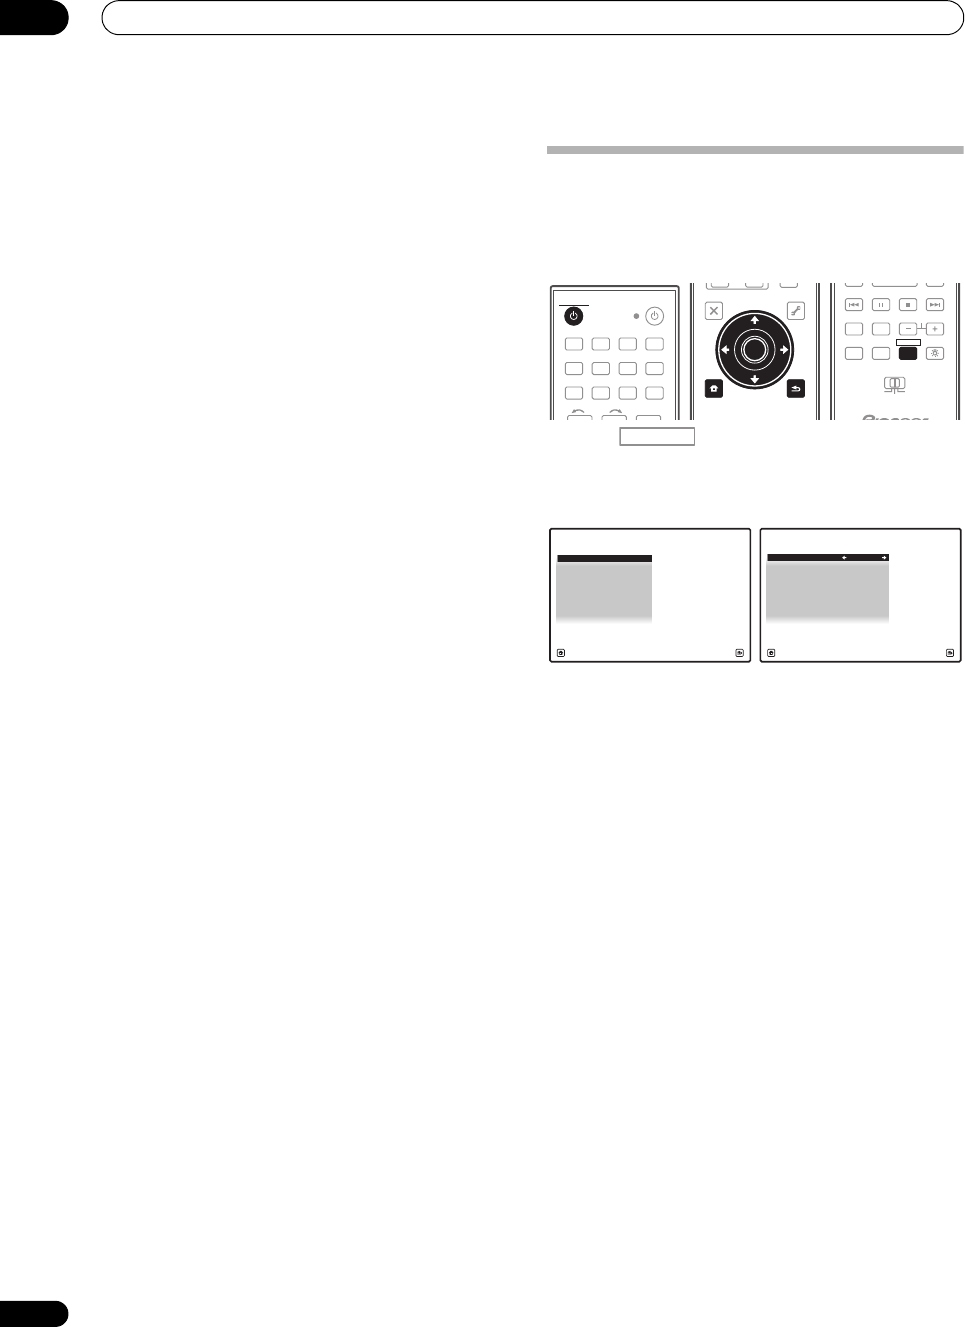
1 Press , then press
HOME MENU
.
2 Select ‘
System Setup
’, then press
ENTER
.
3 Select ‘
Other Setup
’, then press
ENTER
.
4 Select the ‘
KURO LINK
’ setting you want.
Choose whether to set this unit’s KURO LINK function
ON or OFF. You will need to set it to ON to use the KURO
LINK function.
When using a component that does not support the
KURO LINK function, set this to OFF.
• ON – Enables the KURO LINK function.
• OFF – The KURO LINK is disabled. Synchronized
operations cannot be used.
5 Select the ‘
Display Power Off
’ setting you want.
If the TV’s power is turned off while using the KURO LINK
function, the receiver’s power is also turned off (all power
off function). This function can be disabled.
• YES
– The all power off function is enabled. The
receiver’s power turns off together with the TV’s power.
This function only works when the input for a
component connected to the receiver by HDMI
connection is selected or when watching the TV.
• NO – The all power off function is disabled. The
receiver’s power is not affected when the TV’s power
is turned off.
6 When you’re finished, press
HOME MENU
.
You will finish to HOME MENU.
DVD BD DVR HDMI
TV CD CD-R
TUNER XM SIRIUS
HOME MEDIA
GALLERY
iPod USB
123
HDMI OUT
INPUT
SELECT
RECEIVER
SOURCE
RECEIVER
T.EDIT
GUIDE
TOP MENU
BAND
RETURN
iPod CTRL
HOME
MENU
LIST
TOOLS
CATEGORY
AUDIO
PARAMETER
ENTER
TUNE
PRESET PRESET
TUNE
VIDEO
PARAMETER
HOME
MENU
RETURN
ENTER
REMOTE
SETUP
ZONE 2
MAIN
ZONE 3
ANT
AUDIO
MULTI OPE
INFO
DISP
MPX PQLS
MEMORY
CH
RECEIVER
TV CTRL
RECEIVER
RECEIVER
2. Multi Ch In Setup
3. ZONE Audio Setup
4. Power ON Level Setup
5. Volume Limit Setup
6.
Remote Control Mode Setup
7.
Flicker Reduction Setup
1. KURO LINK Setup
4d.Other Setup
A/V RECEIVER
Exit Return
4d1.KURO LINK Setup
A/V RECEIVER
Exit Finish
KURO LINK : ON
Display Power Off : YES
SC-9540.book 80 ページ 2009年4月24日 金曜日 午後1時42分


