


Level and Distance Autocalibrate
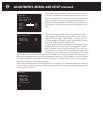
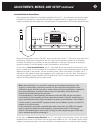
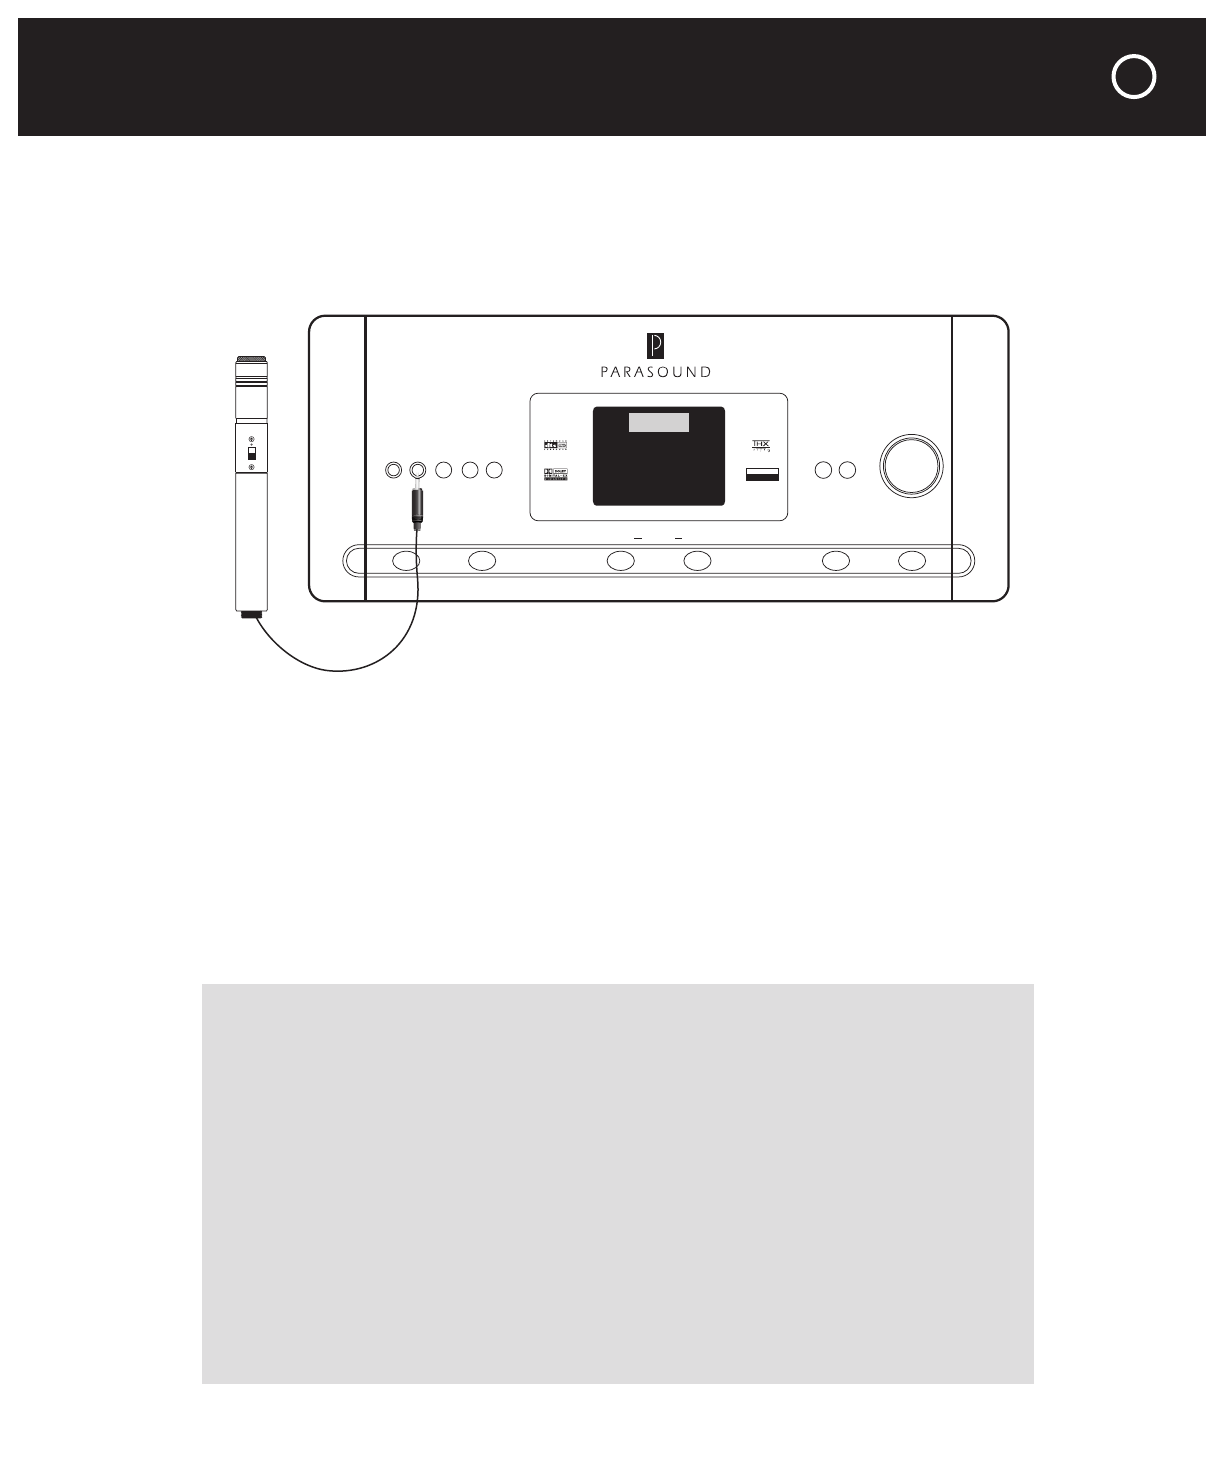
First, prepare the calibration microphone supplied with the C 1, by unscrewing its barrel to open
the battery compartment, inserting the AA battery supplied with its + (button) end toward the
switch, screwing the barrel back on, and pushing the microphone’s On-Off switch toward the dot.
Plug the microphone into the “Cal Mic” input on the front of the C 1. Then sit in your favorite lis-
tening chair, holding the microphone with its mesh screen pointing upward. Tilt the Master
remote’s thumbpad to scroll down to the autocalibration mode you want (level or distance),
press the center of the thumbpad to start the calibration, and sit back.
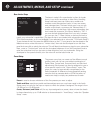
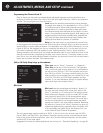
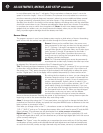
At the start of level autocalibration, the C 1 will briefly check the ambient noise level in your
room, to make sure it is low enough for the speakers’ output to be measured properly, and will
display that level on the screen. For the remaining tests, which take about 5 minutes, the C 1
will play a noise signal through each speaker in turn, starting at a very low level, then raising it
until each speaker’s output reaches the THX 0-dB level. The on-screen display shows which
channel is being calibrated and its output level.
At the start of distance autocalibration, the C 1 once again checks ambient noise, then plays
repeated brief bursts of low-level noise through each speaker in turn. The display shows which
speaker is being measured, how near completion the measurement is, and the required delay,
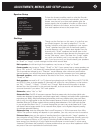
Note: Autocalibration is a precision measuring and adjusting technique that
requires a reasonably quiet environment. Do not move the microphone once
calibration starts. And do not talk or make noise during autocalibration, especially
level autocalibration, as high ambient noise or fluctuating noise levels may
interfere with and interrupt the process.
If autocalibration is interrupted by extraneous noise, the OSD will ask for silence,
count down for five seconds, and then resume from where it left off. It will keep try-
ing to autocalibrate until it either succeeds or it gives up and displays “Exit to Abort.”
To exit Autocal, press the ESC (escape) button on the Master remote, not the Exit
button on the front panel.
If the subwoofer cannot be autocalibrated after three tries, the OSD will request
that you adjust subwoofer level manually, as discussed under “Level setup,”
above. If the subwoofer’s level is still too high or low, adjust the gain of the inter-
nal or external amplifier powering it.
Controller
C1
On-Off Zone Zone Display Main Source
Status Menu
Mute DimPhones Cal Mic
Surround
LULUC A S F I LMLM
THX SURROUND EX
7.5 CHANNEL
ENHANCED
SURROUND
Speaker Level
Ref. Level: Left
Noise Level: -29.5dBr
Press Exit key to
abort autocalibration
Autocalibrating
Please wait
ADJUSTMENTS, MENUS, AND SETUP continued
31