


Getting Started Connections Playback Remote Control Multi-Zone Information Troubleshooting Specifications
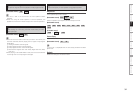
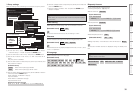
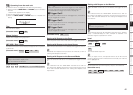
Master Volume
Master volume display during adjustment.
[Selectable items]
ON
OFF
NET/USB / iPod / Tuner
This sets the time the on-screen display is displayed when an operation
is performed.
[Selectable items]
Always
30s
10s
OFF
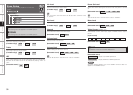
j Quick Select Name
Change “Quick Select” display name.
Up to 16 characters can be input.
[Input characters]
A ~ Z
a ~ z
0 ~ 9
! “ # % & ’ ( ) * + , - . / : ; < = > ? @ [ \ ] (space)
Text
Text information display.
[Selectable items]
ON
OFF
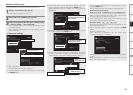
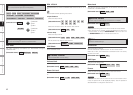
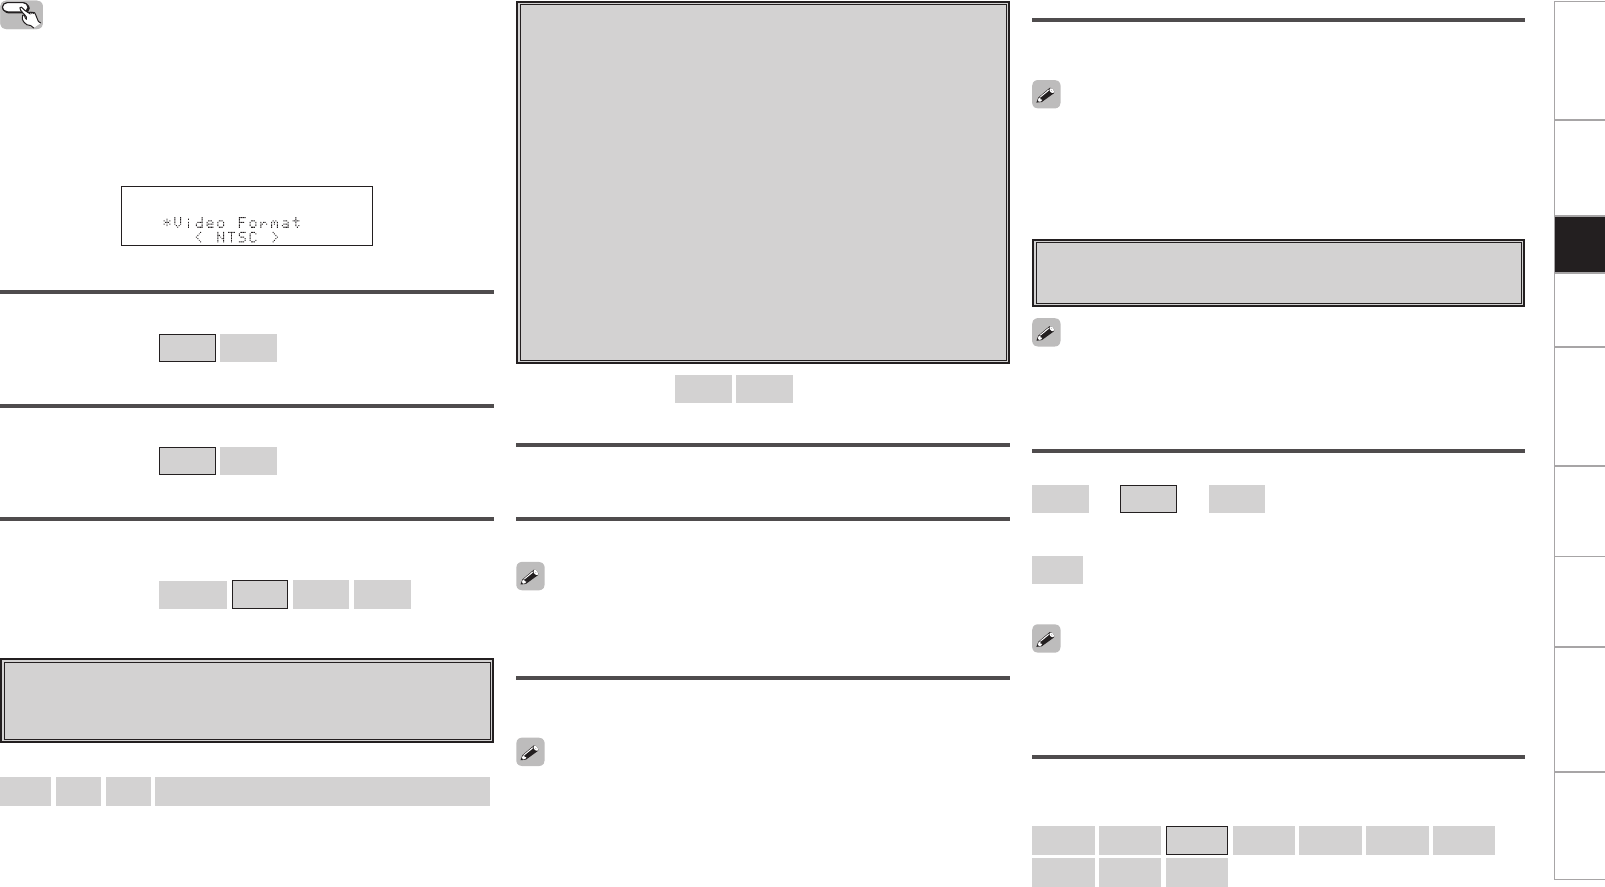
Operating from the main unit
b The GUI menu is not displayed when performing this setting.
q Press and hold the AUDIO DELAY and RETURN buttons for at least 3
seconds.
“Video Format” appears on the display.
w Use the o p button to make the setting.
e Press the ENTER, MENU or RETURN button to complete the
setting.
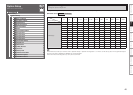
k Trigger Out 1
Select the conditions to turn on the trigger out 1 with respect to
the zone, input source, surround mode, HDMI monitor, etc.
For details about the trigger out function, see page 23.
l Trigger Out 2
This sets the conditions to turn on the trigger out 2, in the same
way as “Trigger Out 1” above.
A0 Trigger Out 3
This sets the conditions to turn on the trigger out 3, in the same
way as “Trigger Out 1” above.
A1 Trigger Out 4
This sets the conditions to turn on the trigger out 4, in the same
way as “Trigger Out 1” above.
[Selectable items]
ON
– – –
Setting with Respect to the Zone
When the power of the zone turned on/off, the trigger out turns on.
Setting with Respect to the Input Source
When the input source set to on is selected, the trigger out turns on.
Associated with respect to the input source for zones set to “ON” at
“Setting with Respect to the Zone”.
Setting with Respect to the Surround Mode
When the surround mode set to on is selected, the trigger out turns
on.
A2 Transducer Setup
Set when using transducer.
The Transducer Setup can be accessed through GUI menu “Speaker
Setup” – “Subwoofer Setup” is “1SP”, “2SP L/R” or “2SP MIX”. The
transducer signal is outputted from “SW3”.
Setting with Respect to the Monitor
When the HDMI monitor set to on is selected, the trigger out turns
on.
Level
[Variable range]
–12dB
~
0dB
~
+12dB
:
Set the transducer level.
OFF
:
Turn the transducer output off.
LPF
Set the upper limit of the low frequency output to the transducer.
[Selectable items]
40Hz
60Hz
80Hz
90Hz
100Hz
110Hz
120Hz
150Hz
200Hz
250Hz
When you adjust “Level”, the adjusted value is set for all surround
modes. To adjust the level for individual surround modes, use “Channel
Level” (vpage 75).
This is effective when the “MAIN ZONE” has been set to “ON” for
the “Setting with Respect to the Zone” and the input source which is
set to “ON” has been selected for the “Setting with Respect to the
Input Source”.
This is effective when the “MAIN ZONE” has been set to “ON” for
the “Setting with Respect to the Zone” and the input source which is
set to “ON” has been selected for the “Setting with Respect to the
Input Source”.
Setup