


Getting Started Connections Playback Remote Control Multi-Zone Information Troubleshooting Specifications
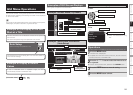
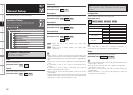
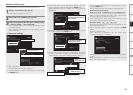
HDMI Setup
Make settings for HDMI video/audio output.
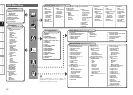
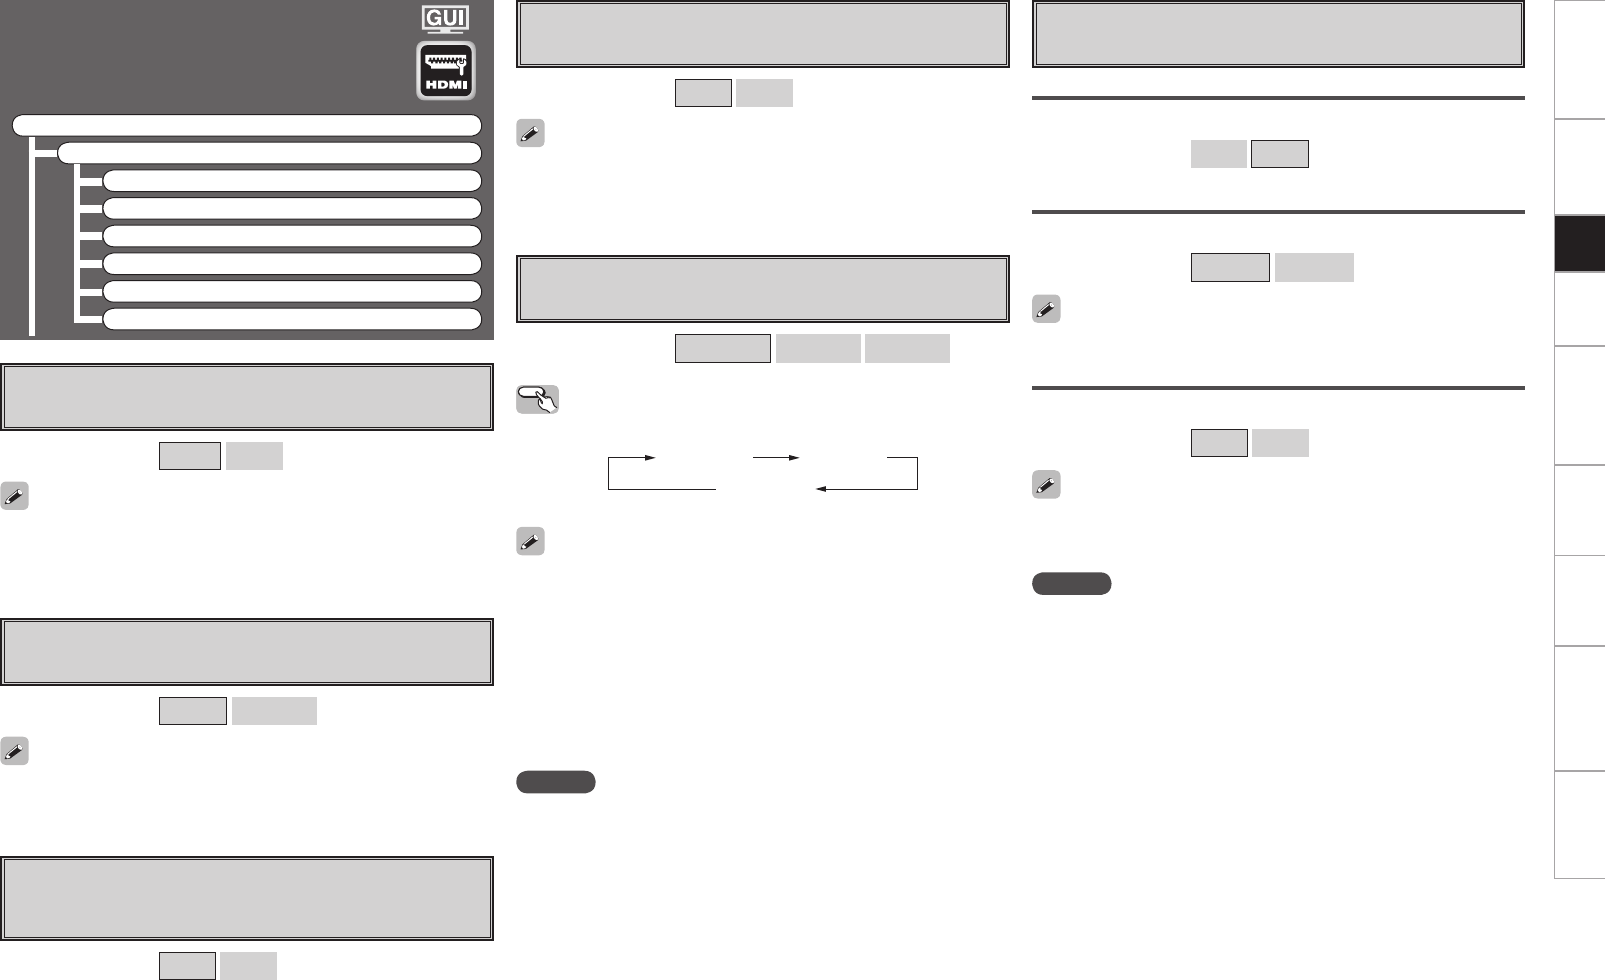
F Menu tree F
Manual Setup
HDMI Setup
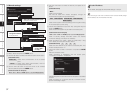
a Color Space
s RGB Range
d Auto Lip Sync
f Audio
g Monitor Out
h HDMI Control
a Color Space
Make settings for output color space.
[Selectable items]
YCbCr
RGB
When connected to a monitor with a DVI-D connector (HDCP
compatible) using an HDMI/DVI converter cable, the signals are output
in RGB format, regardless of this setting.
s RGB Range
Make settings for RGB output range.
[Selectable items]
Normal
Enhanced
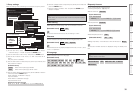
d Auto Lip Sync
Automatic compensation for timing shift in audio and video
output.
[Selectable items]
ON
OFF
f Audio
Select HDMI audio output device.
[Selectable items]
Amp
TV
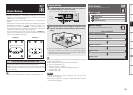
g Monitor Out
Make settings for HDMI monitor output.
[Selectable items]
Auto (Dual)
Monitor 1
Monitor 2
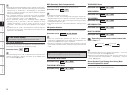
Operating from the main remote control unit
Press the M.SEL button.
• When “Monitor Out” is set to “Auto (Dual)”, connections with
the MONITOR 1 or MONITOR 2 connectors are recognized
automatically.
• If both the MONITOR 1 and 2 connectors are connected and
“Resolution” is set to “Auto” (vpage 47), the signals are output
with a resolution compatible with both monitors.
• If “Resolution” is set to something other than “Auto”, check the
resolutions with which your monitor is compatible at GUI menu
“Information” – “HDMI Information” – “Monitor 1” and “Monitor
2” and set accordingly (vpage 57).
When “YCbCr” is selected under “Color Space”, “RGB Range” will
have no effect.
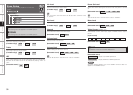
h HDMI Control
Make settings for HDMI control function.
Control
Set HDMI control function to ON/OFF.
[Selectable items]
ON
OFF
Control Monitor
Select the interlocking monitor through the HDMI controls.
[Selectable items]
Monitor1
Monitor2
Power Off Control
Interlock with the power off function through the HDMI controls.
[Selectable items]
ON
OFF
This can be set when “Control“ is set to “ON“.
• This can be set when “Control“ is set to “ON“.
• Please consult the operating instructions for each connected device
to check the settings.
GUI menu “HDMI Control”- “Control” is “ON”, the “Amp” and “TV”
will switch with the operation of any television not related to this
setting.
NOTE
• When the “Control” setting has been changed, always turn off the
power to the connecting devices afterwards and then turn back on.
•The HDMI control function does not work when the power to the
equipment is off.
• For details, see “HDMI Control Function” (vpage 74).
Auto (Dual) Monitor 1
Monitor 2
NOTE
Depending on the monitor you have connected, the display may not
be correct when you set to “Auto (Dual)”. In such a case, set to either
“Monitor 1” or “Monitor 2”.
Setup