ENGLISH
70
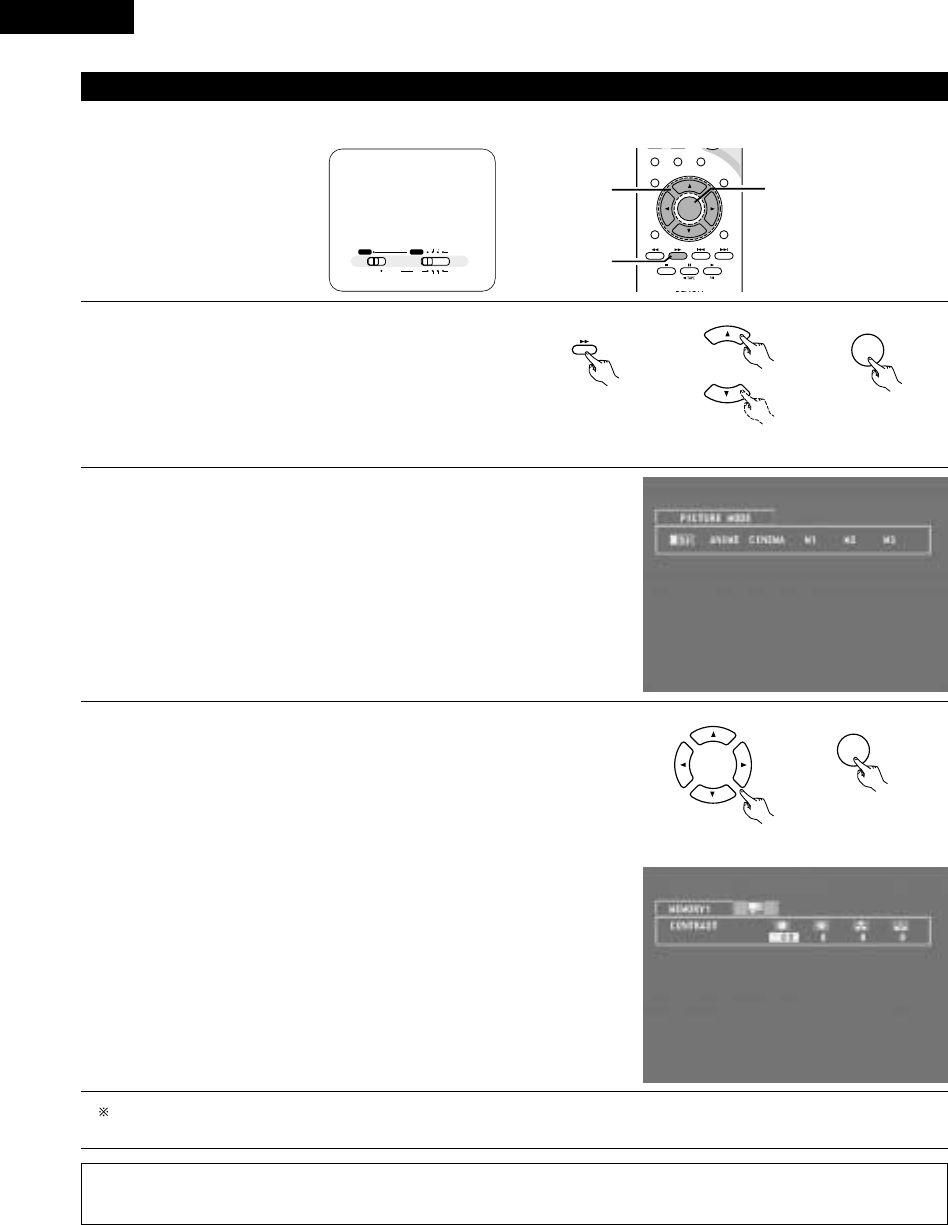
(2) Adjusting the picture quality
• The quality of the picture when playing discs can be adjusted.
3
STAT U S
RETURN
ANGLE AUDIO
SUB TITLE
SETUP TONE /SDB
ENTER
MUTING
DISPLAY MENU
TOP MENU
SURROUND
PARAMETER
CH SELECT
-
+
VCR CH
1
1,2,3
1,2
ENTER
1
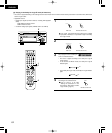
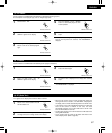
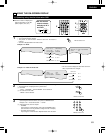
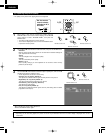
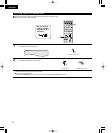
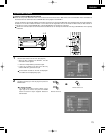
When playing a disc with the function set to DVD, press the
DISPLAY button to turn on the on-screen display, use the • and ª
cursor buttons to select “PICTURE MODE”, then press the
ENTER button.
• The picture quality adjustment screen appears.
• The on-screen display also turns on when the DISPLAY button
is pressed in the stop mode.
Remote control unit
Remote control unit
\
DISPLAY
Remote control unit
\
2
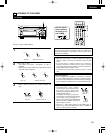
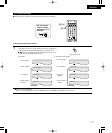
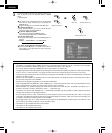
Use the 0 and 1 cursor buttons to select the item, then press the ENTER button.
Standard:
Both the picture quality and functions are set back to the standard settings set
upon shipment from the factory.
Anime:
This sets a brighter more vivid picture quality.
Cinema:
This sets a mellower picture quality.
Memory 1 to 3:
Picture quality settings you have adjusted can be stored at three memory
positions. (Set at step 3)
3
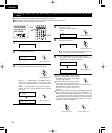
Selecting and adjusting the picture quality
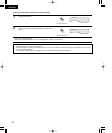
Use the 0 and 1 cursor buttons to select the picture quality item, then use the •
and ª cursor buttons to adjust the value.
• All the adjustments are stored in the memory.
Contrast (–6 to +6) (factory default: 0):
This adjusts the contrast between light and dark portions of the picture.
Brightness (0 to +12) (factory default: 0):
This adjust the brightness (vividness) of the picture.
Color density (–6 to +6) (factory default: 0):
This adjusts the color density.
Hue (–6 to +6) (factory default: 0):
This adjusts the balance between green and red. (This setting does not affect
progressive scan outputs.)
ENTER
Remote control unit
Remote control unit
\
A / V
SYSTEM MD
CDR TAPE
TUNER TV / VCR
IN
/
SURR.
IN
/
SURR.
DVD
Set the remote
control selector
switches to A/V
and DVD.
NOTE:
• Depending on the disc being played, the picture or sound may be disturbed when the on-screen display is displayed. This is not a
malfunction.
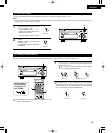
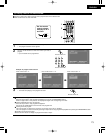
To complete the picture quality adjustment:
Press the DISPLAY button again.


