57
First Time Setup—Continued
Notes:
• For composite video, S-Video, and component video
upconversion for the HDMI OUT MAIN or HDMI
OUT SUB, the “Monitor Out” setting must be set to
“HDMI Main” or “HDMI Sub”, respectively (see
page 55), and the “HDMI Input” setting must be set to
“- - -”. See page 34 for more information on video sig-
nal flow and upconversion.
• When an HDMI IN is assigned to an input selector as
explained here, the digital audio input for that input
selector is automatically set to the same HDMI IN.
See “Digital Audio Input Setup” on page 59.
• The “TUNER” input selector cannot be assigned and
is fixed at the “- - -” option.
• This procedure can also be performed on the AV
receiver by using its [SETUP] button, arrow buttons,
and [ENTER] button.
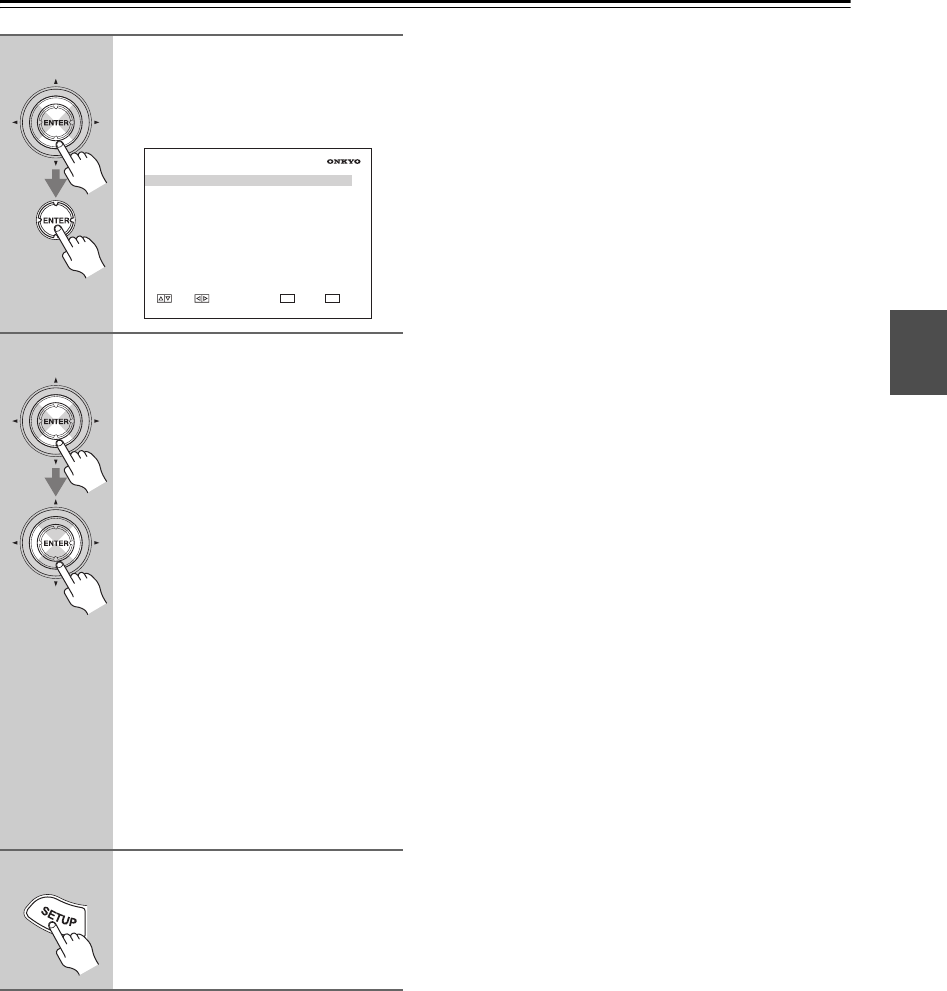
3
Use the Up and Down [ ]/[ ] but-
tons to select “2. HDMI Input”,
and then press [ENTER].
The “HDMI Input” menu appears.
4
Use the Up and Down [ ]/[ ] but-
tons to select an input selector,
and use the Left and Right
[ ]/[ ] buttons to select:
HDMI1, HDMI2, HDMI3, HDMI4:
Select the HDMI IN to which the
video component has been con-
nected.
- - -:
Output composite video, S-Video,
and component video sources from
the HDMI OUT. The video output
signal from the HDMI OUT is the
one configured in “Component
Video Setup” (see page 58).
Each HDMI IN cannot be assigned to
more than one input selector. When
HDMI1 - HDMI4 have already been
assigned, you must set first any unused
input selectors to “- - -” or you will be
unable to assign HDMI1 - HDMI4 to
input selector.
5
Press the [SETUP] button.
Setup closes.
1–2. HDMI Input
DVD
VCR/DVR
CBL/SAT
GAME/TV
AUX1
AUX2
- - -
- - -
- - -
- - -
- - -
- - -
MOVE VALUE RETURN
RETURN
EXIT
SETUP


