


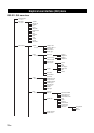
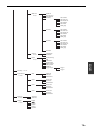
Graphical user interface (GUI) menu
82 En
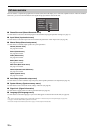
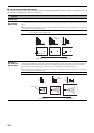
Example 2: Clearing a jack assignment.
1 Select “Input Select” and then select the desired
input source (“DVD”, etc.).
2 Select “I/O Assignment” and then select the desired
jack assignment (“Coaxial Input”, “Optical Input”,
“Optical Output”, “Analog I/O”, “Component Video”,
or “HDMI”).
3 Select “None” and then press
9
ENTER to clear the
assignment.
• “None” appears in the GUI when any input source is not assigned to the input/output
jack.
• You cannot select a specific item more than once for the same type of jack.
• When you connect a component to both the COAXIAL and OPTICAL jacks, priority
is given to signals input at the COAXIAL jack.
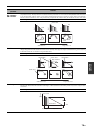
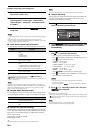
■ Audio Select (Audio input jack select)
Use this feature to select the type of the input jack you want to use.
y
• You can also select the audio input jack by pressing
F
AUDIO SELECT (or
O
AUDIO SEL). See page 52 for details.
• You can set the default audio input jack select of this unit by using “Audio Select” in
“Option” (see page 93).
This feature is not available when no digital input jack (OPTICAL, COAXIAL and
HDMI) are assigned. In addition, “HDMI” is not available as an Audio input jack select
setting when the HDMI input jacks are not used. Use “I/O Assignment” in “Input
Select” to reassign the respective input jack.
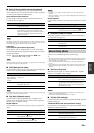
■ Decoder Mode (Decoder mode)
Use this feature to switch the decoder mode. You can designate the
reassigned digital input jacks (see page 81) for digital audio signals.
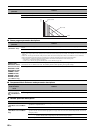
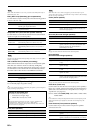
■ Volume Trim (Volume trimming)
Use this feature to adjust the level of the signal input at each input
source. This feature is useful if you want to balance the level of each
input source to avoid sudden changes in volume when switching
between input sources.
Control range: –6.0 dB to +6.0 dB
Initial setting: 0.0 dB
y
This parameter also affects the signals output at the ZONE OUT jacks.
You can only adjust the volume for the current input source using this setting.
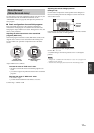
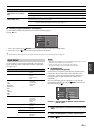
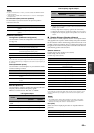
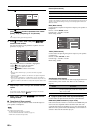
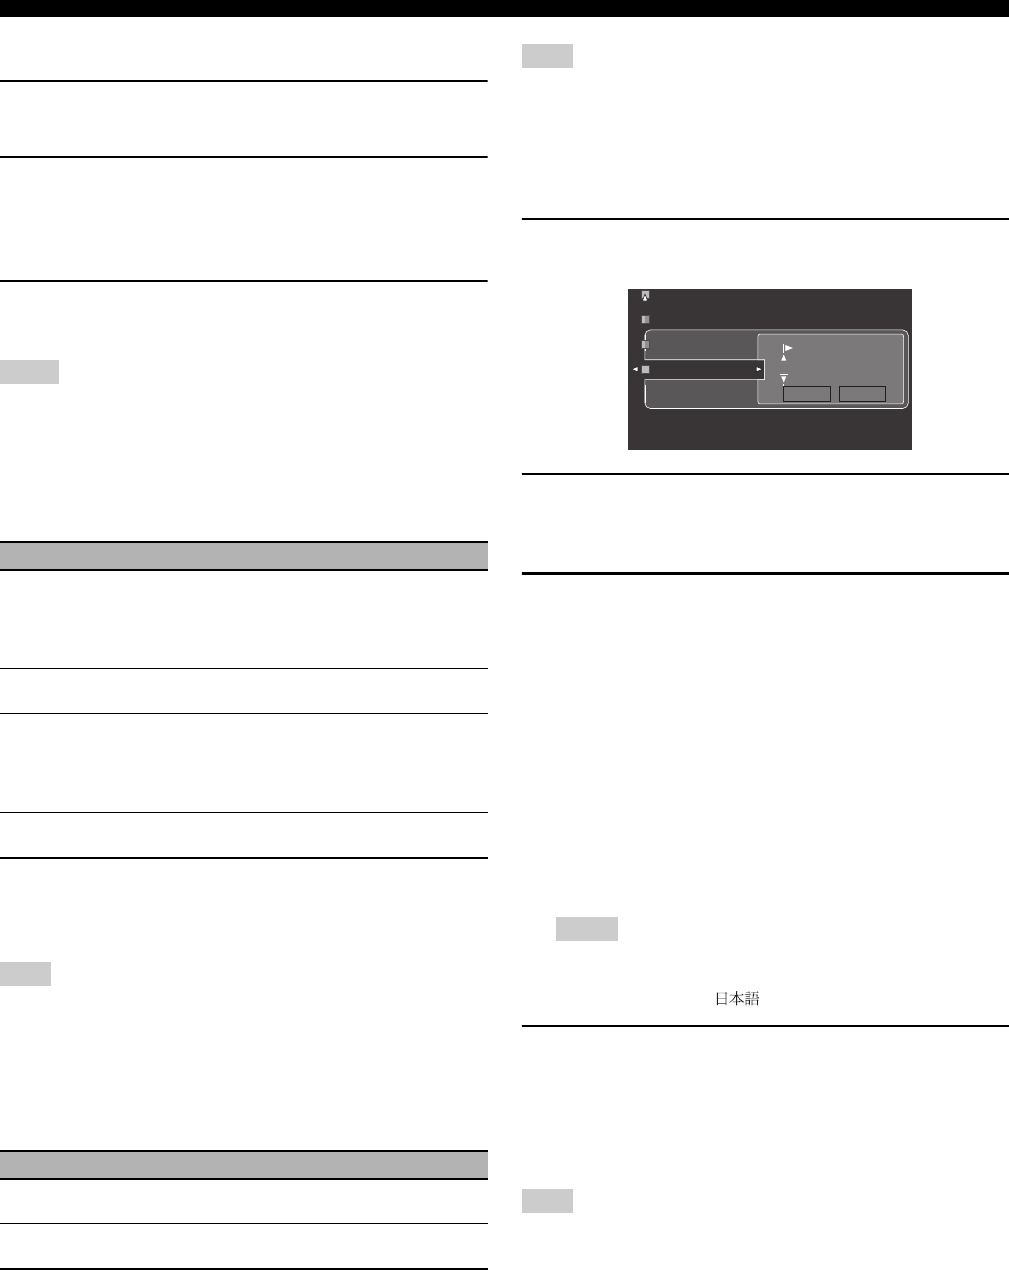
■ Rename (Rename)
Use this feature to change the name of the inputs in the GUI menu
or the front panel display menu. (“DVD” is used as the source
component in the following example.)
1 Press
9
l / h to place the _ (underscore) under the
space or character you want to edit.
2 Press
9
ENTER repeatedly to select a character type
(CAPITAL/SMALL/LATIN CAPITAL/LATIN SMALL/
FIGURE/MARK).
3 Press
9
k / n to select the character you want to use
and
9
l / h to move to the next one.
• You can use up to 9 characters for each memory.
•Press
9
n to change the character in the following order, or
press
9
k to go in the reverse order:
CAPITAL A to Z, space
SMALL a to z, space
LATIN CAPITAL Ä, Ö, Ü, etc., space
LATIN SMALL ä, ö, ü, etc., space
FIGURE 0 to 9, space
MARK !, #, %, &, etc., space
•Press
9
ENTER to switch between character types.
•Press
9
h repeatedly to select “RESET” to set the name of
the input source to the initial name.
• The character types you can select differ depending on the setting in
“Language” (see page 95).
• If you set “Language” to “ ”, you can also select Japanese characters.
4 Press
9
l / h repeatedly to select “OK” and press
9
ENTER when complete.
y
• Repeat steps 1 to 4 to rename each input.
• You can also change the name of the input source that appears in the display window
(4) on the remote control. Refer to “Changing source names in the display window
(RNAME)” on page 106.
You can only change the name of the current input source
(except for multi channel input sources) using this setting.
Notes
Choice Functions
Auto
Automatically selects input signals in the following
order:
(1) HDMI
(2) Digital signals
(3) Analog signals
HDMI
Selects only HDMI signals. When HDMI signals are not
input, no sound is output.
Coax/Opt
Automatically selects input signals in the following
order:
(1) Digital signals input at the COAXIAL jack.
(2) Digital signals input at the OPTICAL jack.
When no signals are input, no sound is output.
Analog
Selects only analog signals. If no analog signals are
input, no sound is output.
Note
Choice Functions
Auto
Automatically detects digital audio signal input types and
selects the appropriate decoder.
DTS
Activates the DTS decoder when digital audio signals are
input.
Note
Notes
Note
Decoder Mode
Volume Trim
Rename
CAPITAL
DVD
OK RESET