


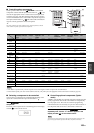

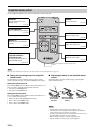
Remote control features
106 En
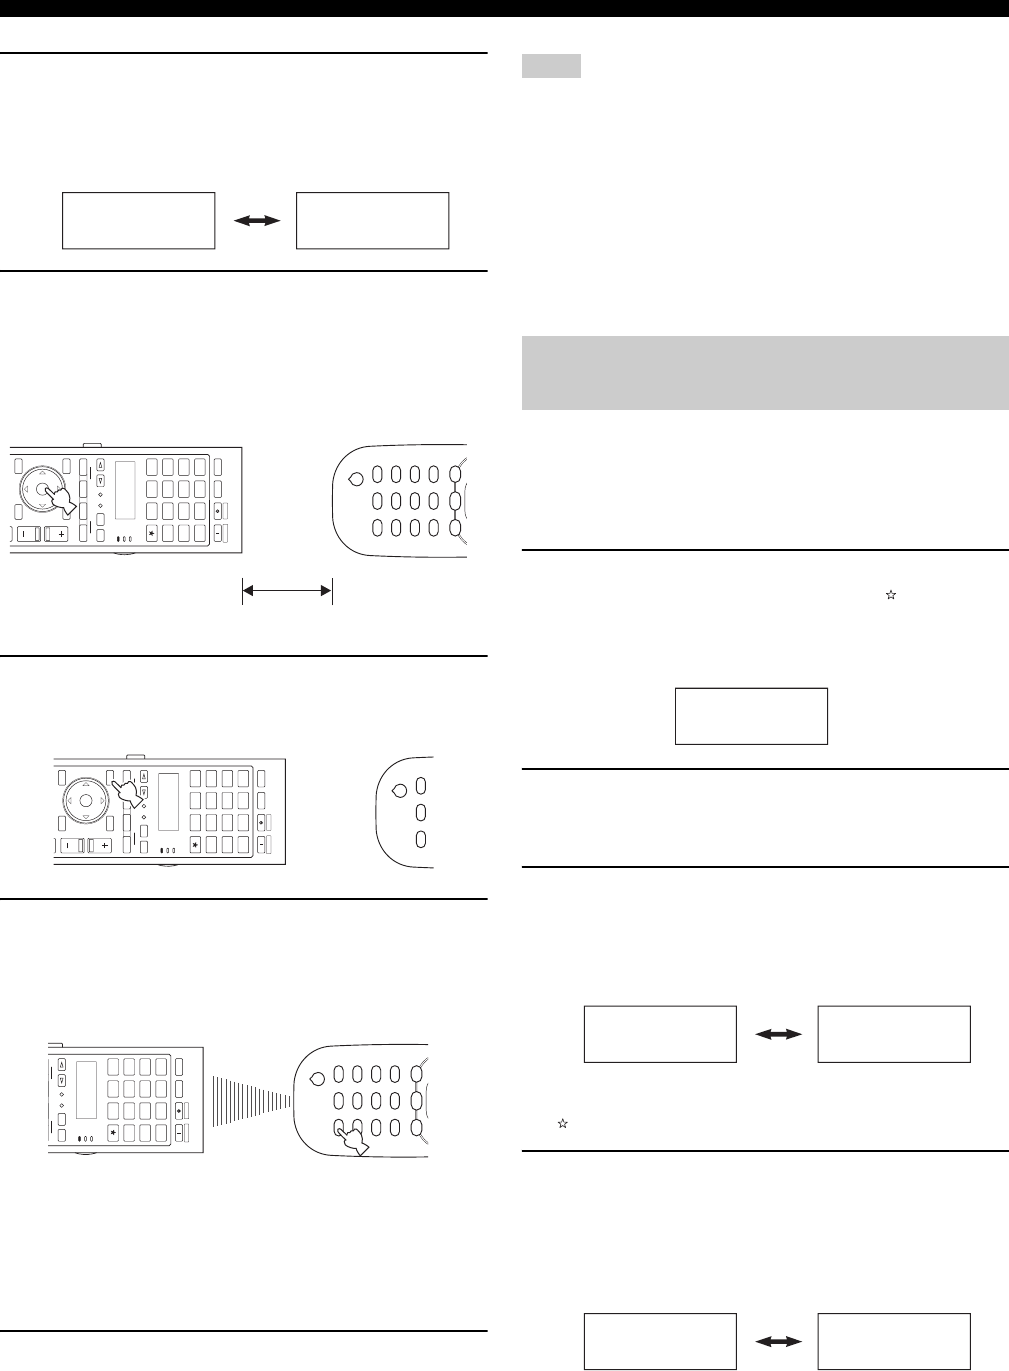
3 Press 9k / n repeatedly to select “LEARN” and then
press 9ENTER.
The remote control enters the learning mode. “LEARN” and
the name of the selected control area appears in the display
window (4) alternately.
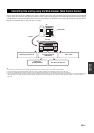
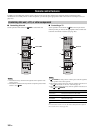
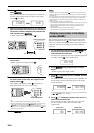
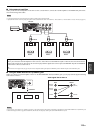
4 Place this remote control about 5 to 10 cm (2 to 4 in)
apart from the other remote control on a flat surface
so that their infrared transmitters are aimed at each
other and then press 9ENTER.
“L–KEY” appears in the display window (4).
5 Press the button for which you want to program the
new function.
“START” appears in the display window (4).
6 Press and hold the button you want to program on
the other remote control until “OK” appears in the
display window (4).
“NG” appears in the display window (4) if learning was
unsuccessful. In this case, start over from step 4.
y
• When you want to program another function, repeat steps 4 and 6.
• When you continuously want to program another function for another control
area, set the operation mode selector to FSOURCE and then press
5SELECT l / h repeatedly and then repeat steps 4 through 6. If you want
to select “TV” as the control area, set the operation mode selector to FTV and
then repeat steps 4 through 6.
7 Press
G
SETUP again to exit the setup menu.
• “ERROR” appears in the display window (4) on the remote control if you press a
button not indicated in the respective step, or when you press more than one button
simultaneously.
• This remote control can learn approximately 200 functions. However, depending on
the signals learned, “FULL” may appear in the display before you program 200
functions. In this case, clear unnecessary programmed functions to make room for
further learning.
• Learning may not be possible in the following cases:
– when the batteries in the remote control for this unit or other components are weak.
– when the distance between the two remote controls is too great or too small.
– when the remote control infrared windows are not facing each other at the
appropriate angle.
– when the remote control is exposed to direct sunlight.
– when the function to be programmed is continuous or uncommon.
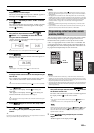
You can change the name of the control area (input source) that
appears in the display window (4) on the remote control if you
want to use a different name than the factory preset. This feature is
useful when you have set an control area to control a different
component.
1 Set the operation mode selector to FSOURCE and
then press an input selector button or (3) to
select the desired control area.
The name of the control area you want to customize appears in
the display window (4) on the remote control.
2 Press GSETUP using a ballpoint pen or similar
object.
“SETUP” appears in the display window.
3 Press 9k / n repeatedly to select “RNAME” and then
press 9ENTER.
The remote control enters the renaming mode. “RNAME” and
the name of the selected control area appears in the display
window alternately.
y
You can change the renamed control area by pressing an input selector button or
(3) or 5SELECT l / h repeatedly.
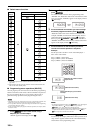
4 Press 9k / n repeatedly to select 3-letter name or 5-
letter name you want to edit.
Each control area has both 3-letter name and 5-letter name.
You can rename the 3-letter name and 5-letter name
independently.
START DVD
AMP
TV
SOURCE
ZONEMODE
SELECT
SETUP ID
MACRO
4
3
SYSTEM MEMORY
VOLUME
DVD CD
V-A UXMULTI
AVTV
PHONO
CD-R
POWER
STANDBY
POWERPOWER
DTV DVR VCR
DOCK
TUNER
BD
HD DVD
MD
TAP E
CBL
SAT
NET
USB
SRCH MODE
LEVEL
BAND
MENU
TITLE
MEMORY
RETURN
DISPLAY
PRESET/CH
ENTER
A-E
MUTE
2
1
5 to 10 cm (2 to 4 in)
Other remote control
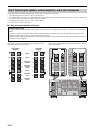
AMP
TV
SOURCE
ZONEMODE
SELECT
SETUP ID
MACRO
4
3
SYSTEM MEMORY
VOLUME
DVD CD
V-A UXMULTI
AVTV
PHONO
CD-R
POWER
STANDBY
POWERPOWER
DTV DVR VCR
DOCK
TUNER
BD
HD DVD
MD
TAP E
CBL
SAT
NET
USB
SRCH MODE
LEVEL
BAND
MENU
TITLE
MEMORY
RETURN
DISPLAY
PRESET/CH
ENTER
A-E
2
1
AMP
TV
SOURCE
ZONEMODE
SELECT
SETUP ID
MACRO
SYSTEM MEMORY
DVD CD
V-A UXMULTI
AVTV
PHONO
CD-R
POWER
STANDBY
POWERPOWER
DTV DVR VCR
DOCK
TUNER
BD
HD DVD
MD
TAP E
CBL
SAT
NET
USB
Other remote control
Notes
Changing source names in the display
window (RNAME)
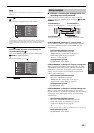
BD/HD
RNAME BD/HD
BD BD/HD
3-letter name 5-letter name