


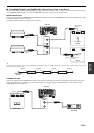
Advanced setup
119 En
Advanced
Operation
This unit has additional menus that are displayed in the front panel display.
The advanced setup menu offers additional operations to adjust and
customize the way this unit operates. Change the initial settings (indicated in
bold under each parameter) to reflect the needs of your listening
environment.
• The settings you make are reflected next time you press
B
MASTER ON/OFF
inward to the ON position to turn on this unit (see page 39).
• Only
B
MASTER ON/OFF and
I
PROGRAM are effective while you are using
the advanced setup menu.
• All the other operations cannot be made while you are using the advanced setup
menu.
• The advanced setup menu is only available in the front panel display.
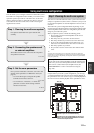
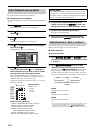
1 Press
B
MASTER ON/OFF on the front panel to
release it outward to the OFF position to turn off this
unit.
2 Press and hold
I
PROGRAM and then press
B
MASTER ON/OFF inward to the ON position to
turn on this unit.
Press and hold
I
PROGRAM until “ADVANCED SETUP” appears
in the front panel display.
3 Rotate the
I
PROGRAM to select the parameter you
want to adjust.
The name of the selected parameter appears in the front panel display.
4 Push
I
PROGRAM repeatedly to change the
selected parameter setting.
5 Press
B
MASTER ON/OFF to release it outward to
the OFF position to save the new setting and turn off
this unit.
y
The settings you made are reflected next time you turn on this unit.
■ Speaker impedance SPEAKER IMP.
Use this feature to set the speaker impedance of this unit so that it matches
that of your speakers.
■ Remote sensor REMOTE SENSOR
Use this feature to activate or deactivate the signal-receiving capability of
the remote control sensor on the front panel of this unit.
We recommend setting the parameter to “ON” in most cases.
■ Wake on RS-232C access RS-232C STANDBY
Use this feature to set this unit to transmit data via the RS-232C interface
when this unit is in the standby mode.
■ Network standby NET STANDBY
Use this feature to select whether this unit accepts the commands via LAN
network when this unit is in the standby mode (see page 101).
If you set “NET STANDBY” to “YES”, the amount of power consumption in the
standby mode is increased.
■ Remote control ID setting REMOTE CON AMP
Use this feature to set the remote control ID of this unit for remote control
recognition.
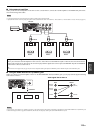
Setting remote control ID
Use this feature to set the remote control ID. This feature is useful when you
control multiple Yamaha AV receiver or amplifier with using the remote
control.
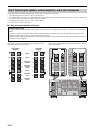
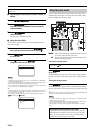
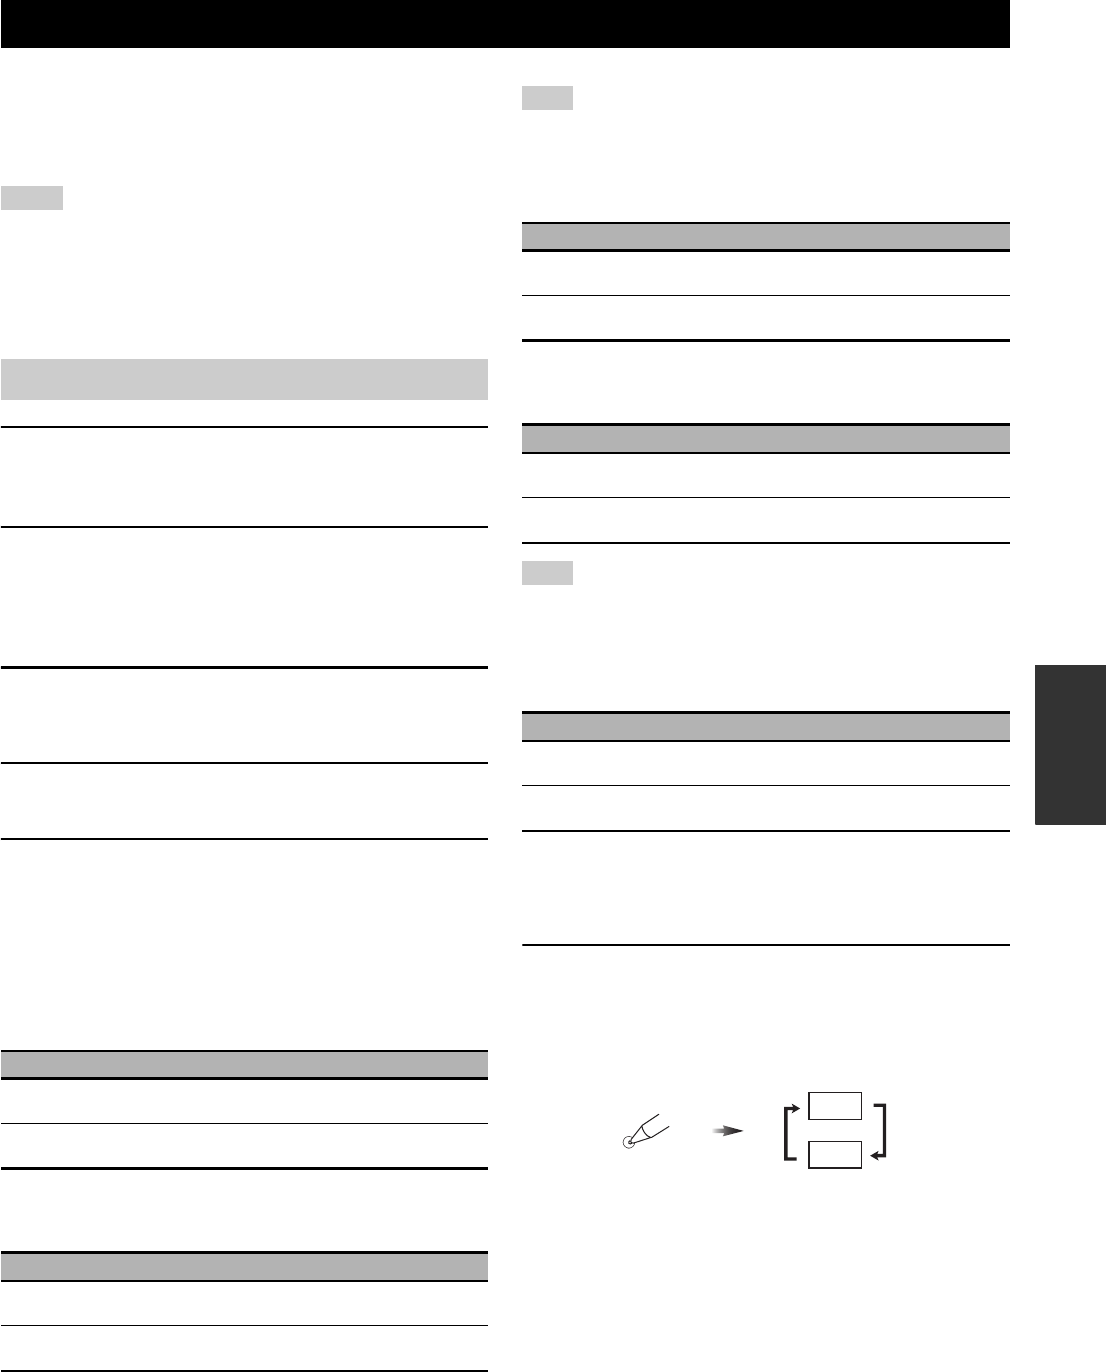
Press GID repeatedly using a ballpoint pen or similar
object on the remote control to select the desired remote
control ID.
Each time you press GID, the remote control ID indicator changes as shown
below.
y
To set the remote control ID of the simplified remote control, see page 110 for details.
Advanced setup
Notes
Using the advanced setup menu
Choice Descriptions
8ΩMIN
Select this setting to set the speaker impedance to 8 Ω.
The impedance of each speaker must be 8 Ω or higher.
6ΩMIN
Select this setting to set the speaker impedance to 6 Ω.
The impedance of each speaker must be 6 Ω or higher.
Choice Descriptions
ON
Select this setting if you want to activate the signal-
receiving capability of the remote control sensor.
OFF
Select this setting if you want to deactivate the signal-
receiving capability of the remote control sensor.
Note
Choice Functions
YES
Select this setting to set this unit to transmit data via the
RS-232C interface.
NO
Select this setting to set this unit not to transmit data via
the RS-232C interface.
Choice Functions
YES
Accepts the operations via LAN network when this unit
is in the standby mode.
NO
Does not accept the operations via LAN network when
this unit is in the standby mode.
Note
Choice Descriptions
ID1
Select this setting when the ID of the remote control is set
to “ID1”.
ID2
Select this setting when the ID of the remote control is set
to “ID2”.
ID
ID1
ID2
ID